
Individual-sized breakfast pizzas are a fun way to start the day. These can be whipped up in a sailboat galley, a mountain cabin, a lakeside camp, or virtually anywhere else. Who says pizza isn’t healthful?
The essence of pepperonata is stewed tomatoes, bell peppers and olive oil. In our Arctic kitchen and on our sailboat, the tomatoes are no problem. Although we occasionally get fresh tomatoes, we more often rely on diced canned tomatoes which, when cooked, are virtually indistinguishable from fresh. Finding good bell peppers at a reasonable price has been another matter. That’s where Penzeys Spices dried red bell pepper flakes shine. Cut into 3/8″ (1 cm) pieces, when hydrated these peppers come alive with aroma and flavor. A four-ounce bag goes a long way, making them perfect for kitchens where getting to the market isn’t always feasible.
Small pizza crusts are generally available in supermarkets, but we make our own. These days, our favorite dough is a 50/50 blend of whole wheat and all-purpose flour. Crusts made from this balance have an excellent consistency and deliver a hearty flavor. We always keep on hand a few pizza crusts in both 5″ and 12″ size. To do this, we pre-bake our crusts for 10 minutes at 400 °F and then seal them in plastic bags and freeze them. When we’re ready to use the crusts, we pull what we need from the freezer, let them thaw while we’re preparing the topping, top them, and then bake them for the same 10 minutes at 400 °F. Pizza stones make a big difference; we even have a pair of small ones for our sailing vessel, Bandon that fit nicely in the small galley oven or on the boat’s propane grill. While we don’t have refrigeration or a freezer onboard, we’ve found shelf-stable pizza crusts that keep for months.
Pepperonata can be modified to accompany many dishes. Anchovies, olives, capers, herbs, spicy peppers and other vegetables can easily find their way into this versatile, chunky sauce. It’s an excellent topping for white fish and poultry, and is a perfect topping for toasted bread, too.
And the fried egg? We use a Swiss Diamond non-stick pan, low heat, and good olive oil. We like our sunny-side up eggs lightly salted with a grind or two of cracked pepper and a pinch of Italian seasonings, cooked in a covered pan till the whites are just firm.
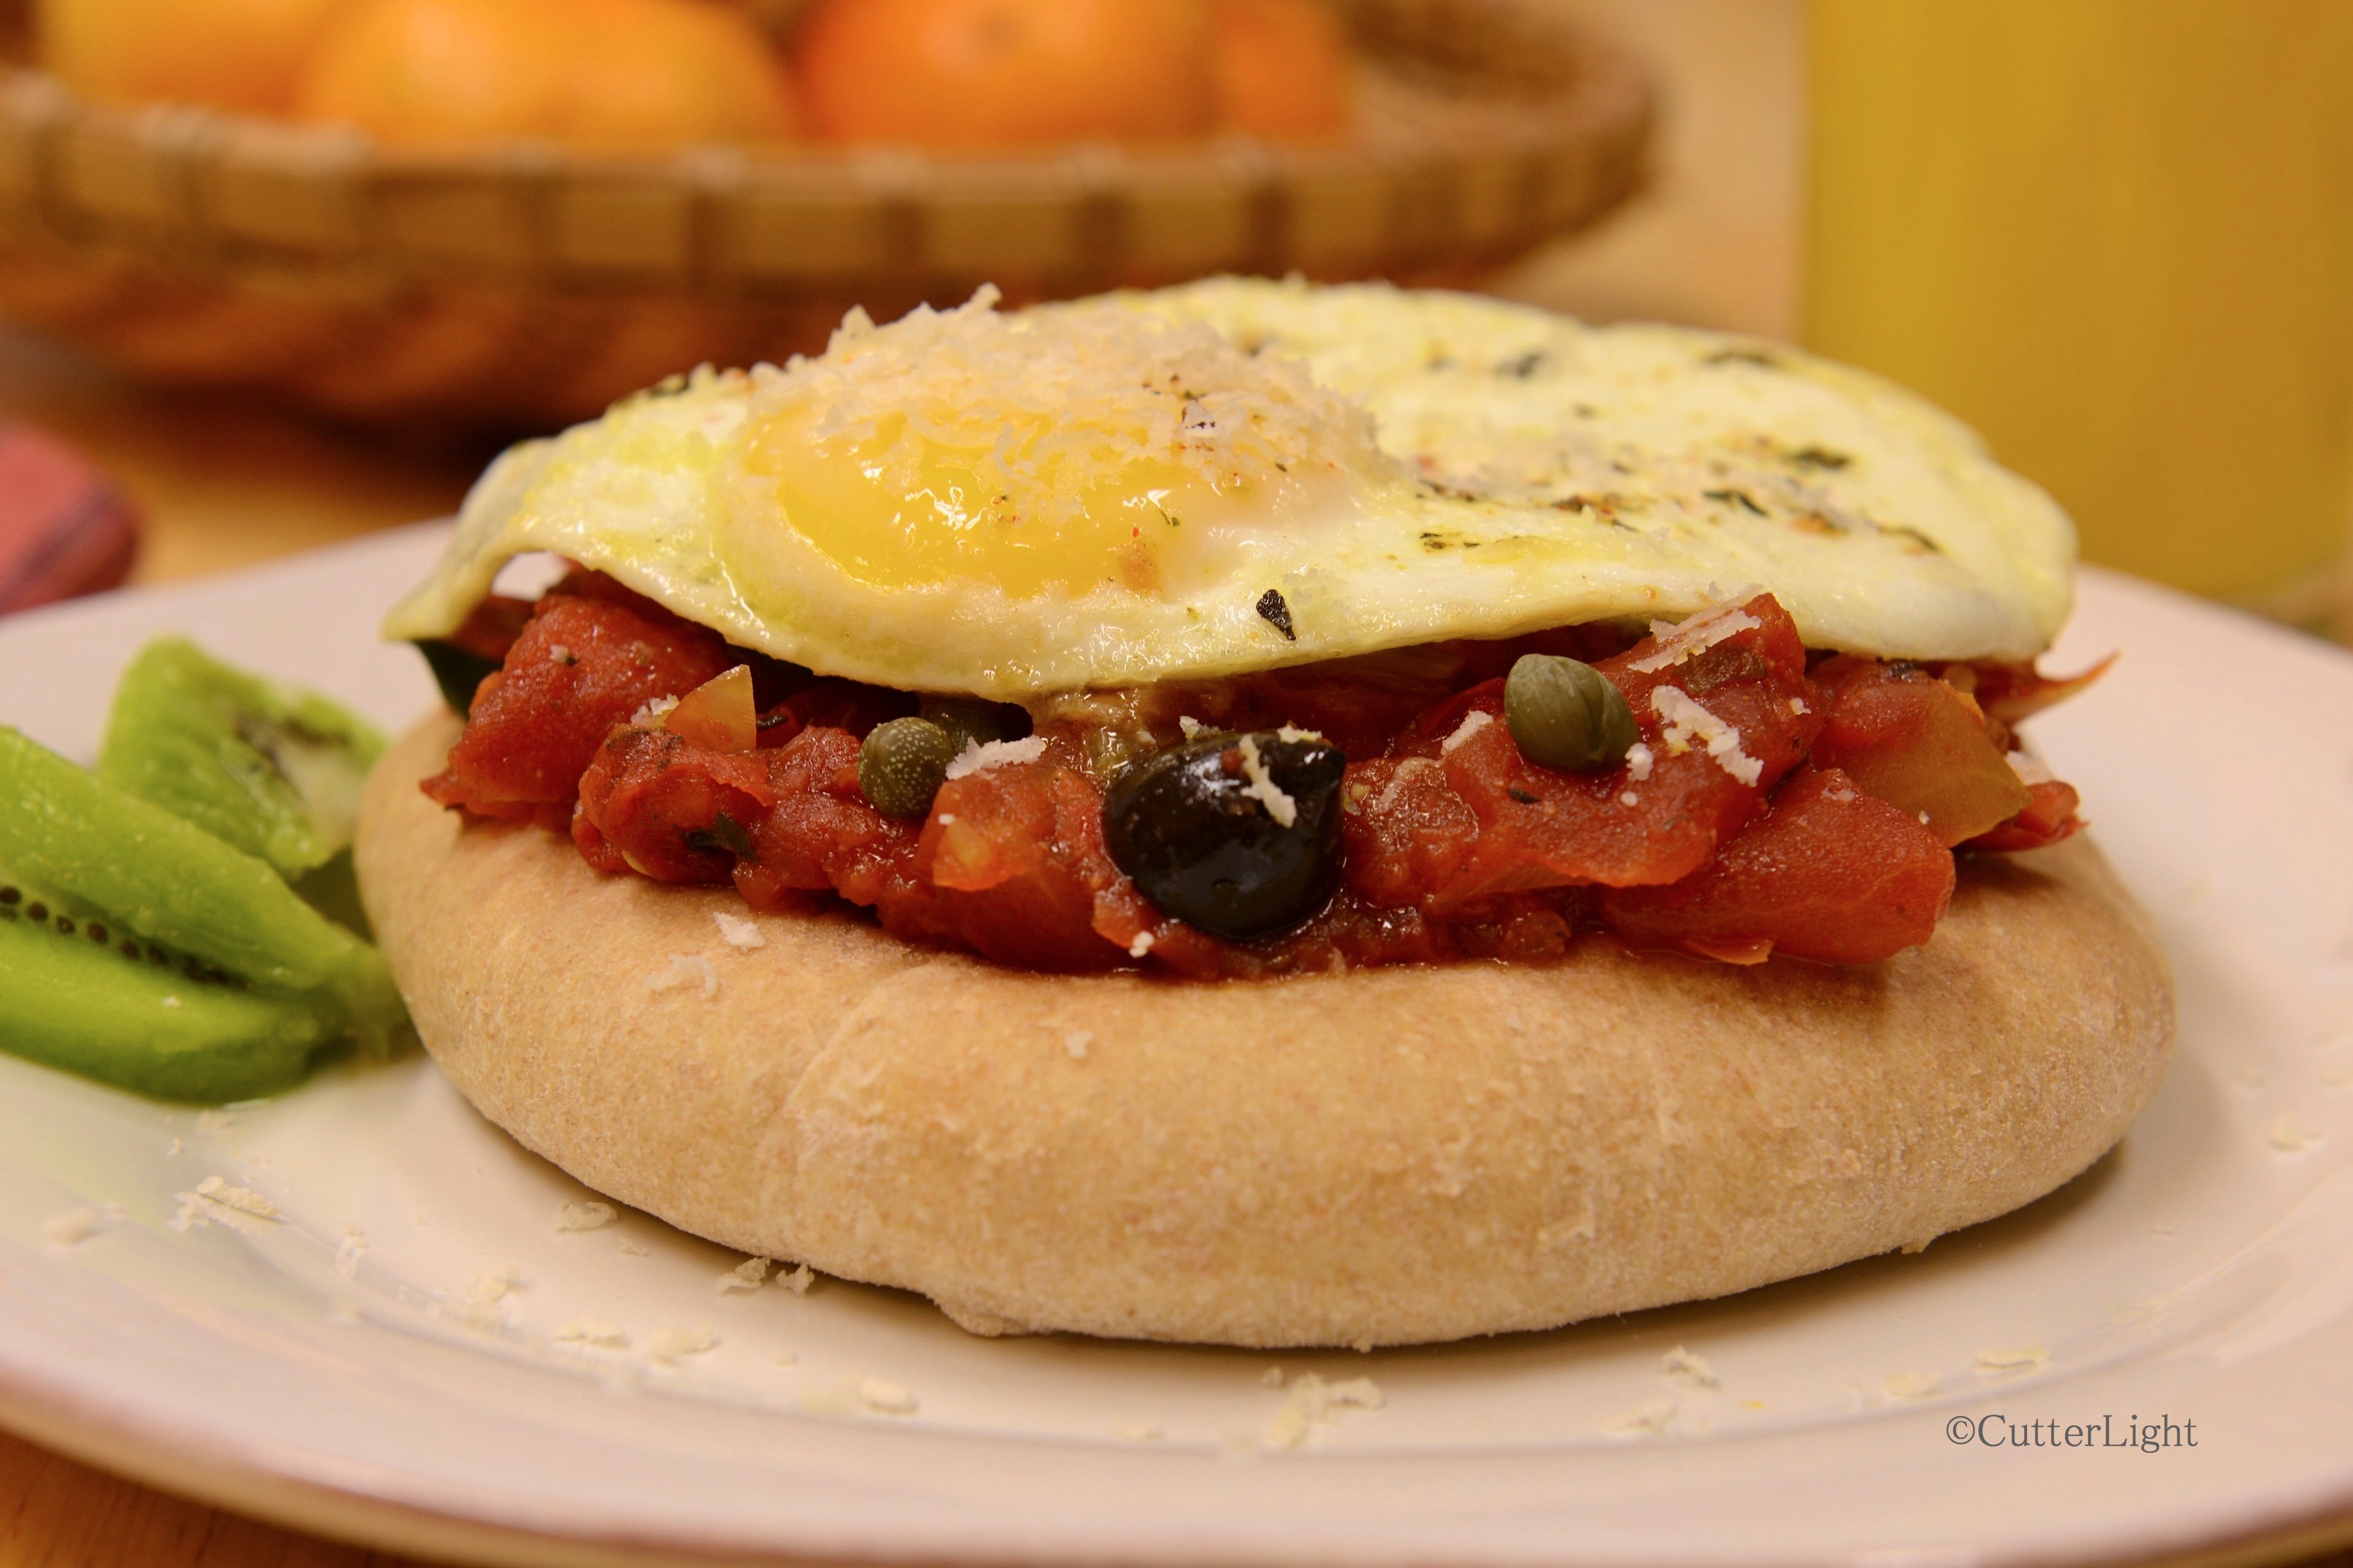
Pepperonata Breakfast Pizza
Ingredients: (For 2 servings)
- two, 5″ pizza crusts
- 16 oz can of diced tomatoes, most of liquid drained (or 1 1/2 cups fresh tomatoes, diced, seeds and pulp removed)
- 2 tablespoons Penzeys dried pepper flakes (or 1/2 cup diced red, orange or yellow bell pepper)
- 1/4 cup sliced kalamata olives
- olive oil
- sea salt
- freshly cracked pepper
- Italian seasonings such as oregano, thyme, basil, etc. to taste
- Two eggs, fried any style
- finish with freshly grated parmesan and capers
Directions:
- Bake pizza crusts according to directions.
- Hydrate dried bell peppers (if using dried).
- Meanwhile, heat olive oil in a pan over medium heat. Add tomatoes and a pinch of salt. Cook until tomatoes are tender and stew is thick. (About 10 minutes for canned. About 20 minutes for fresh.)
- Add bell peppers. Cook until tender.
- Meanwhile, prepare fried egg.
- When tomato mixture is cooked to desired consistency, add olives, seasonings and additional salt, if desired. Stir to mix thoroughly.
- Spoon mixture onto warm pizza crusts. Add capers. Add egg. Top with grated parmesan. This pizza is easiest to eat with a sharp knife and fork.


