Sweet Nosh – Homemade Lemon Curd and Almond Scones

scone lemon curd and almond n

Creamy, sweet lemon curd is the perfect partner to a freshly baked almond scone for a light breakfast or an afternoon nosh. See lemon curd and scone recipes below.

Any excuse to make lemon curd is a good excuse. I’ve been playing around with a lemon lava cake recipe and decided the ingredient it needed is lemon curd. With the lava cake in mind, I whipped up four cups of this zesty conserve, which happened to be more than my recipe required. What to do? Enjoy the tangy, sweet, creamy curd with a freshly baked batch of almond scones.

I’ve made many iterations of scones in my kitchen, but lemon curd seemed to fit with savory almond flavor as opposed to blends of fruits or other sweet ingredients.

The curd is a cinch to make. The Meyer lemons that grow in our backyard in Sacramento would have been the choice ingredient, but even without our favorite Meyers on hand in our Arctic kitchen, we can make a darn good curd with Nellie & Joe’s brand lemon juice and Penzeys dried lemon peel. The small scones, too, are a snap to make. The time it took from gathering pantry ingredients to pulling freshly baked scones from the oven was only about half an hour – about as long as it takes to have a first cup of Joe and get fully awake on a leisurely weekend or holiday morning.

Pantry Lemon Curd

Ingredients

  • 1 1/2 tbsp Penzeys dried lemon peel
  • 1 1/2 cups granulated sugar
  • 5 eggs
  • 1/2 cup lemon juice
  • pinch salt
  • 1/4 lb unsalted butter, room temperature

Directions

  1. In a medium bowl, mix together lemon peel and sugar.
  2. Whisk eggs into sugar mixture, one at a time.
  3. Whisk in lemon juice and salt.
  4. Pour mixture into a medium pot. Add butter in pieces.
  5. Cook over low heat until thickened, about 10 minutes.
  6. Remove from heat and let cool before serving with fresh-baked almond scones hot from the oven.
  7. Store any leftovers in a covered container in the refrigerator.

Snack-Sized Almond Scones

Ingredients

  • 2 cups all-purpose flour
  • 2 tsp baking powder
  • 1/2 tsp baking soda
  • healthy pinch salt
  • 1/3 cup granulated sugar
  • 2 tbsp frozen butter
  • 1/3 cup whole milk
  • 1/3 cup buttermilk
  • 1 egg
  • 1 tsp almond extract
  • 1/2 cup sliced almonds

Directions

  1. Preheat oven to 350 degrees F. Line a baking sheet with parchment paper.
  2. In a medium mixing bowl, mix flour, baking powder, baking soda, salt, and sugar.
  3. Using a cheese grater, grate butter into flour mixture. Stir until butter is well dispersed in flour.
  4. In a second bowl, whisk together whole milk, buttermilk, egg, and extract.
  5. Pour wet ingredients into dry. Stir together.
  6. Stir in almonds. Dough will be sticky.
  7. Coat your hands with flour and divide dough into thirds.
  8. Flatten each third into a disc about 1-inch tall. Place 3 discs apart on parchment-covered baking sheet. Cut each disc into fourths, but do not separate. This will allow the scones to be broken easily when they are finished baking.
  9. Bake for about 15 minutes. Scones will be very lightly browned when done.
  10. Serve with hot tea and homemade lemon curd.

Ginger Pear Cranberry Sauce: Delicious on Roasted Turkey or Duck

cranberry sauce ginger pear n

Top row: pear butter, smoked salmon, cloudberry jam. Second row: Arctic blueberry jam, cranberry sauce, cloudberry jam. Third row: Arctic blueberry jam, pear butter, smoked salmon.

Small batch canning has become a perfect way to preserve many foods in our Arctic home. We anticipate that this skill will transfer nicely to our galley kitchen aboard the sailing vessel Bandon.

We recently read an article about items that are supposedly “not worth the time to make in your own kitchen.” The three items that topped this rather specious list were yogurt, pasta and jam. Of course, we heartily disagree on each count. The hands-on time for our delicious homemade yogurt is about 15 minutes, and while it takes a little longer to turn out a few servings of pasta, the time invested results in noodles that trump any store-bought variety. And jam can be made between dinnertime and bedtime – including the processing time in the water bath. Knowing where your hand-picked berries and self-harvested salmon come from: priceless. As those in-the-know can attest, the rewards go beyond even that. Our meals are infused with memories of mornings in berry fields as we dip into our jam and of days on water and of the friends we shared fishing experiences with as we open jars of beautifully cured salmon.

Just in time for the holidays, we’ve added ginger pear cranberry sauce to our home-canned collection. We adapted the recipe from Full Circle Farms, which was thoughtfully tucked into a box containing our order of organic cranberries and D’Anjou pears. The spicy ginger and sweet stewed fruit was the perfect complement to roasted turkey.

Ginger Pear Cranberry Sauce

Ingredients

  • 7 tbsp brown sugar
  • 4 tbsp red wine vinegar
  • 1 ½ tsp powdered ginger
  • pinch salt
  • 3 firm D’Anjou pears, seeded and cut into ½-inch cubes
  • 6 tbsp granulated sugar
  • 2 tsp dried lemon zest
  • 2 tsp dried orange zest
  • 1/3 cup lemon juice
  • 1/3 cup orange juice
  • ¾ lb organic cranberries

Directions

  1. In a medium saucepan, combine brown sugar, vinegar, ginger, and salt.
  2. Bring to a boil over moderate heat.
  3. Add pears. Cover and cook until pears are crisp-tender, about 10 minutes.
  4. Remove pears with slotted spoon and set aside, leaving liquid in pan.
  5. Add granulated sugar, zests, juices and cranberries to pan.
  6. Simmer over medium heat, stirring often, until cranberries pop.
  7. Reduce heat and add pears back to mixture.
  8. Cook for at least 5 minutes to allow flavors to mix. Cook longer if a thicker sauce is desired.

Makes about 4 cups of sauce.

Pepperonata Breakfast Pizza: Healthy, Tasty, Easy

pepperonata breakfast pizza n

Individual-sized breakfast pizzas are a fun way to start the day. These can be whipped up in a sailboat galley, a mountain cabin, a lakeside camp, or virtually anywhere else. Who says pizza isn’t healthful?

The essence of pepperonata is stewed tomatoes, bell peppers and olive oil. In our Arctic kitchen and on our sailboat, the tomatoes are no problem. Although we occasionally get fresh tomatoes, we more often rely on diced canned tomatoes which, when cooked, are virtually indistinguishable from fresh. Finding good bell peppers at a reasonable price has been another matter. That’s where Penzeys Spices dried red bell pepper flakes shine. Cut into 3/8″ (1 cm) pieces, when hydrated these peppers come alive with aroma and flavor.  A four-ounce bag goes a long way, making them perfect for kitchens where getting to the market isn’t always feasible.

Small pizza crusts are generally available in supermarkets, but we make our own. These days, our favorite dough is a 50/50 blend of whole wheat and all-purpose flour. Crusts made from this balance have an excellent consistency and deliver a hearty flavor. We always keep on hand a few pizza crusts in both 5″ and 12″ size. To do this, we pre-bake our crusts for 10 minutes at 400 °F and then seal them in plastic bags and freeze them. When we’re ready to use the crusts, we pull what we need from the freezer, let them thaw while we’re preparing the topping, top them, and then bake them for the same 10 minutes at 400 °F. Pizza stones make a big difference; we even have a pair of small ones for our sailing vessel, Bandon that fit nicely in the small galley oven or on the boat’s propane grill. While we don’t have refrigeration or a freezer onboard, we’ve found shelf-stable pizza crusts that keep for months.

Pepperonata can be modified to accompany many dishes. Anchovies, olives, capers, herbs, spicy peppers and other vegetables can easily find their way into this versatile, chunky sauce. It’s an excellent topping for white fish and poultry, and is a perfect topping for toasted bread, too.

And the fried egg? We use a Swiss Diamond non-stick pan, low heat, and good olive oil. We like our sunny-side up eggs lightly salted with a grind or two of cracked pepper and a pinch of Italian seasonings, cooked in a covered pan till the whites are just firm.

Pepperonata Breakfast Pizza

Ingredients: (For 2 servings)

  • two, 5″ pizza crusts
  • 16 oz can of diced tomatoes, most of liquid drained (or 1 1/2  cups fresh tomatoes, diced, seeds and pulp removed)
  • 2 tablespoons Penzeys dried pepper flakes (or 1/2 cup diced red, orange or yellow bell pepper)
  • 1/4 cup sliced kalamata olives
  • olive oil
  • sea salt
  • freshly cracked pepper
  • Italian seasonings such as oregano, thyme, basil, etc. to taste
  • Two eggs, fried any style
  • finish with freshly grated parmesan and capers

Directions:

  1. Bake pizza crusts according to directions.
  2.  Hydrate dried bell peppers (if using dried).
  3. Meanwhile, heat olive oil in a pan over medium heat. Add tomatoes and a pinch of salt. Cook until tomatoes are tender and stew is thick. (About 10 minutes for canned. About 20 minutes for fresh.)
  4. Add bell peppers. Cook until tender.
  5. Meanwhile, prepare fried egg.
  6. When tomato mixture is cooked to desired consistency, add olives, seasonings and additional salt, if desired. Stir to mix thoroughly.
  7. Spoon mixture onto warm pizza crusts. Add capers. Add egg. Top with grated parmesan. This pizza is easiest to eat with a sharp knife and fork.

Homemade Goat Cheese

goat milk cheese n

With powdered goat milk, you can make delicious goat milk cheese virtually anywhere. This ball is slated for a hearty layered beet salad and a spicy lamb (or caribou!) pizza.

After last year’s success with homemade “ricotta,” we included powdered goat milk (widely available) in our annual shopping list. We love the flavor and texture of soft cheeses, and with some recipes there is no adequate hard cheese substitute. At the end of summer, we sent a small quantity of various soft cheeses up to our Arctic home. Since it doesn’t matter if they get crumbly, these cheeses are good candidates for the freezer till they’re needed. But that supply has come to its end, and so it was time to try making our own goat cheese.

Following our own directions for a ricotta-style cheese, the hands-on time for creating this cheese took just five minutes. The remainder of the time needed is for draining the whey – a process that took about eight hours. The resulting cheese was creamy, mildly tangy in just the right way, and ready for salads, pizza or crackers and smoked salmon. Slightly salting the finished cheese improves its flavor and shelf life.

Soft Homemade Goat Cheese

Ingredients

  • 1 cup powdered goat milk
  • 4 cups water
  • 2 tbsp white vinegar
  • salt to taste

Directions

  1. Mix powdered milk and water well in a medium pot.
  2. Over medium heat, bring the milk to between 165 degrees F to 180 degrees F.
  3. Remove pot from heat.
  4. Stir in vinegar. Milk should curdle. (This is the whey separating).
  5. Cover pot with clean dish towel and let sit for 2 hours.
  6. Lay a piece of cheesecloth over a sufficiently large container. (I used a 4 cup food storage container.) Secure the cheesecloth in place with a rubber band.
  7. Pour contents of pot onto cheesecloth. Whey should drain through, while curds remain in cheesecloth. You can toss the initial drained whey.
  8. Place container in refrigerator overnight to continue draining. It does not matter if the container is covered or not.
  9. In the morning, turn out cheese ball that is in cheesecloth to a larger bowl and mix in salt, to taste.
  10. Store goat cheese covered in refrigerator.

Recipe makes approximately 1 1/2 cups of goat cheese.

Light and Airy Smoked Salmon, Alaska Shrimp and Leek Frittata

frittata smoked salmon shrimp n

Breakfast, lunch or dinner, this frittata this is sure to draw rave reviews.

This past summer in Seward, we had a series of some of the best meals we’ve had in Alaska – or anywhere for that matter – at an inconspicuous little restaurant called The Smoke Shack. In our view, this is hands down Seward’s best restaurant. The head chef smokes all his seafood and meat himself, and combines these with a variety of proprietary sauces to provide an authentic Alaskan dining experience, complete with the kind of consistently good service that is hit and miss at Seward’s two mega-large waterfront tourist restaurants.

One of the meals that most impressed us at The Smoke Shack was the smoked salmon frittata. Light, airy, flavorful and standing over an inch tall, we made a mental note to attempt to replicate this breakfast dish in our own kitchen. There are two keys to this dish: Start with top-notch smoked salmon, and separate the egg whites and whip them before folding in the other ingredients. We added shrimp and leeks and our own blend of seasonings. The beauty of frittatas is that with a little imagination, you can come up with your own specialty. Here’s ours.

frittata ready for oven n

Splashed with Cholula sauce and ready for the oven. It helps to start the frittata by cooking it for a few minutes on the stove before placing it in the oven. A non-stick pan such as the excellent ones made by Swiss Diamond are a good choice, as they are oven safe.

fritatta baked n

Piping hot out of the oven and ready to serve, every piece is generously packed with smoked salmon, sweet Alaska shrimp and leeks.fritatta ingredients n

One pan, eggs, whatever additional ingredients are on hand, and seasoned to taste a frittata will feed a lot of hungry sailors, campers or house guests. 

Smoked Salmon, Alaska Shrimp and Leek Frittata

Ingredients (For an 11 inch pan)

  • non-stick, 11″ oven-safe pan
  • light olive oil or other frying oil
  • eight eggs, yolks and whites separated
  • 4 oz smoked salmon (canned or vacuum packed).
  • 4 oz Alaska shrimp, peeled
  • 1 large or 2 small potatoes such as Yukon golds, diced
  • 1 1/2 cups shredded Jarlsberg cheese (We chose this variety for its buttery, sweet flavor, but many other types of cheese would work well.)
  • 1 cup leeks, chopped course
  • fine sea salt, to taste
  • Cholula sauce
  • chili spice blend such as Penzeys’ Northwoods Fire, or any blend featuring a combination of black pepper, smoked chipotle, smoked paprika, cayenne or similar peppers and a pinch of oregano

Directions

  1. Preheat oven to 350 degrees F with rack at center position.
  2. Heat 3 tbsp olive oil in 11-inch pan over medium heat. Add potatoes and cook till tender, adding salt to taste. Remove from heat, set aside potatoes in bowl, wipe pan clean if necessary.
  3. Add 1 tbsp olive to pan over medium low heat. Add leeks and a pinch of salt and cook for about 5 minutes, until tender. Set aside leeks in bowl. Wipe pan clean if necessary.
  4. Meanwhile, place egg whites in mixing bowl, add 1/2 tsp sea salt and beat or whisk till soft peaks are formed. Do not create stiff peaks.
  5. Add chili spice blend to egg yolks, mix together, and add mixture to whites beating at slow speed until just incorporated. Do not over mix.
  6. Place a scant tablespoon of olive oil in pan over low heat and add cooked potatoes. Pour in egg mixture. Top with smoked salmon, shrimp and leeks. Add cheese. Add a few splashes of Cholula. Allow to cook approximately 5 minutes to firm up bottom.
  7. Place pan in oven and cook for 20 minutes.

This frittata pairs nicely with Champagne.

We use Alaska shrimp because they are uniquely tasty and are sustainably harvested. We harvest our own wild Alaska salmon and encourage readers to look for the “wild” or “wild-caught” label when purchasing salmon, as this is the only sustainable choice for salmon.

DIY Small Batch Purple Sauerkraut

sauerkraut diy_n

To make this beautiful purple kraut, you need only a few days of fermenting time and items you already have in your kitchen.

Every year I pick one thing I want to learn to make and force the issue by removing it from our annual shopping list. Last summer, a friend had us taste her homemade kraut infused with locally picked highbush cranberries, which grow in Alaska. It was delicious. Her quick directions gave me confidence that I could easily make sauerkraut, too.

The purpose of lacto-fermenting vegetables is to store the summer harvest so that vegetables can be enjoyed throughout the year. Since I had only one head of cabbage which weighed a pound-and-a-half,  I turned to small batch food preservation methods. Credit for the following directions goes to a blog called The Kitchn where the author posts all sorts of information about lacto-fermentation, photos, and step-by-step directions.

Our first menu with the finished kraut was a knock-your-socks-off reuben. We’ll post that  recipe in an upcoming article.

DIY Small Batch Purple Sauerkraut

Ingredients

  • 1 small head purple cabbage (about 1.5 lbs.)
  • 1 tbsp kosher salt
  • 1 tbsp caraway seeds
  • 1 tbsp dried juniper berries

Directions

  1. Gather materials you will need to process kraut: 2 quart container, cutting board, chef’s knife, gallon Ziploc bag, large mixing bowl, and lidded quart container for final product.
  2. Slice cabbage into ribbons. Discard core.
  3. Place cabbage ribbons into large mixing bowl. Sprinkle salt all over cabbage.
  4. Knead, massage, and squeeze salt into cabbage, until cabbage begins to become shiny and loses liquid. This will take about 10 minutes.
  5. Mix in caraway seeds and juniper berries.
  6. Pack mixture into 2 quart container. Pour any liquid from mixing bowl into container, too.
  7. Fill Ziploc bag with water and set inside 2 quart container to weigh down and cover cabbage.
  8. Press down cabbage every few hours. This will cause air to come to the surface.
  9. If there is not enough liquid to cover the cabbage in 24 hours, add 1 cup water mixed with 1 tsp salt.
  10. Keep the container out of light and at a temperature of 65 – 75 degrees F.
  11. Allow to ferment from 3 – 10 days. Begin tasting at 3 days. Mine tasted just right at 3 days. The longer you leave it, the more sour it will be.
  12. Put finished sauerkraut in a 1 quart container and store in the refrigerator. It should keep for several months.

Whole Fish Salted and Broiled: Easy, Elegant, Delicious!

dolly varden shioyaki_n

This Chukchi Sea Dolly Varden Char was liberally salted, broiled and served with roasted Peruvian potatoes and garlic cloves. Salt grilling or broiling brings out the natural sweetness of species ranging from porgy and snapper to trout, char and salmon. 

When a friend recently presented us with two harvested-from-the-ocean-this-morning char, we knew immediately what we wanted to do with one of them: shioyaki. Although Japanese cuisine is better known for sushi and sashimi, far more fresh fish on Japanese tables is served well salted and then broiled or grilled.

The Japanese eat a lot of fish, and it is for good reason that shioyaki fish is weekly fare in most households. It’s quick, it’s easy, and fish prepared this way are deliciously savory and sweet. This is also an excellent method for preparing freshly caught trout while camping. Simply clean the catch, skewer it lengthwise, cut a few shallow slashes into the skin, rub salt on the fish and roast it on an open fire or over a grill. Brook trout served this way make for memorable camp fare, as do Japanese iwana (char).

dolly varden side by side_n

This pair of sea run Dolly Varden char have all the characteristics of fresh fish: bright, clear eyes, firm, nicely colored flesh, and no evidence of bruising. 

Because the fish are seasoned only with salt (and perhaps the smoke from a grill or fire), it is imperative that it be absolutely fresh. When you’re purchasing fish, look for a healthy shine, bright colors and clear, bright eyes. The scales should be intact and the gills, if any remain, should be bright red. Don’t be shy about giving a fish you’re considering purchasing a whiff. It should smell clean. Fish does not smell fishy; it is bacteria growing on poorly cared for or old fish that carries the unpleasant smell often called “fishy.”

Salt-Broiled Whole Fish

  1. Start with a clean, fresh fish. If it is a salmon, trout or char, it need not be scaled, but all traces of gill and viscera should be removed. Rinse the fish in cold water and pat dry inside and out. (Fish, such as porgy, snapper and rockfish should be scaled.)
  2. Preheat broiler to high and position a broiling pan a few inches from the heating element. (You may have to experiment to find the right position in your oven.)
  3. Use a very sharp knife to cut shallow diagonal slashes about an inch apart down the length of the fish.
  4. Rub a generous amount of salt into the fish. Let rest for a few minutes up to half an hour. Coarse grey sea salt from France (Celtic sea salt) is perfect for this recipe.
  5. When the broiler is hot, coat the broiling pan with oil by either brushing on or spraying with a pump spray. Canola oil or light olive oil work well.
  6. Place the fish on the pan. It should sizzle. If it doesn’t, it will stick to the pan.
  7. Cook for approximately 8 to 10 minutes per inch of thickness. Do not move fish during cooking. (On a grill, you will want to turn the fish once to ensure even cooking.) The fish is done when the tail and fins are crisp, the eyes are opaque and clear juice is no longer bubbling up through the slashes. With a fat fish, you will see some white fat in the slashes. This is good.

This dish requires no further adornment and is delicious with a glass of cold sparkling water, a craft ale, or a fine daiginjyo sake.

Galley and Kitchen: What’s on our Spice Racks

Penzeys Spices_n

So that we’re ready to hit the ground running (or to hit the kitchen cooking) when we return to Point Hope in August, we place our Penzeys Spices order in April. 

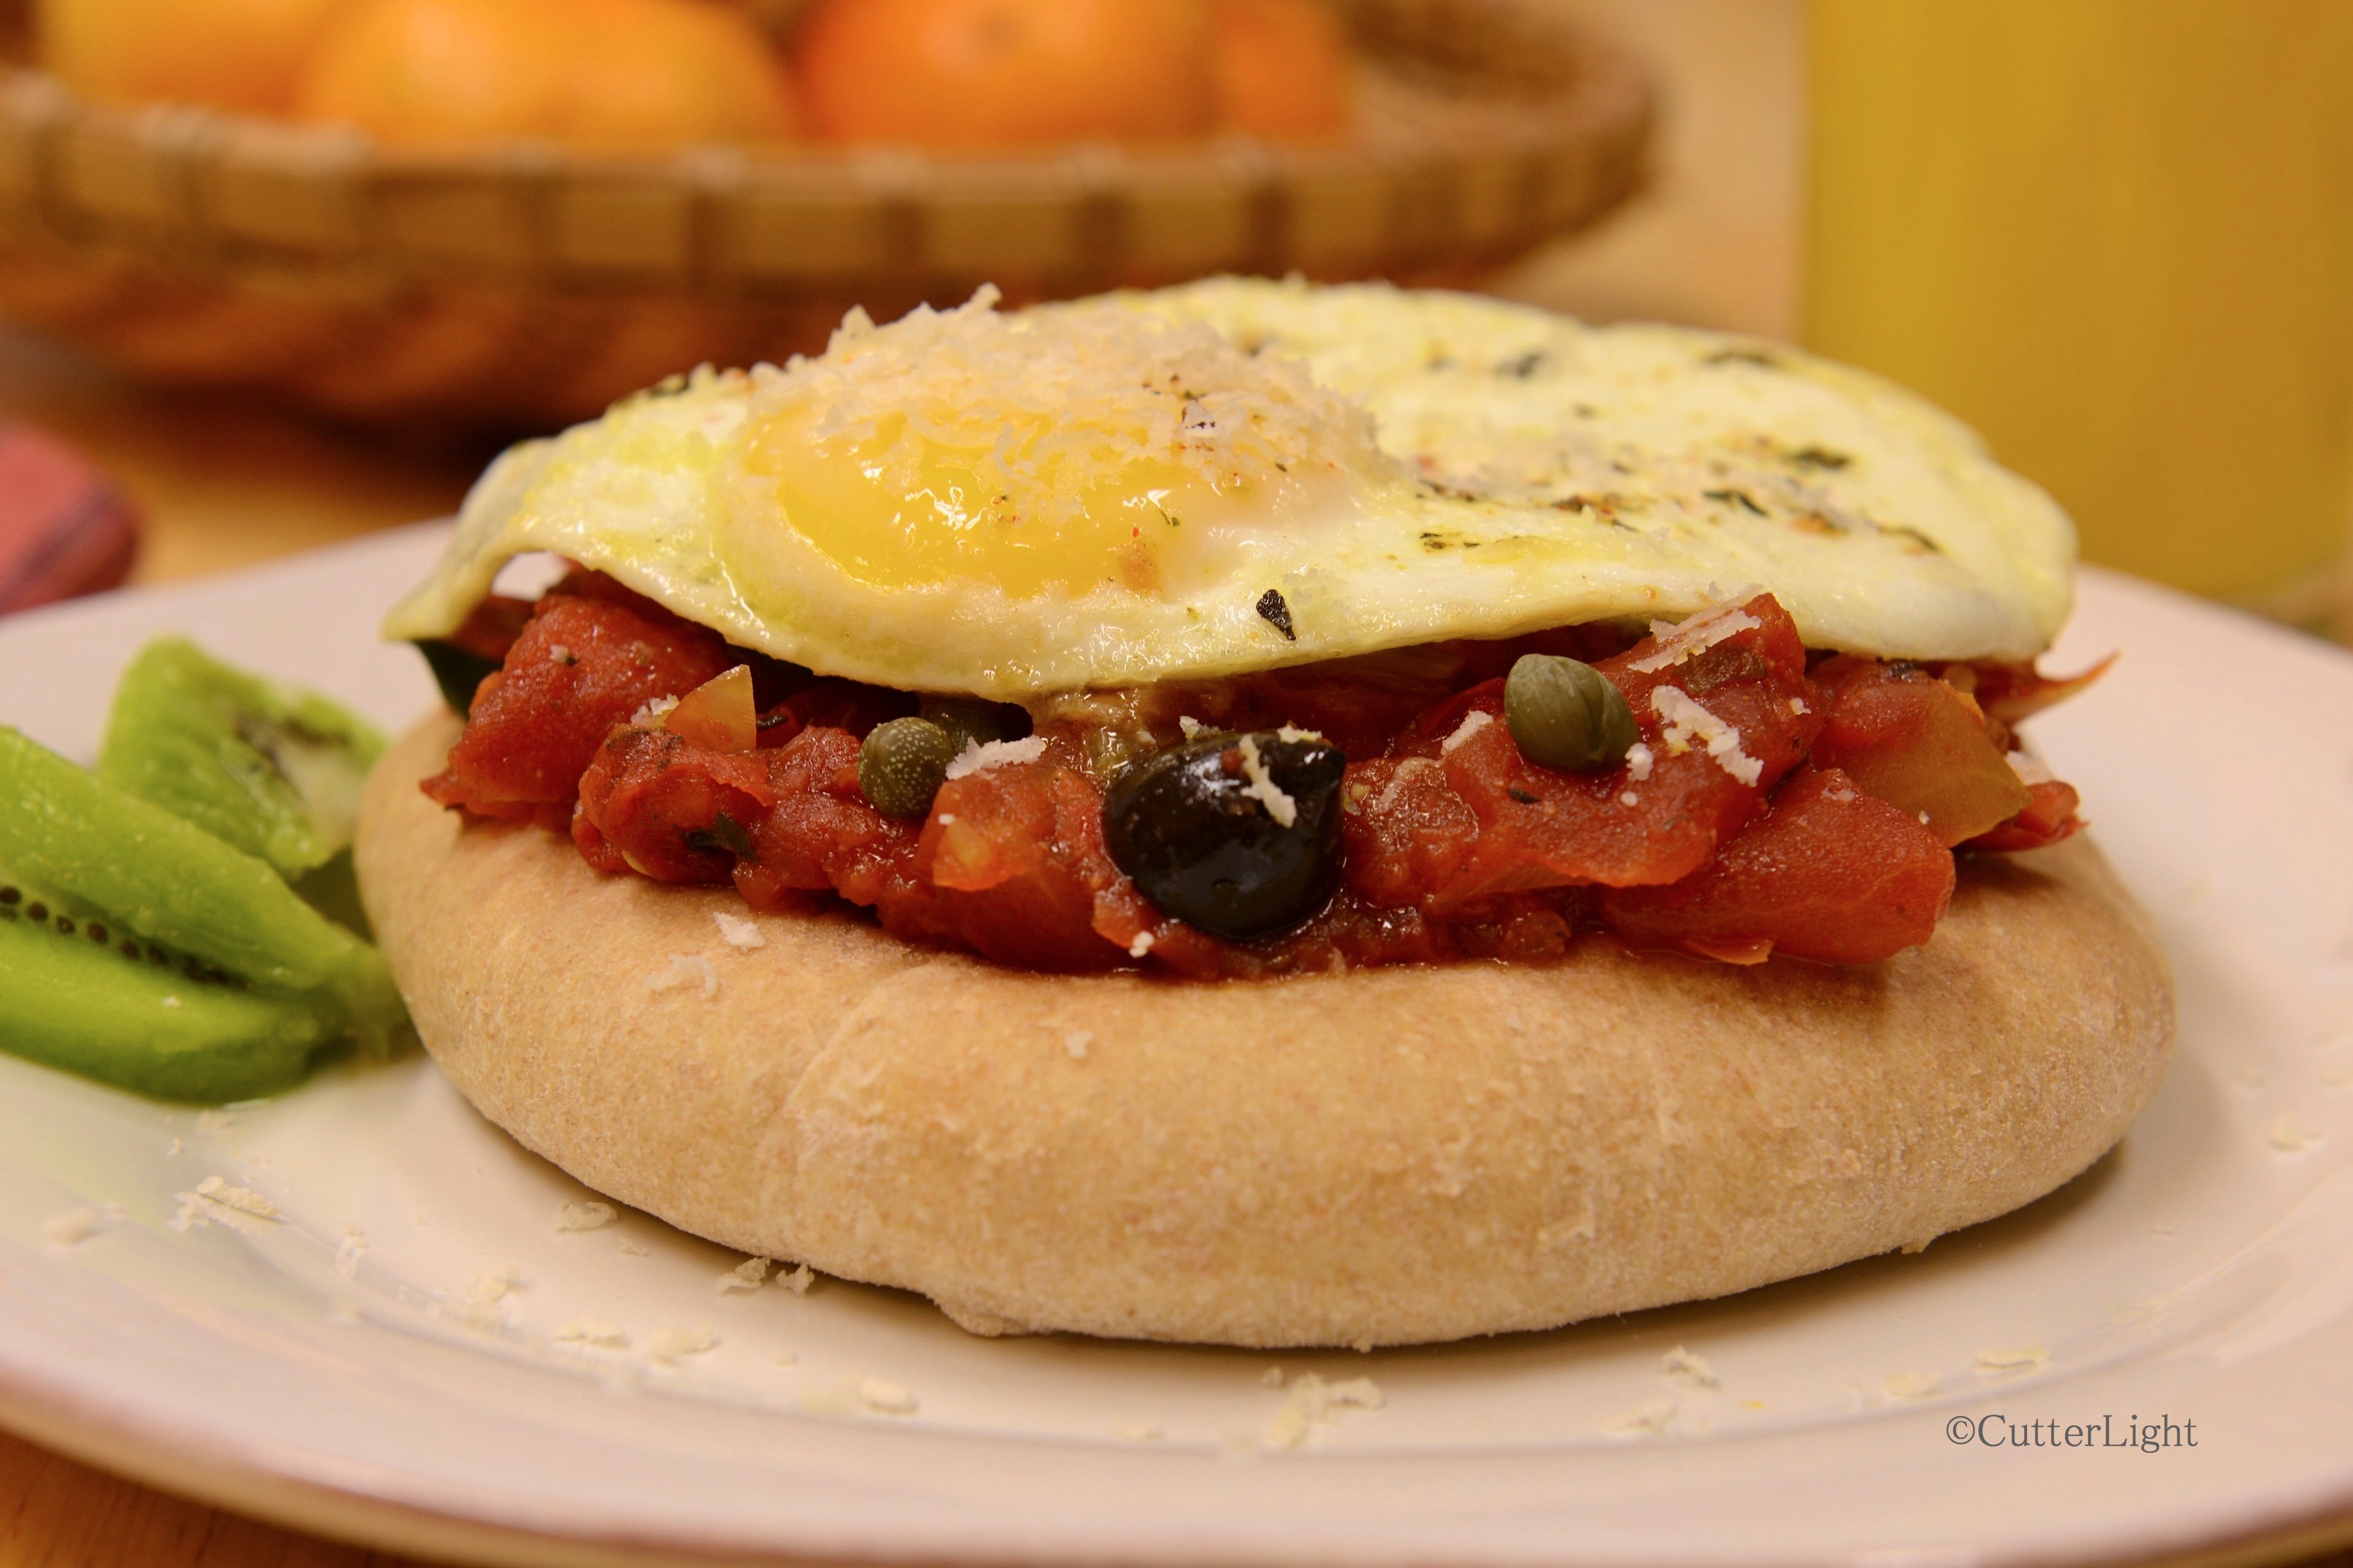
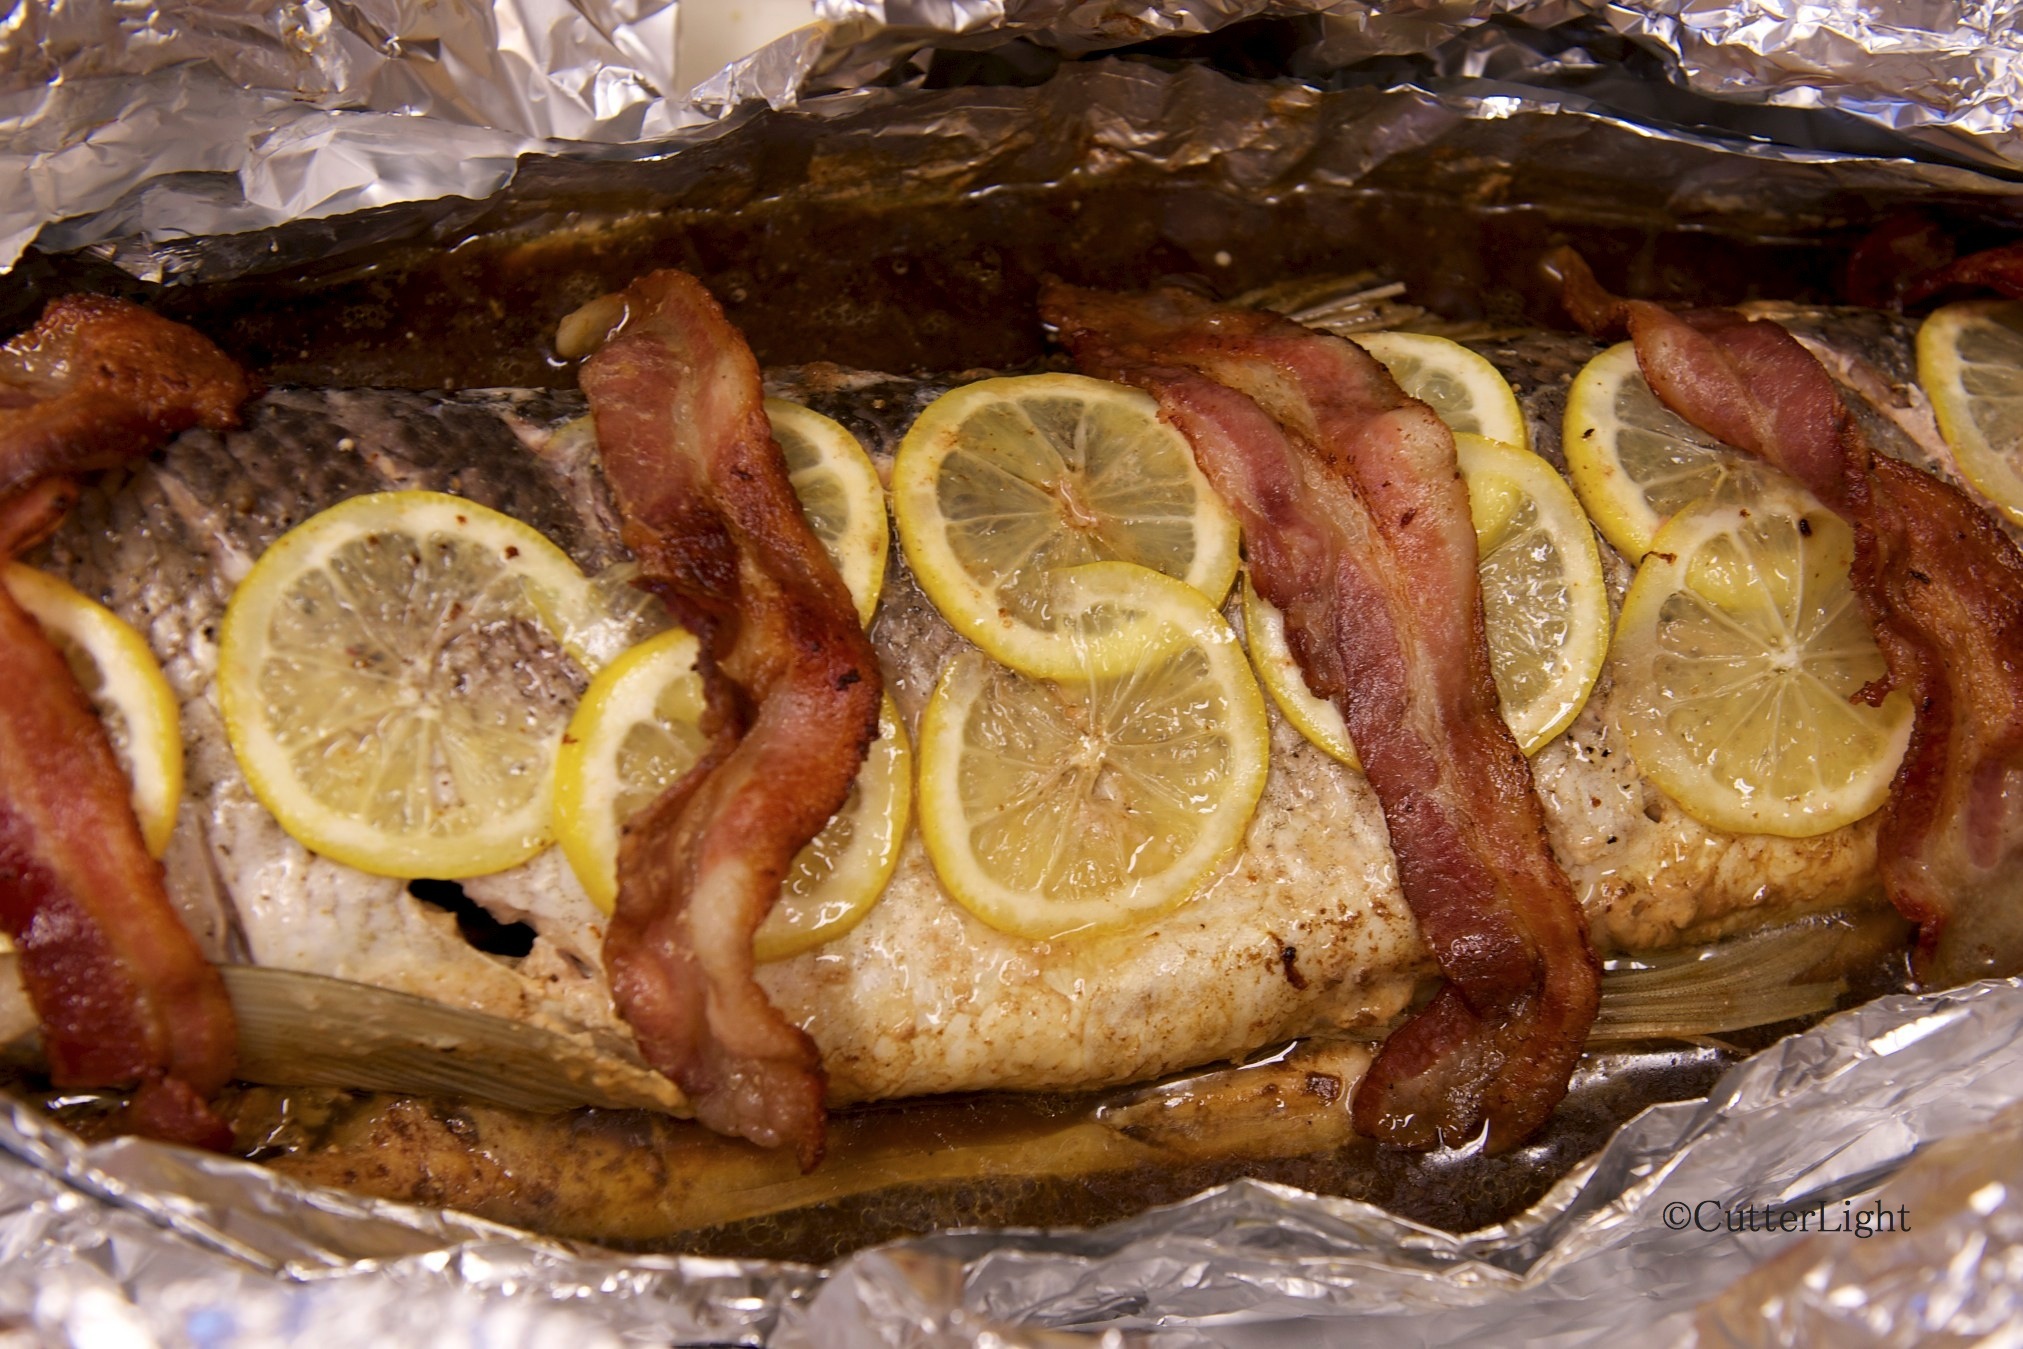
Onboard our summer home, the sailing vessel Bandon, galley space is limited and so the question If you had to choose just a few herbs and spices… is answered out of necessity. Sea salt, Tellicherry pepper, powdered garlic, powdered wasabi, an Italian seasoning blend, herbs de provence and a couple of spicy chili-pepper-based blends or rubs are essentials in our kitchen. We also keep on hand soy sauce, Cholula sauce, olive oil (both light olive oil for frying and extra virgin for other uses), and when we can, sherry. Our meals tend to center around fresh seafood, and these minerals, herbs, spices and condiments go well with fresh fish.

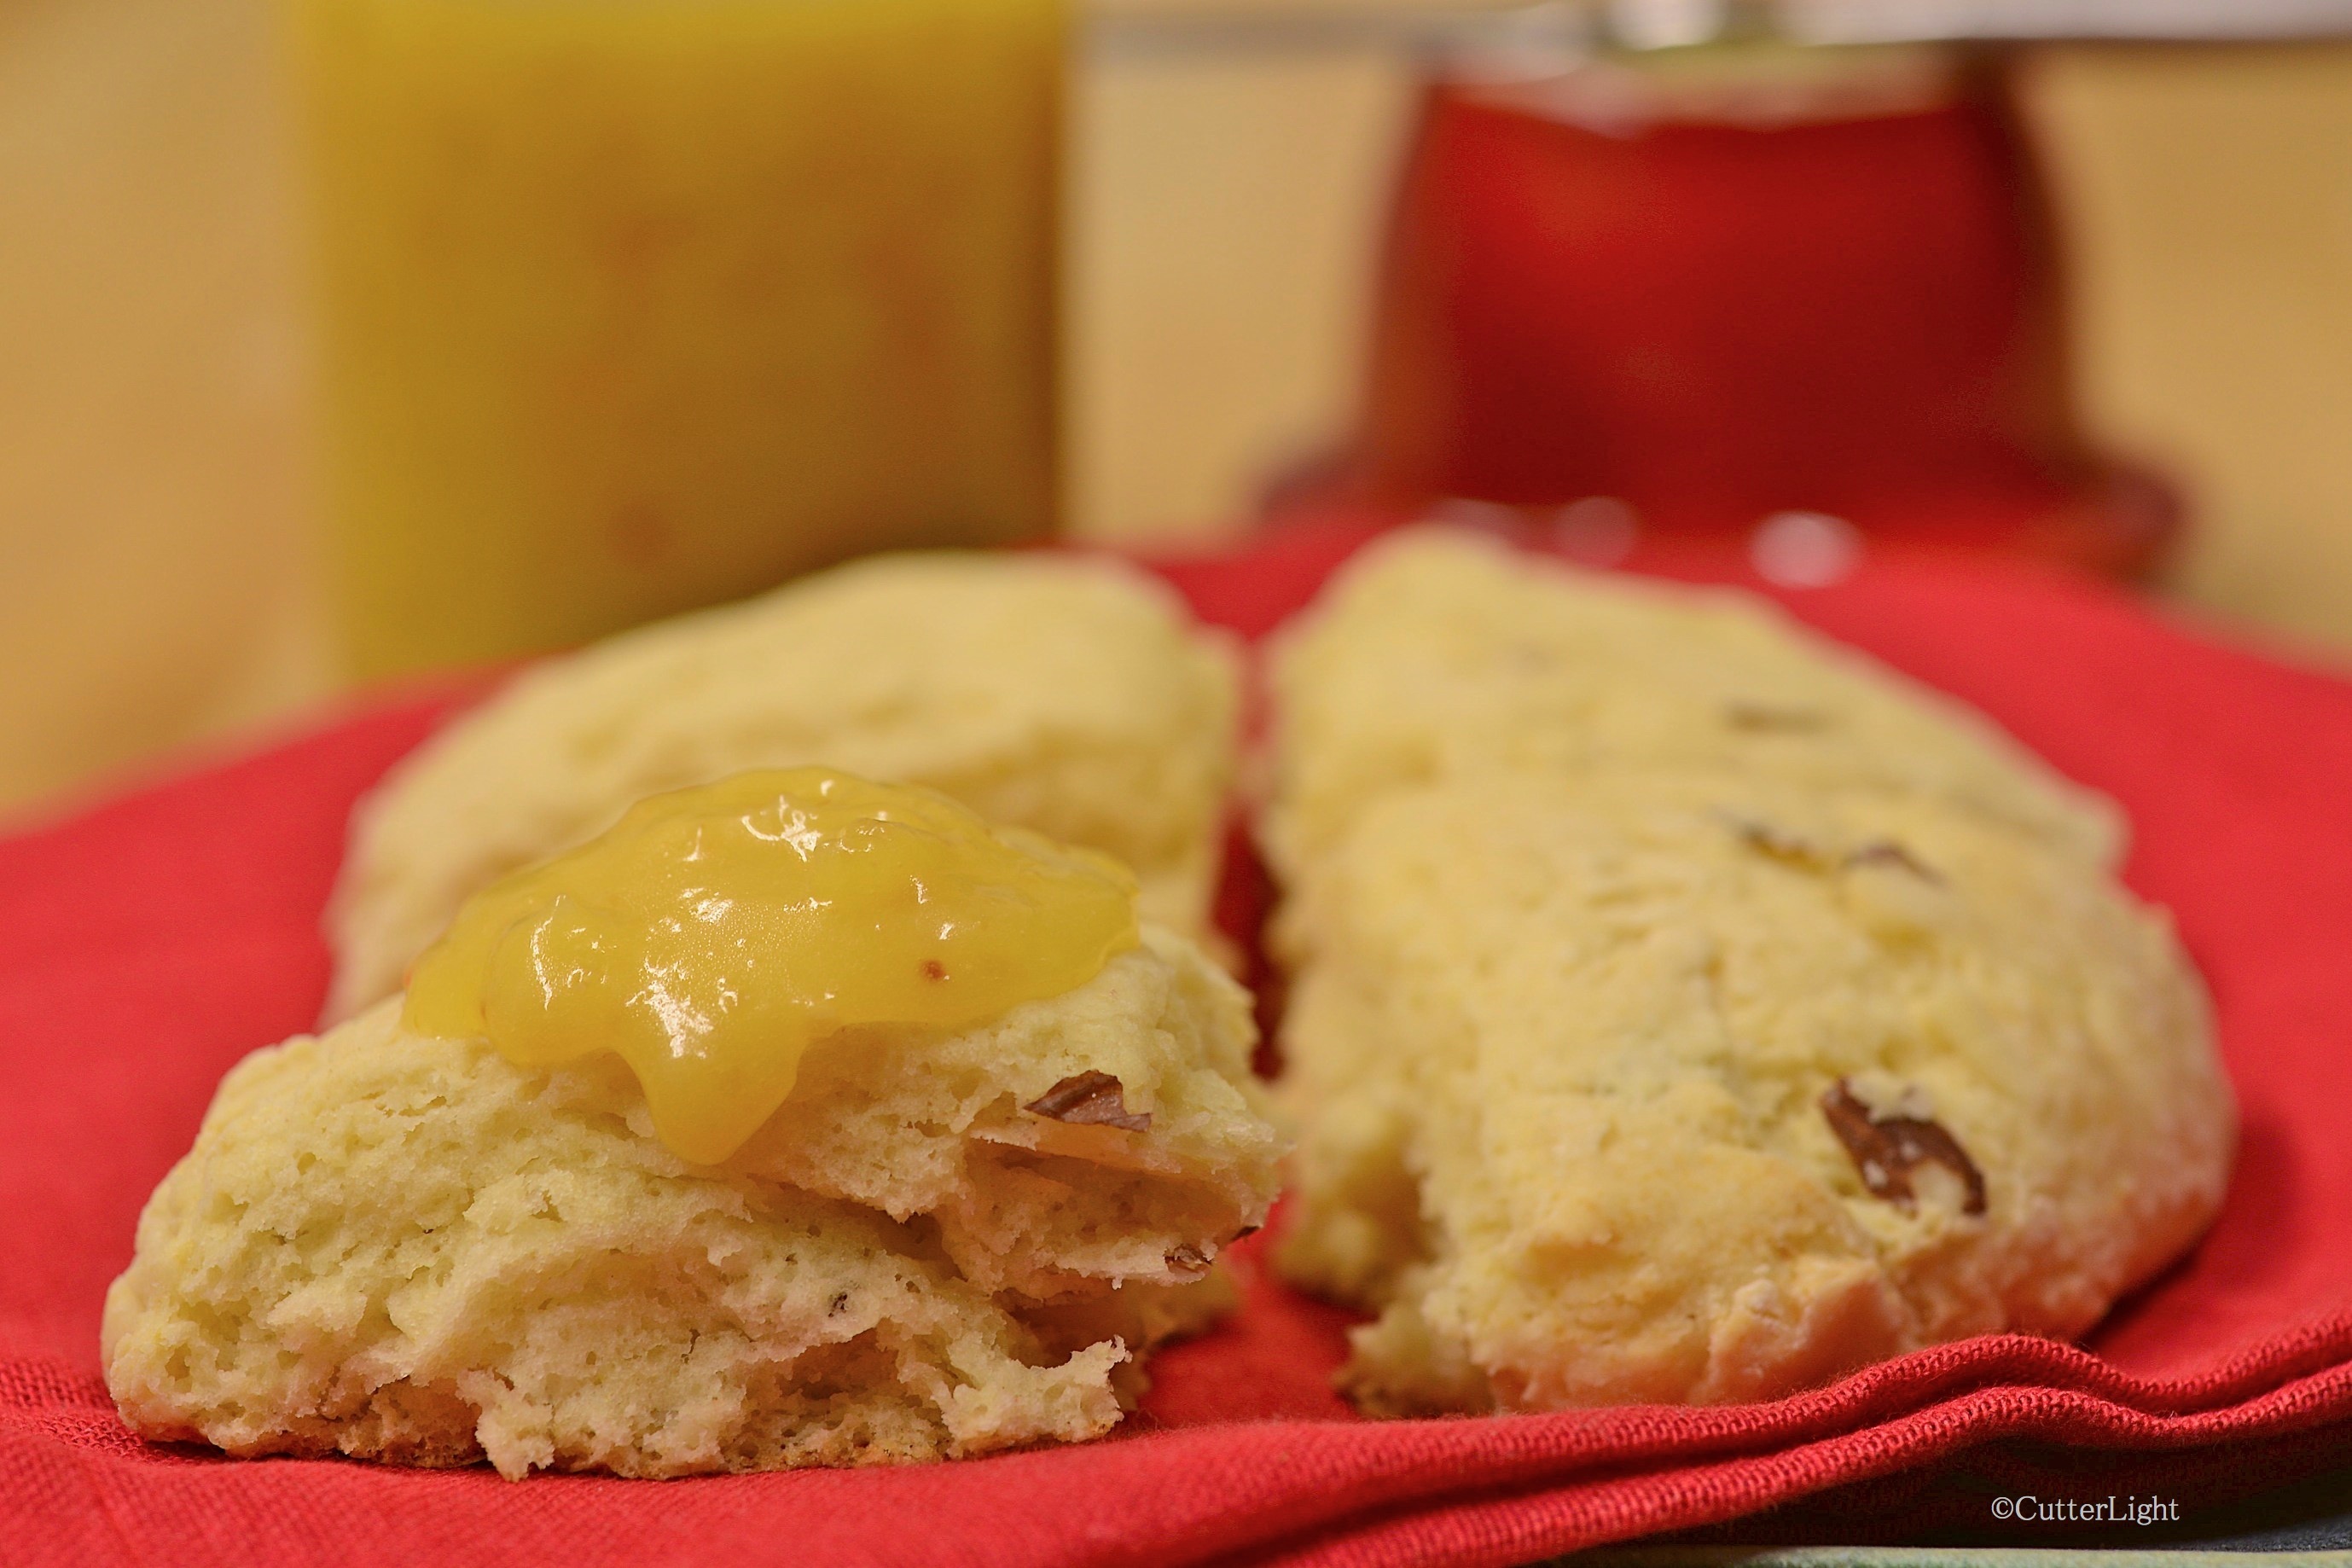
Up in Point Hope where our kitchen is much larger, our herb and  spice collection is far more extensive and includes a variety of extracts as well. We’ve discovered that even something as basic as salt can vary greatly from one type to another. For example, smoked sea salt can be the “secret ingredient” that makes a stew, soup or chili stand out. And if you haven’t tried grey sea salt on fish, you’re in for a pleasant surprise when you do. It’s usually packaged coarse or slightly coarse, but it’s  damp, so don’t be tempted to put it in a grinding mill. Use it in its coarse form. Also called Celtic sea salt or sel gris, this mineral-rich salt from the Brittany region of France  is especially nice on broiled salmon. Like many others in this food-appreciating time we live in, we’ve come a long way from the days when Morton’s Iodized  was the only salt in our kitchen.

Another change we’ve been making is a gradual shift away from prepared spice and herb blends toward our own hand-crafted blends. We keep our old bottles of blends like Northwoods Fire, Southwest Seasoning, Italian Seasoning, Curry Seasoning and so forth, but these days those bottles are filled with similar-but-unique creations. The modifications we make to the original recipes have resulted in blends we are really pleased with, and it’s satisfying to grind and mix our own chili-pepper-based rubs. Carefully considering the ingredients that go into these blends has led us to a fuller understanding of herbs and spices.

This past year our “great discovery” was Penzeys Spices’ whole smoked chipotle chili peppers. Ground with our immersion blender as we need them, these peppers add a rich, smokey heat to chili, squash soups, cloudberry or raspberry chipotle sauce, and chicken noodle soup. Blended into a rub, smoked chipotle’s add another dimension to broiled halibut, salmon, moose or pork. 

The spice we’re most anticipating using in the coming year is high-grade Kashmir Mogra saffron. We’ve been using Spanish Coupé  which is very nice, but we’ve been wondering if the higher quality Kashmir Mogra is worth it. We’ll let you know what we conclude this fall.

Less than two weeks till we’re back aboard Bandon in Seward!

Whole Sheefish (or any fish) Poached in Foil

sheefish whole poached in foil_n

A large fish poached and served whole makes for a dramatic presentation and a first-class dining experience. You don’t need a fancy fish poacher to pull this off. Aluminum foil works beautifully in the galley, on the grill, over a campfire, or in the kitchen. Here are the basics. 

Sheefish whole poach_n

This past winter, we’ve been dining on sheefish (inconnu) in the six-to-eight-pound class. Measuring 25 – 30 inches, these fish of the far north are just small enough to fit into our oven and serve whole. Because sheefish is bony and not easily filleted, they are well-suited to this cooking method; when served, the meat comes easily off the bones. With firm white meat in large, sweet, flakey chunks, sheefish are comparable to striped bass, European seabass, Japanese seabass (suzuki) and similar fish. Here in Alaska, foil poaching works beautifully with salmon, rockfish, char and small halibut.

Poaching and steaming recipes need not be complicated. Although we generally start with a court bouillon or dashi and add Chardonnay when we have it, equal parts of water and Chardonnay alone make a perfectly acceptable basic poaching stock. No wine on hand? A little water – enough to keep the fish bathed in steam – is sufficient. Anything else is a matter of taste. We’ve found it difficult to improve on a combination of sea salt, freshly cracked pepper, lemon, butter and bacon. Olive oil makes a good substitution for butter and bacon.

One of the beautiful things about this recipe is that the ingredients can be prepared beforehand so that they’re ready for a shore lunch or camp dinner to celebrate a special catch.

Incidentally, wakame (dried kelp) and dried bonito flakes are an ideal base for fish stock for campers and sailors. These ingredients are light, easy to store, and last indefinitely. This dashi-style stock can be enhanced with salt, soy sauce, white wine, sherry or sake.sheefish

See more of Detlef Buettner’s beautiful art at: http://home.gci.net/~lifesize.fish/salmonids.htm

Poached fish is an excellent meal to serve with freshly baked French bread or sourdough bread. We and our guests enjoyed the above sheefish served on saffron rice cooked in a clam juice broth, spooning the poaching broth onto our rice and fish.

Ingredients:

  • 1 whole fish, scaled, gutted, gilled, rinsed off and patted dry.
  • aluminum foil sufficient to entirely wrap around the fish. We double wrap to prevent leaking.
  • poaching/steaming liquid – approximately 1/3 cup per pound of fish. (About 2 1/2 cups for an 8-pound fish.) See below for easy poaching liquid recipe.
  • 1 tbsp butter per pound of fish. (An 8-pound fish takes 1 stick of butter.)
  • very thin slices of lemon to cover one side of fish
  • strips of bacon to cover one side of fish. (about 5 strips for an 8-pound fish)
  • lemon juice to rinse stomach cavity – approximately 2 tbsp for an 8-pound fish
  • sea salt and freshly cracked pepper to rub into cavity and both sides of fish – approximately 2 – 3 tbsp sea salt for an 8-pound fish

Directions:

  1. Place large baking sheet in oven and preheat to 450 °F.
  2. Arrange aluminum foil on flat surface. Thoroughly coat foil with butter where fish will be placed.
  3. Rub lemon juice into fish’s stomach cavity. 
  4. Use a very sharp knife to make shallow diagonal slashes spaced about 1 inch apart from the head of the fish to the tail. Do this on both sides.
  5. Rub salt and pepper mixture onto both sides of fish and into cavity.
  6. Place fish onto buttered foil.
  7. Rub butter into fish’s cavity. Rub remaining butter on top side of fish.
  8. Arrange lemon slices on top side of fish.
  9. Arrange bacon slices atop fish.
  10. Pour poaching liquid along the sides of fish, taking care not to rinse the off the top of the fish.
  11. Close foil around fish and place on baking sheet (or on grill, etc.) Cook until a few dorsal fin rays can be easily pulled from fish. Total time will be approximately 5 – 6 minutes per pound. An 8-pound fish will cook for 40 minutes.
  12. Note: We like to remove the bacon when the fish is finished cooking, crisp it up in a pan, and return the bacon to the top of the fish prior to serving. The bacon drippings can be drizzled atop the fish as well.

Poaching Liquid Recipe:

Ingredients:

  • 3 cups water
  • 5 inch square of wakame (dried kelp – available in Asian grocers.)
  • 5 grams (0.17 ounces) dried bonito flakes
  • 1/4 teaspoon sea salt (or 1/2 teaspoon soy sauce)
  • 1 tbsp miso paste (optional)
  • Optional: replace 1/2 cup water with white wine or sake

Directions:

  1. Place water in pan and heat over high heat. Add wakame and salt, stir occasionally and continue heating but do not boil.
  2. When Wakame is soft, add bonito flakes. Cook briefly in steaming water and stir gently. Do not boil.
  3. Pour mixture through wire strainer into pan or bowl.
  4. If desired, return strained soup to low heat and stir in miso paste till dissolved.

Chocolate Pots for Two

Chocolate Pots for Two_n

Creamy dark chocolate pots with an almond essence are an elegant dessert, perfect for two.

Our holiday guest has left and we are back to just the two of us in our home in the Arctic. I like to scale down recipes so that Jack and I can enjoy freshly made sweets without having too many around to tempt us. These chocolate pots are rich and delicious, and half-cup servings provided a gourmet finish to a meal of caribou stroganoff. While I flavored these with a hint of almond, adding orange zest, a sprig of mint, or a very thin curl of lime peel would be among numerous other delectable variations. We topped the pots with a chocolate covered pomegranate.

Chocolate Pots

Ingredients: (For two 1/2 cup servings)

  • 1/2 cup semi-sweet chocolate chips
  • 1 tbsp granulated sugar
  • 1/3 cup heavy cream
  • 2 egg yolks
  • 1 tsp vanilla extract
  • 1 tsp almond extract

Directions

  1. Place chocolate chips, sugar and cream in a small pot.
  2. Heat chocolate mixture over low heat. Stir continuously until mixture is smooth. Turn off heat.
  3. Whisk yolks and extracts in a small bowl.
  4. Slowly pour half of the melted chocolate mixture into egg yolks while whisking to temper eggs.
  5. Pour egg mixture back into small pot.
  6. Heat pot over low heat while stirring continuously for 3 – 5 minutes. Mixture should thicken slightly.
  7. Pour chocolate into two decorative ramekins.
  8. Let chill in refrigerator uncovered. Serve fully chilled and topped with something fun – a candied nut or a chocolate covered espresso bean.