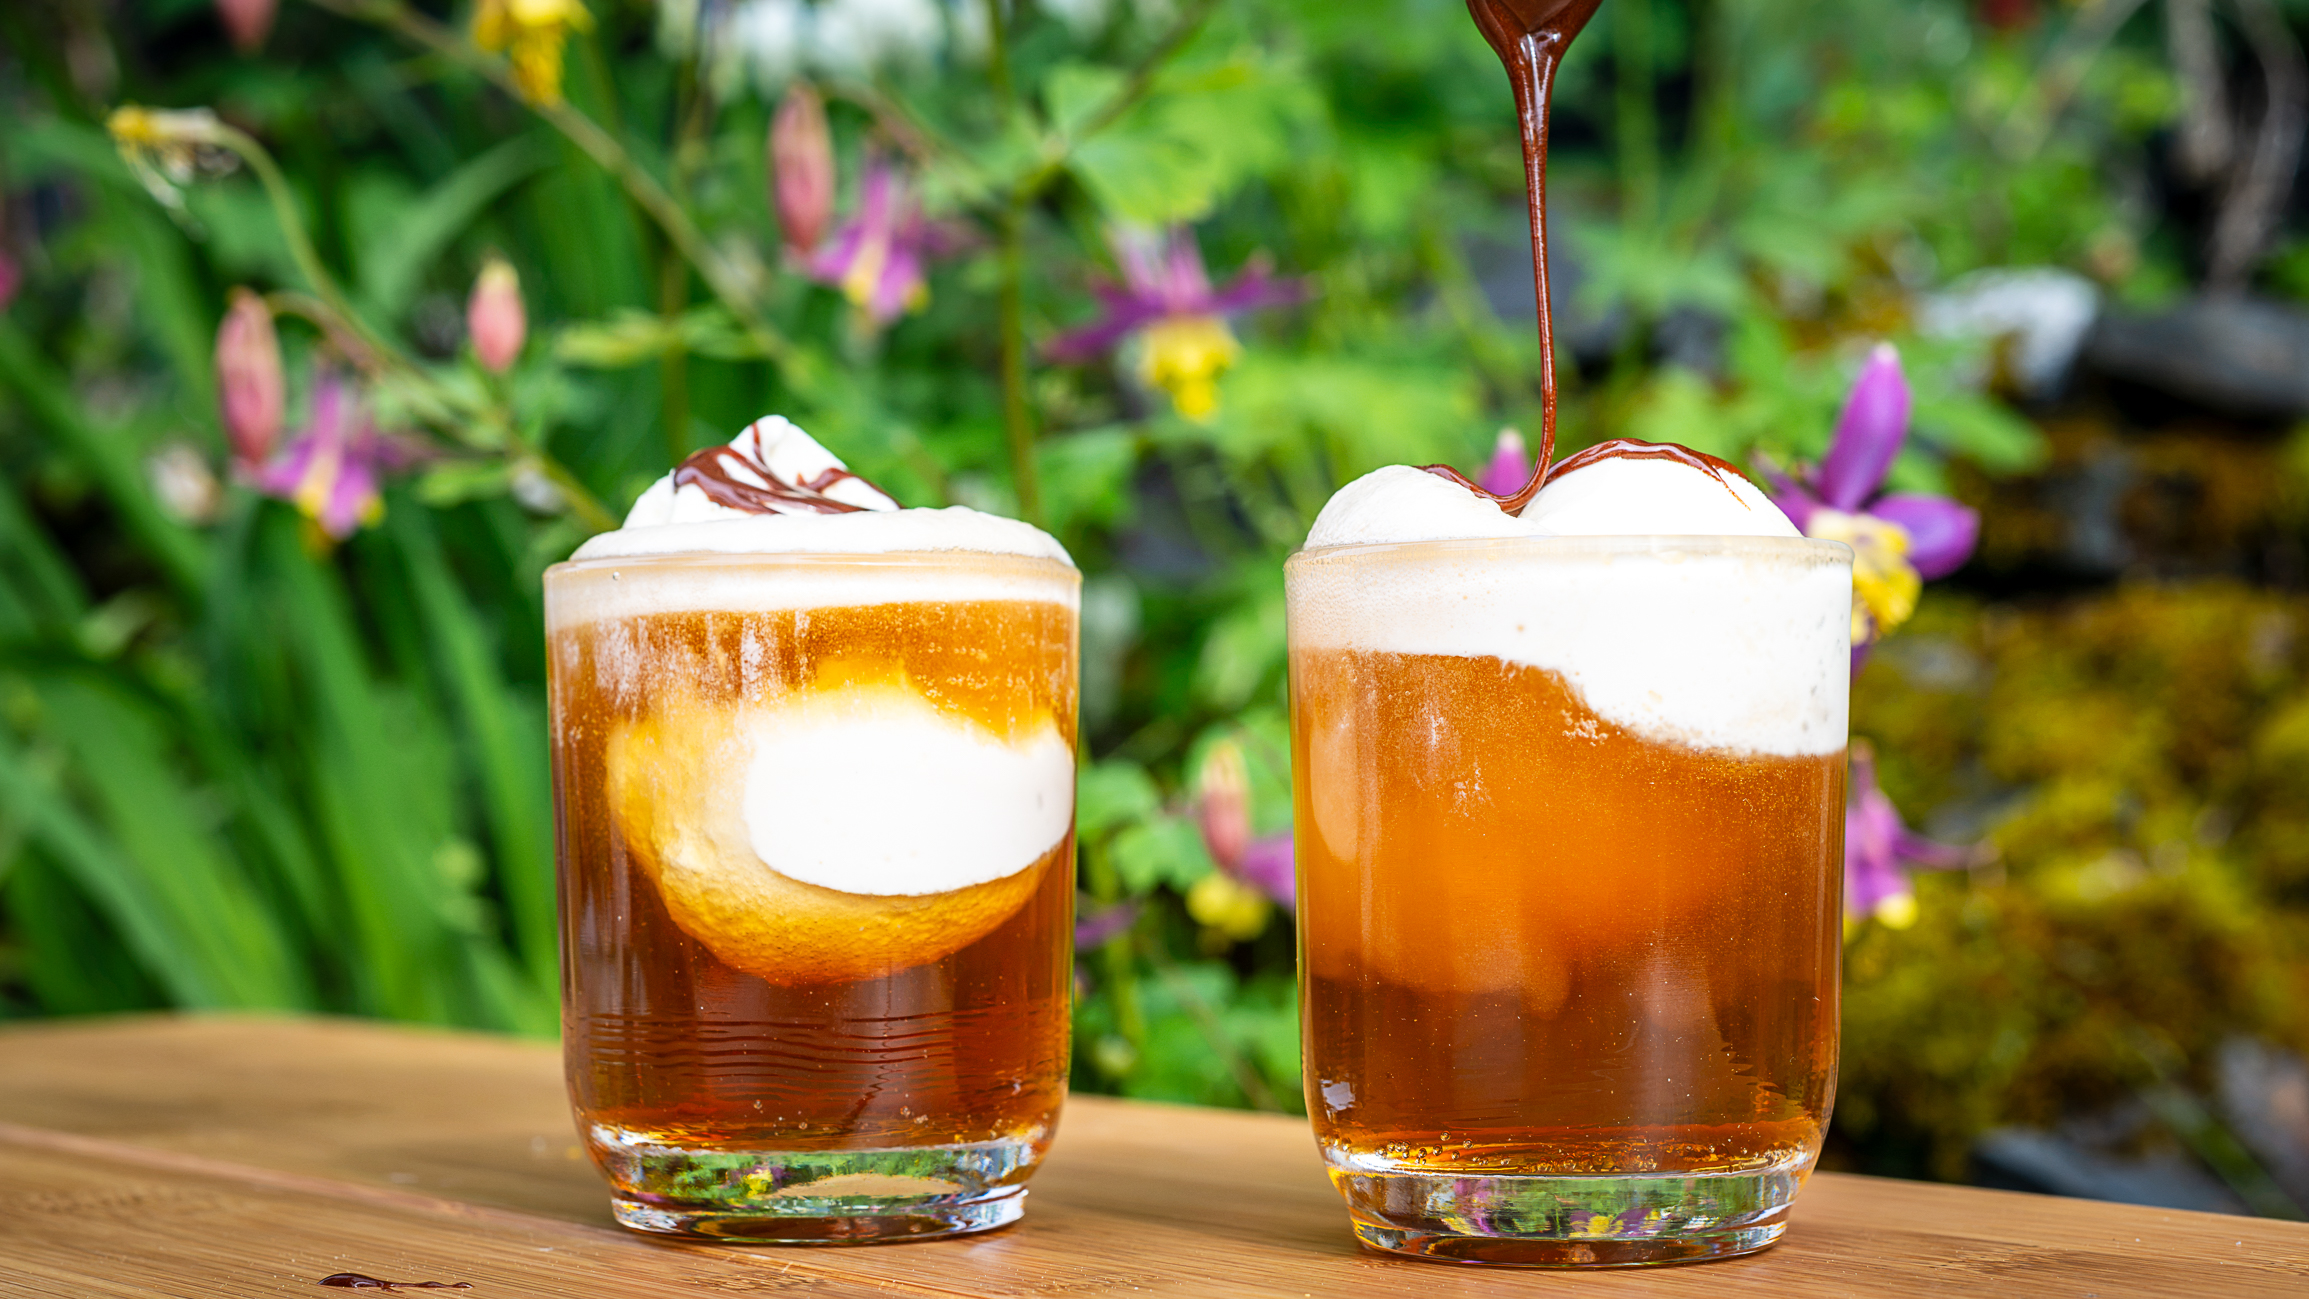
A new Alaskan favorite – Spruce Tip Syrup Floats
Growing up in Clarion, Pennsylvania, there was one, and only one, place I knew of where I could find my favorite pop – birch beer. Lighter, less sweet and crisper than its more popular root beer cousin, birch beer was the lure that made accompanying my mom to the downtown laundromat worthwhile in those days before our household owned a modern washer and dryer. Unfortunately, by the time I was old enough to go into town on my own, the laundromat had been torn down and replaced by a gas station. The birch beer, too, was gone. Thus a handful of decades passed before I’d have another taste of what I always remembered as the perfect pop.
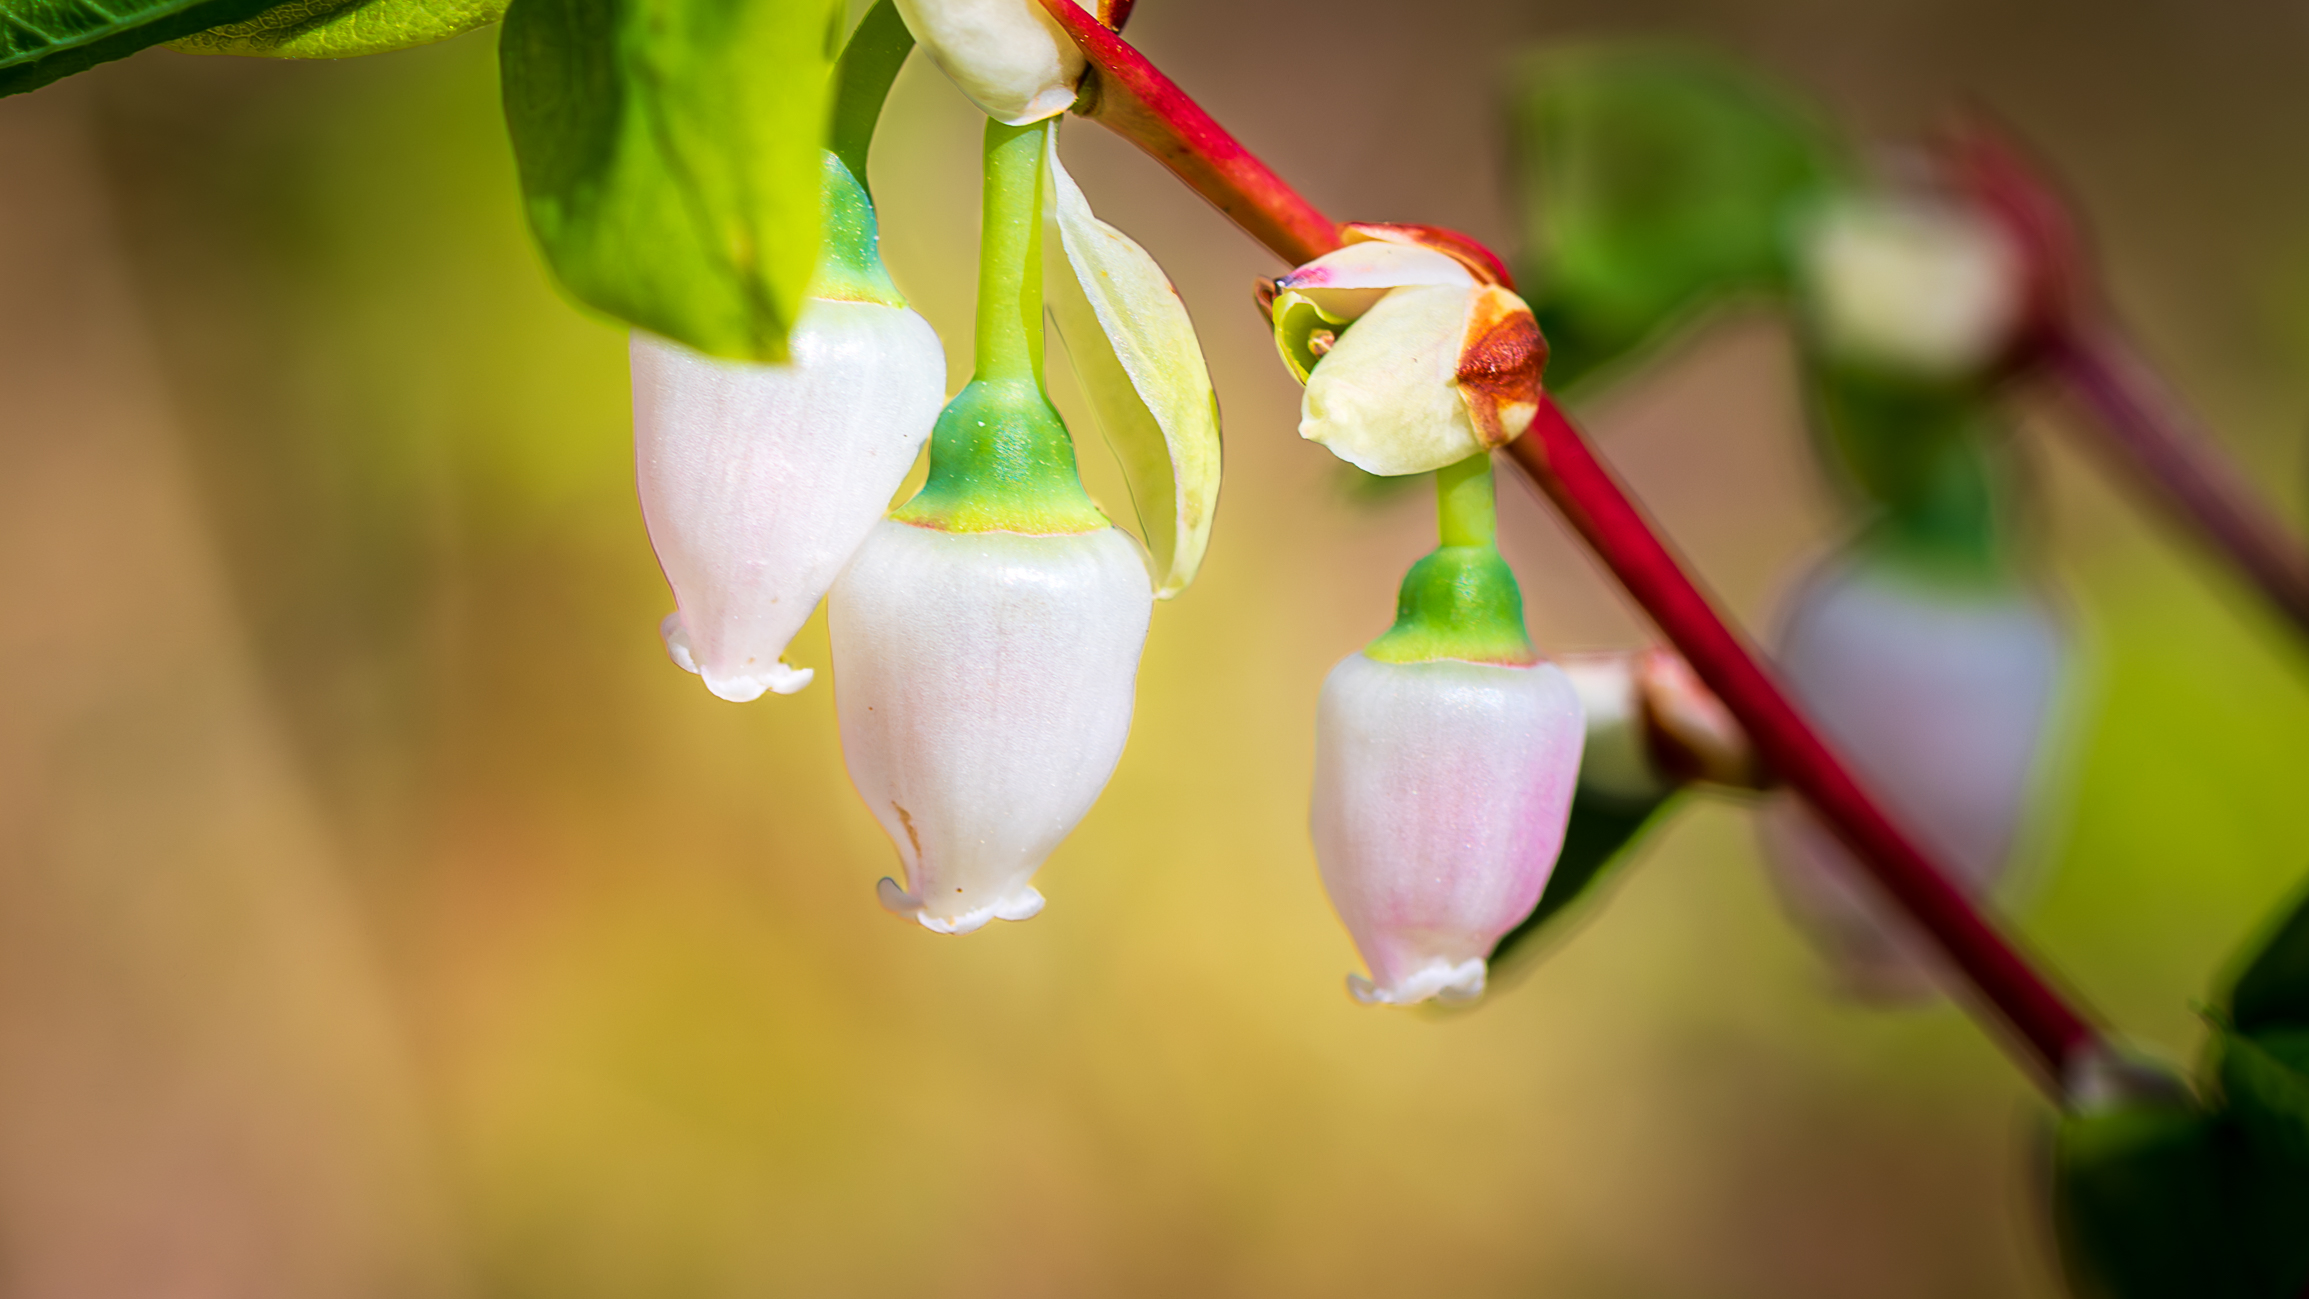
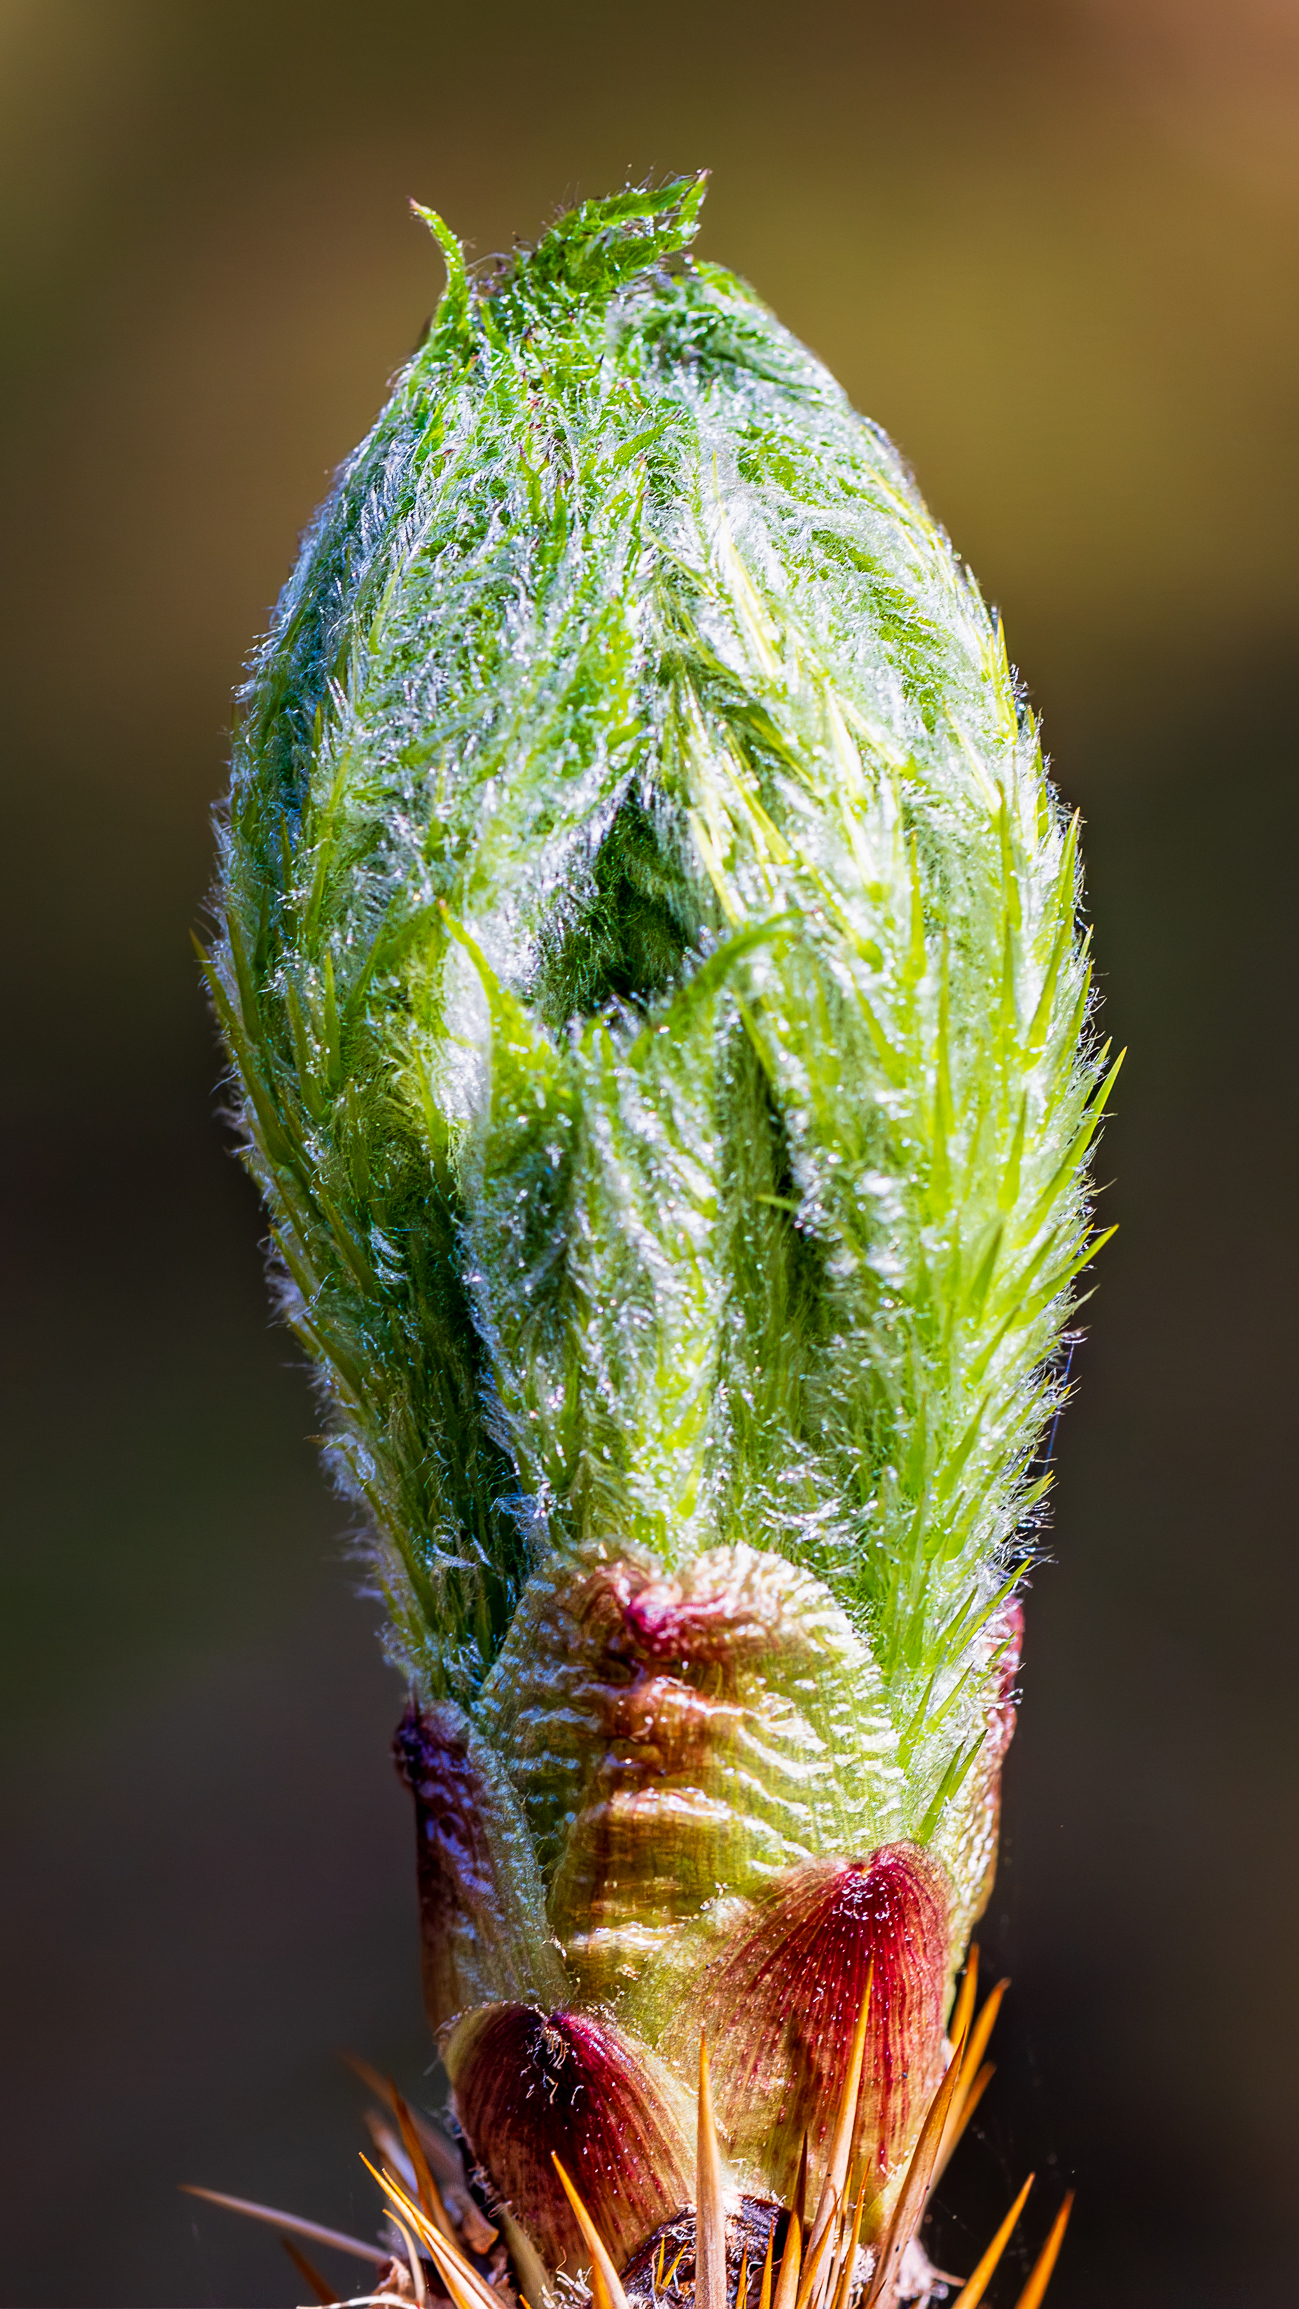
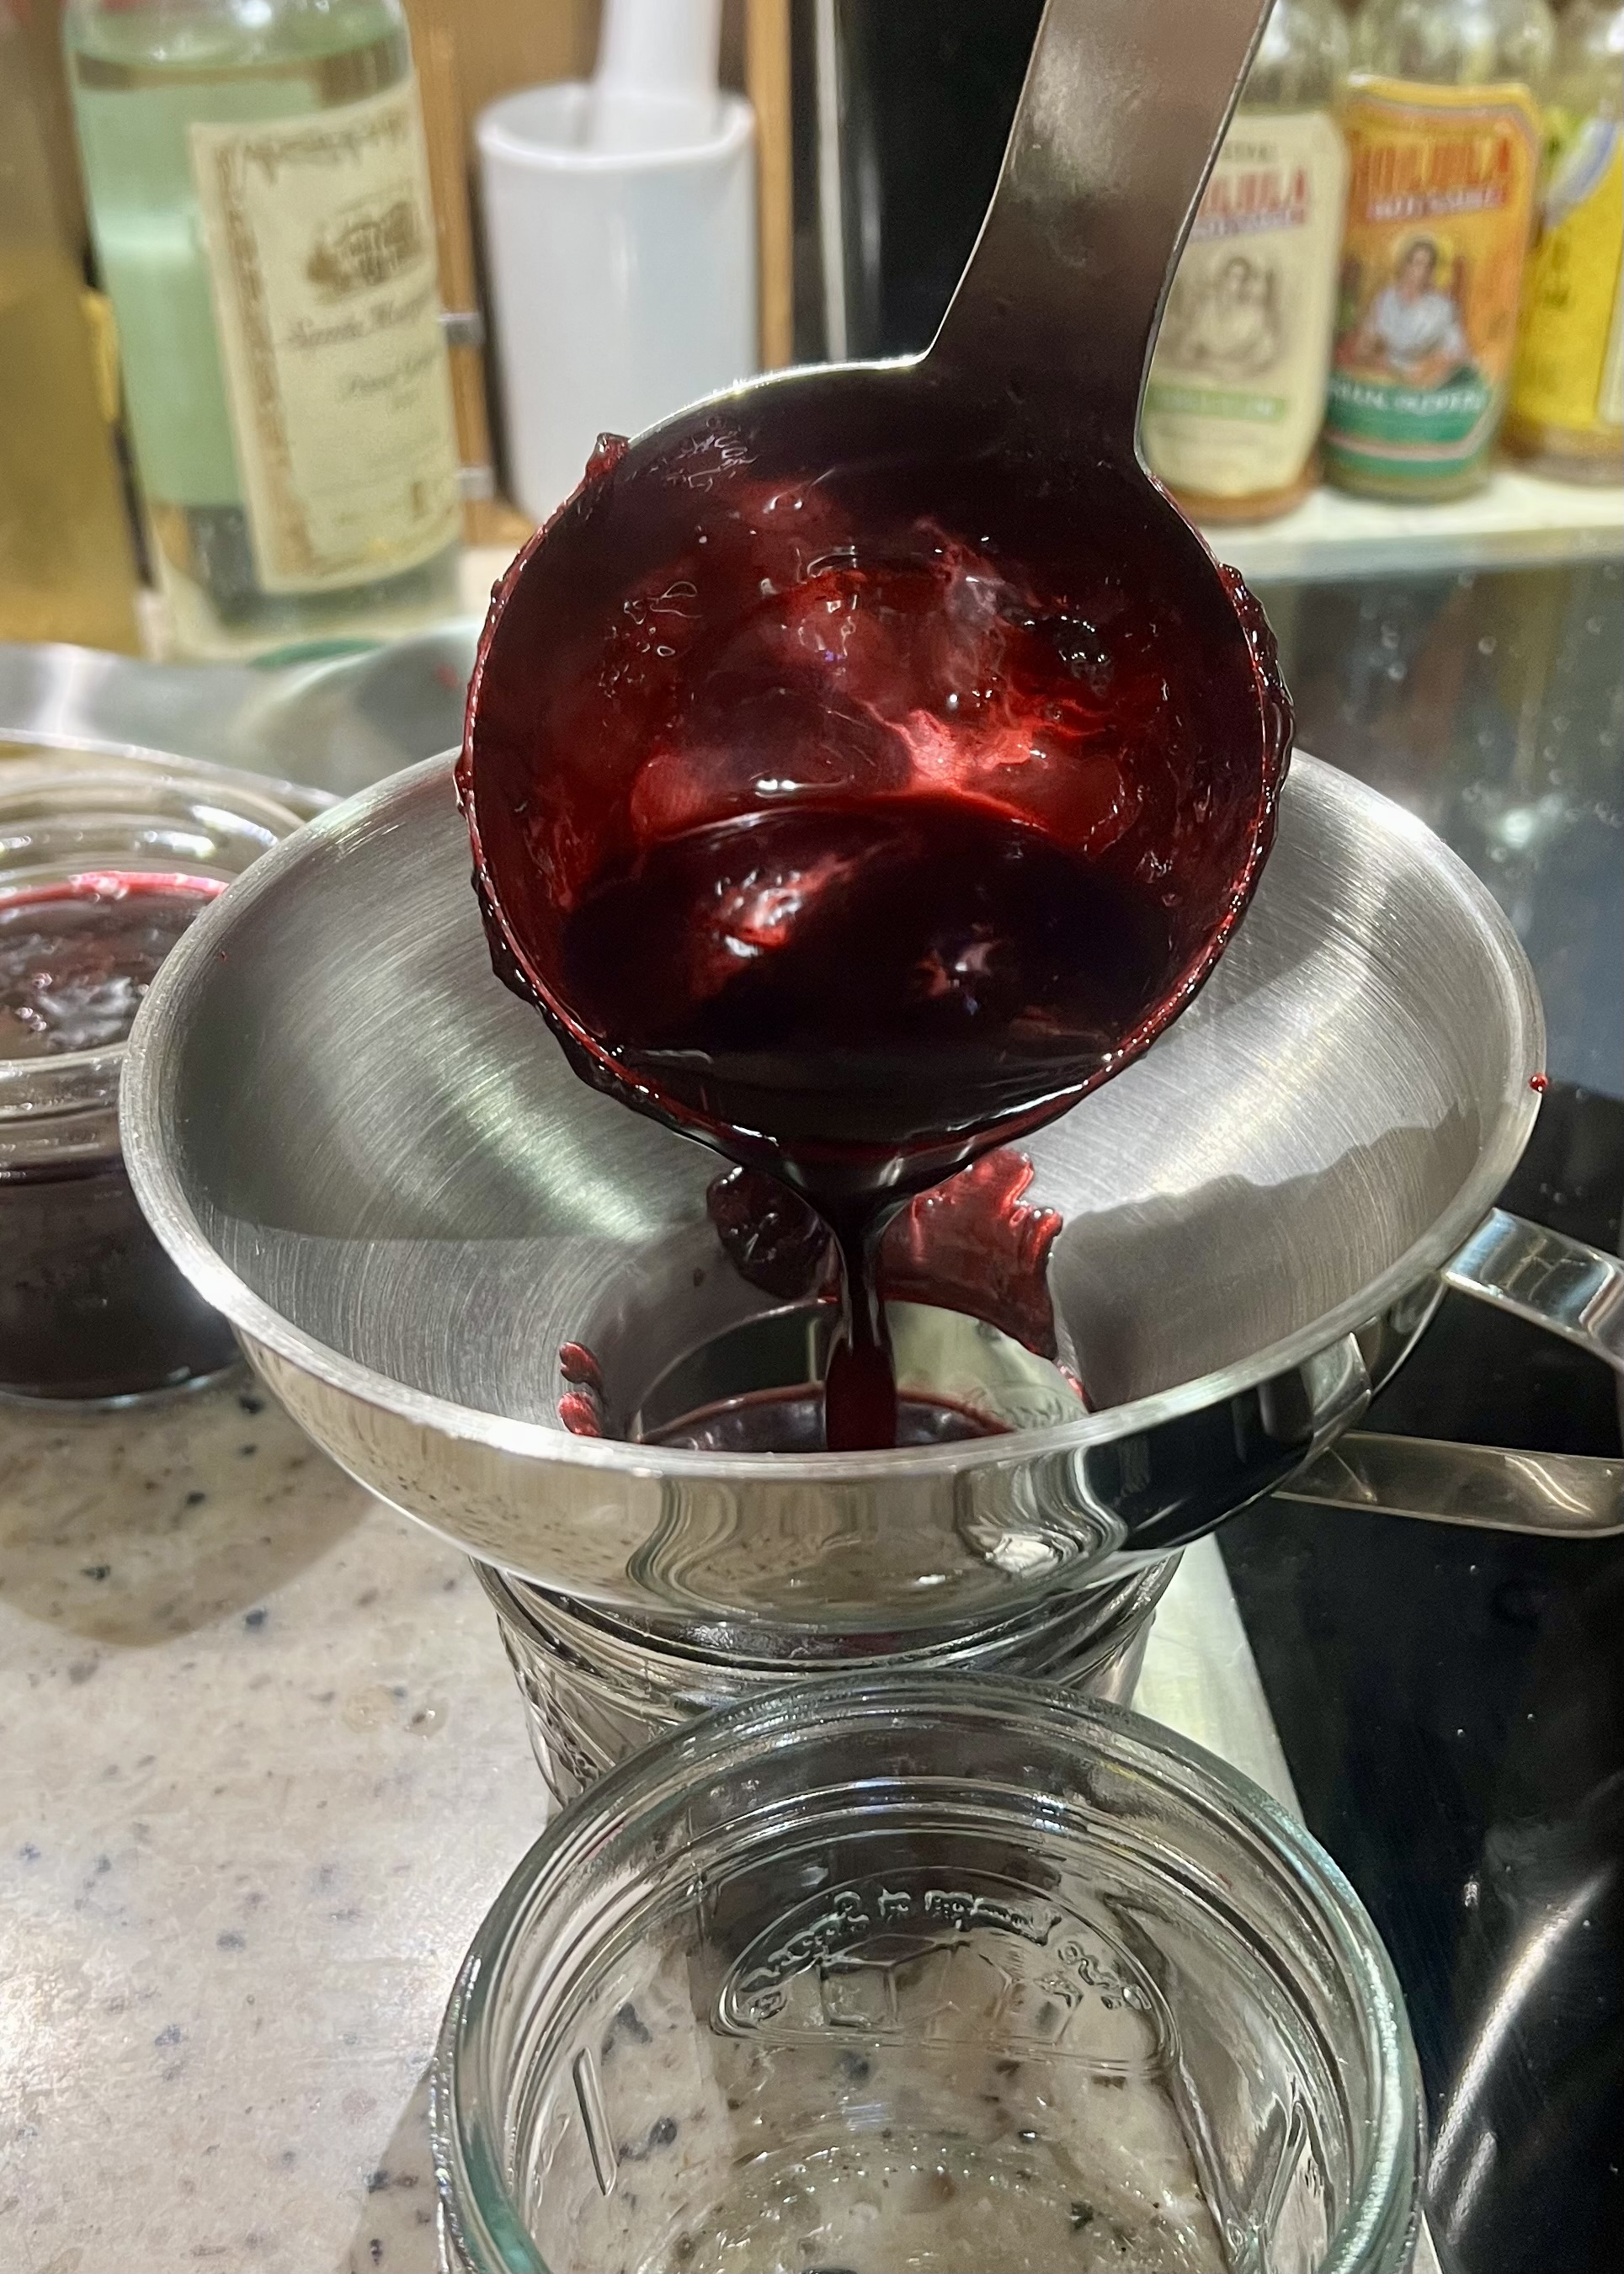
Four years ago while attending a food and writing retreat up here in Alaska, we were introduced to the practice of collecting spruce tips and processing them into syrup. While the uses for this syrup range from topping waffles, glazing grilled salmon fillets, drizzling atop warm brie, to adding a little je ne sais quoi to mixed drinks or a glass of beer, one of our favorite ways to use our syrup is to mix it with ice-cold sparkling water. In the right proportions, the beverage has a crispness reminiscent of birch beer with a subtle hint of lemon shining through where birch beer is a bit more minty.
I don’t know why it took us so long to stumble onto the idea of using the sparkling spruce tip beverage as the base for ice cream floats. But here it is: Spruce Tip Syrup Floats. Barbra added a drizzle of a caramel-fudge-spruce syrup topping she came up with, and on this July morning we served them in modestly-sized four-ounce glasses. Perfect!
We are often fascinated by the way foods run through our lives, linking past memories with present experiences. What is a food experience that brings a piece of your past into the present?
Leave a like and know that we appreciate comments! Join over 6,000 subscribers and thousands of regular readers from throughout the world as we continue to explore good food, adventures and Life Off The Beaten Path.