Purple Ball Basil is a strikingly beautiful, diminutive plant that is flourishing in my hydroponic garden. The leaves are not just lovely to look at, they pack more basil flavor than you might expect from such a small package.
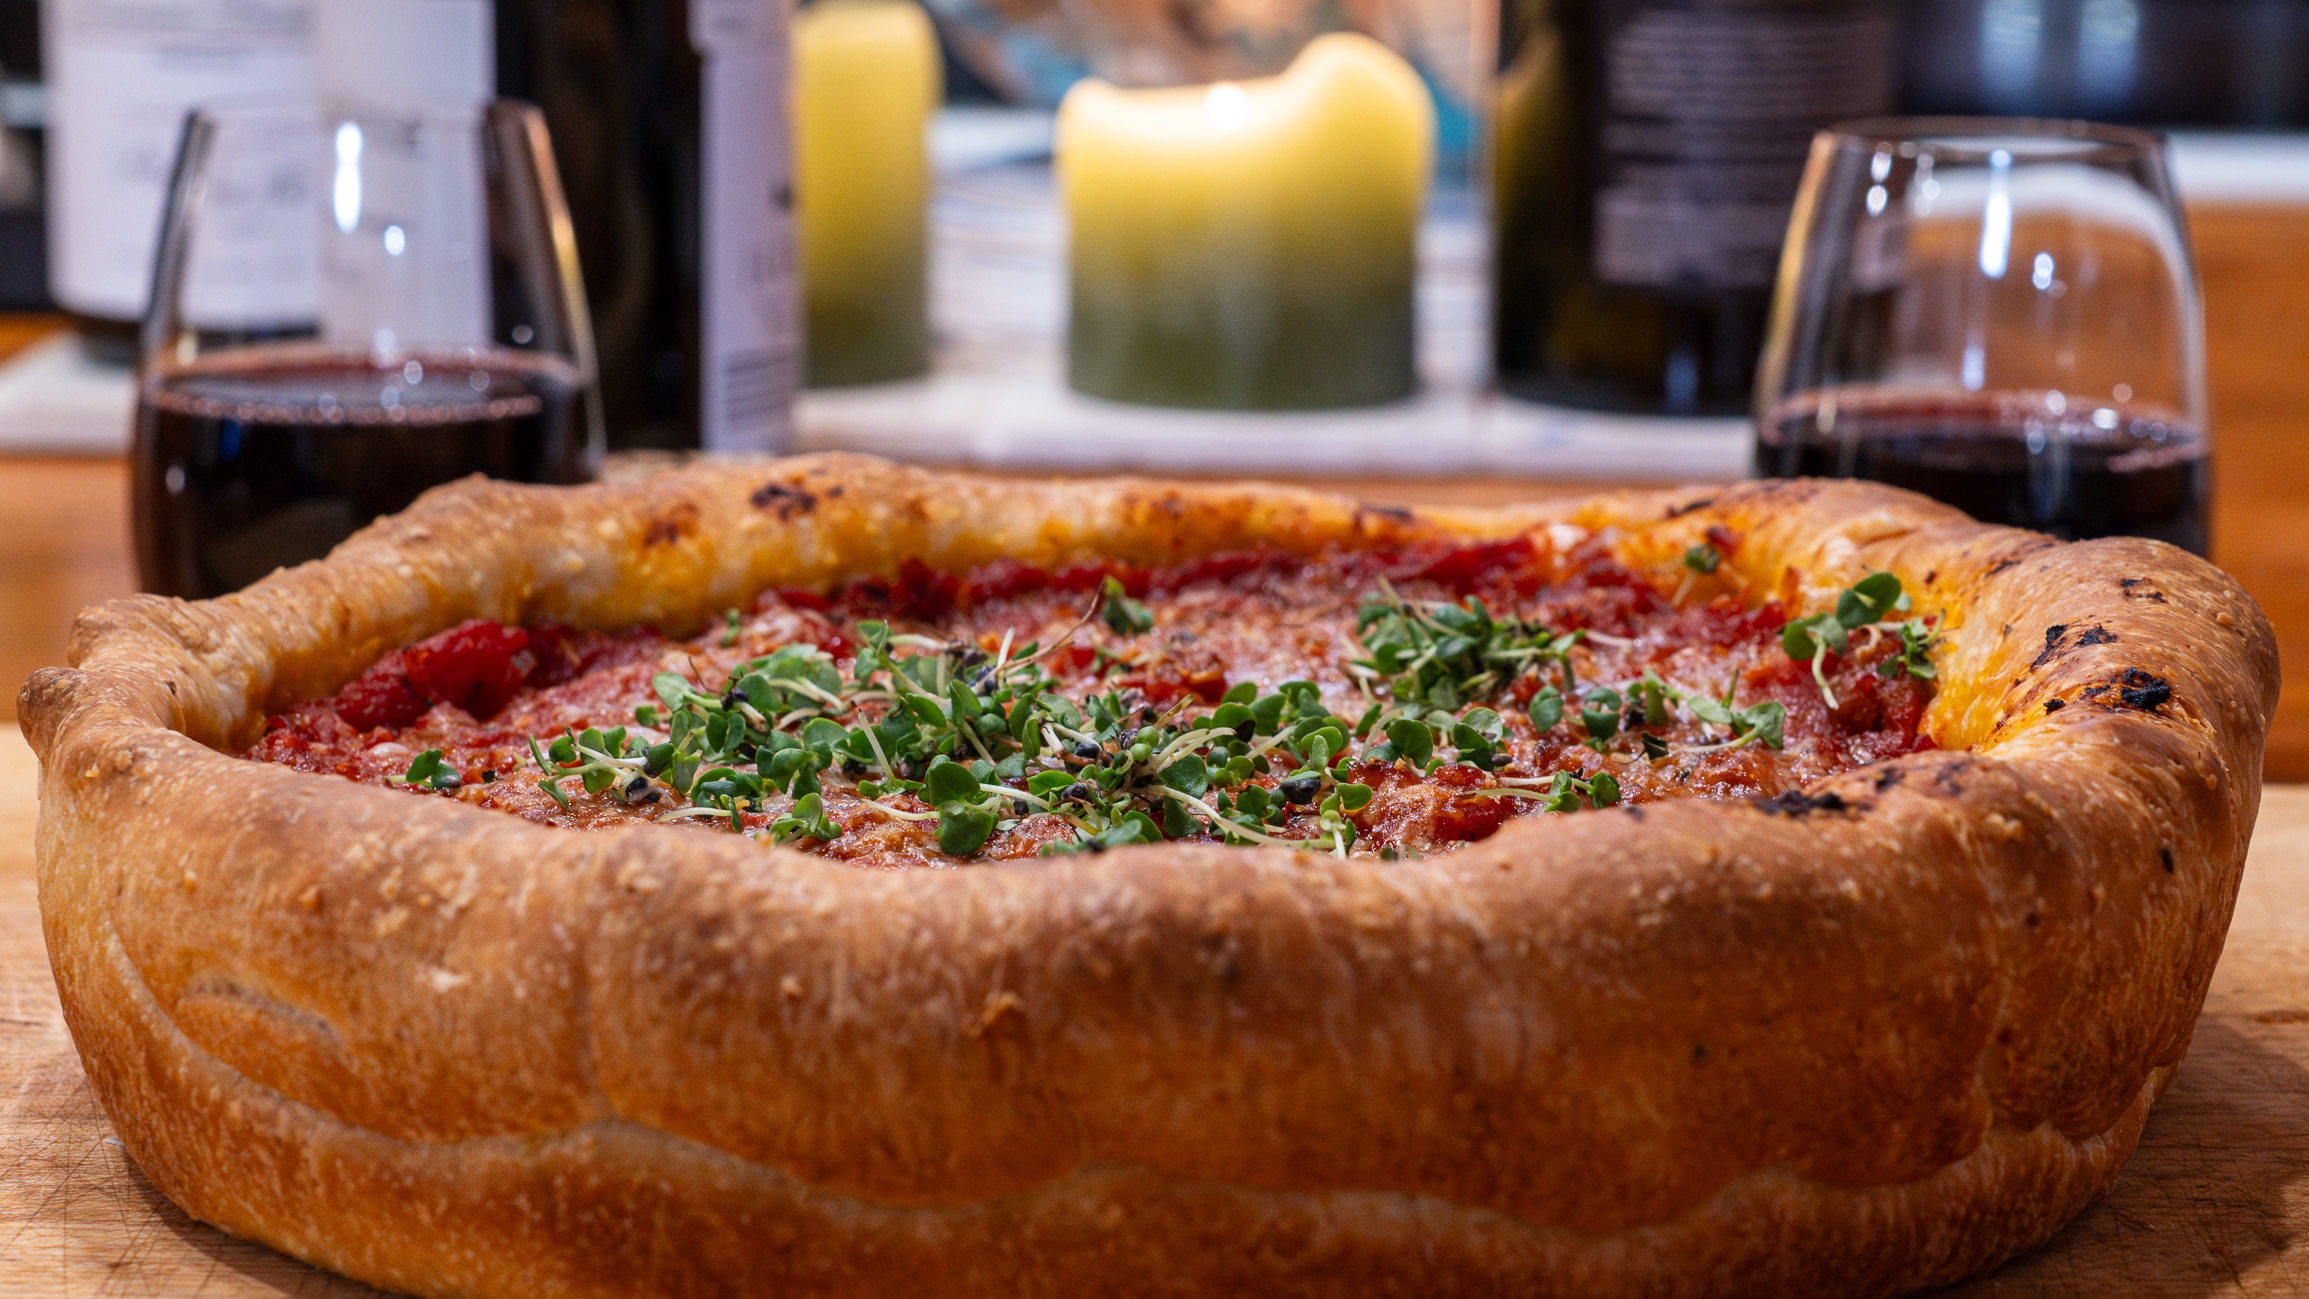
These festive little leaves have been a happy addition to our salads and pizzas. It got me wondering how they would hold up when cooked. Unfortunately, my first ideas resulted in flavorful but blackened leaves. But then I came across a video showing how to incorporate edible flower petals into laminated pasta. Ding! That should work, right? The tiny purple leaves are much like flower petals.

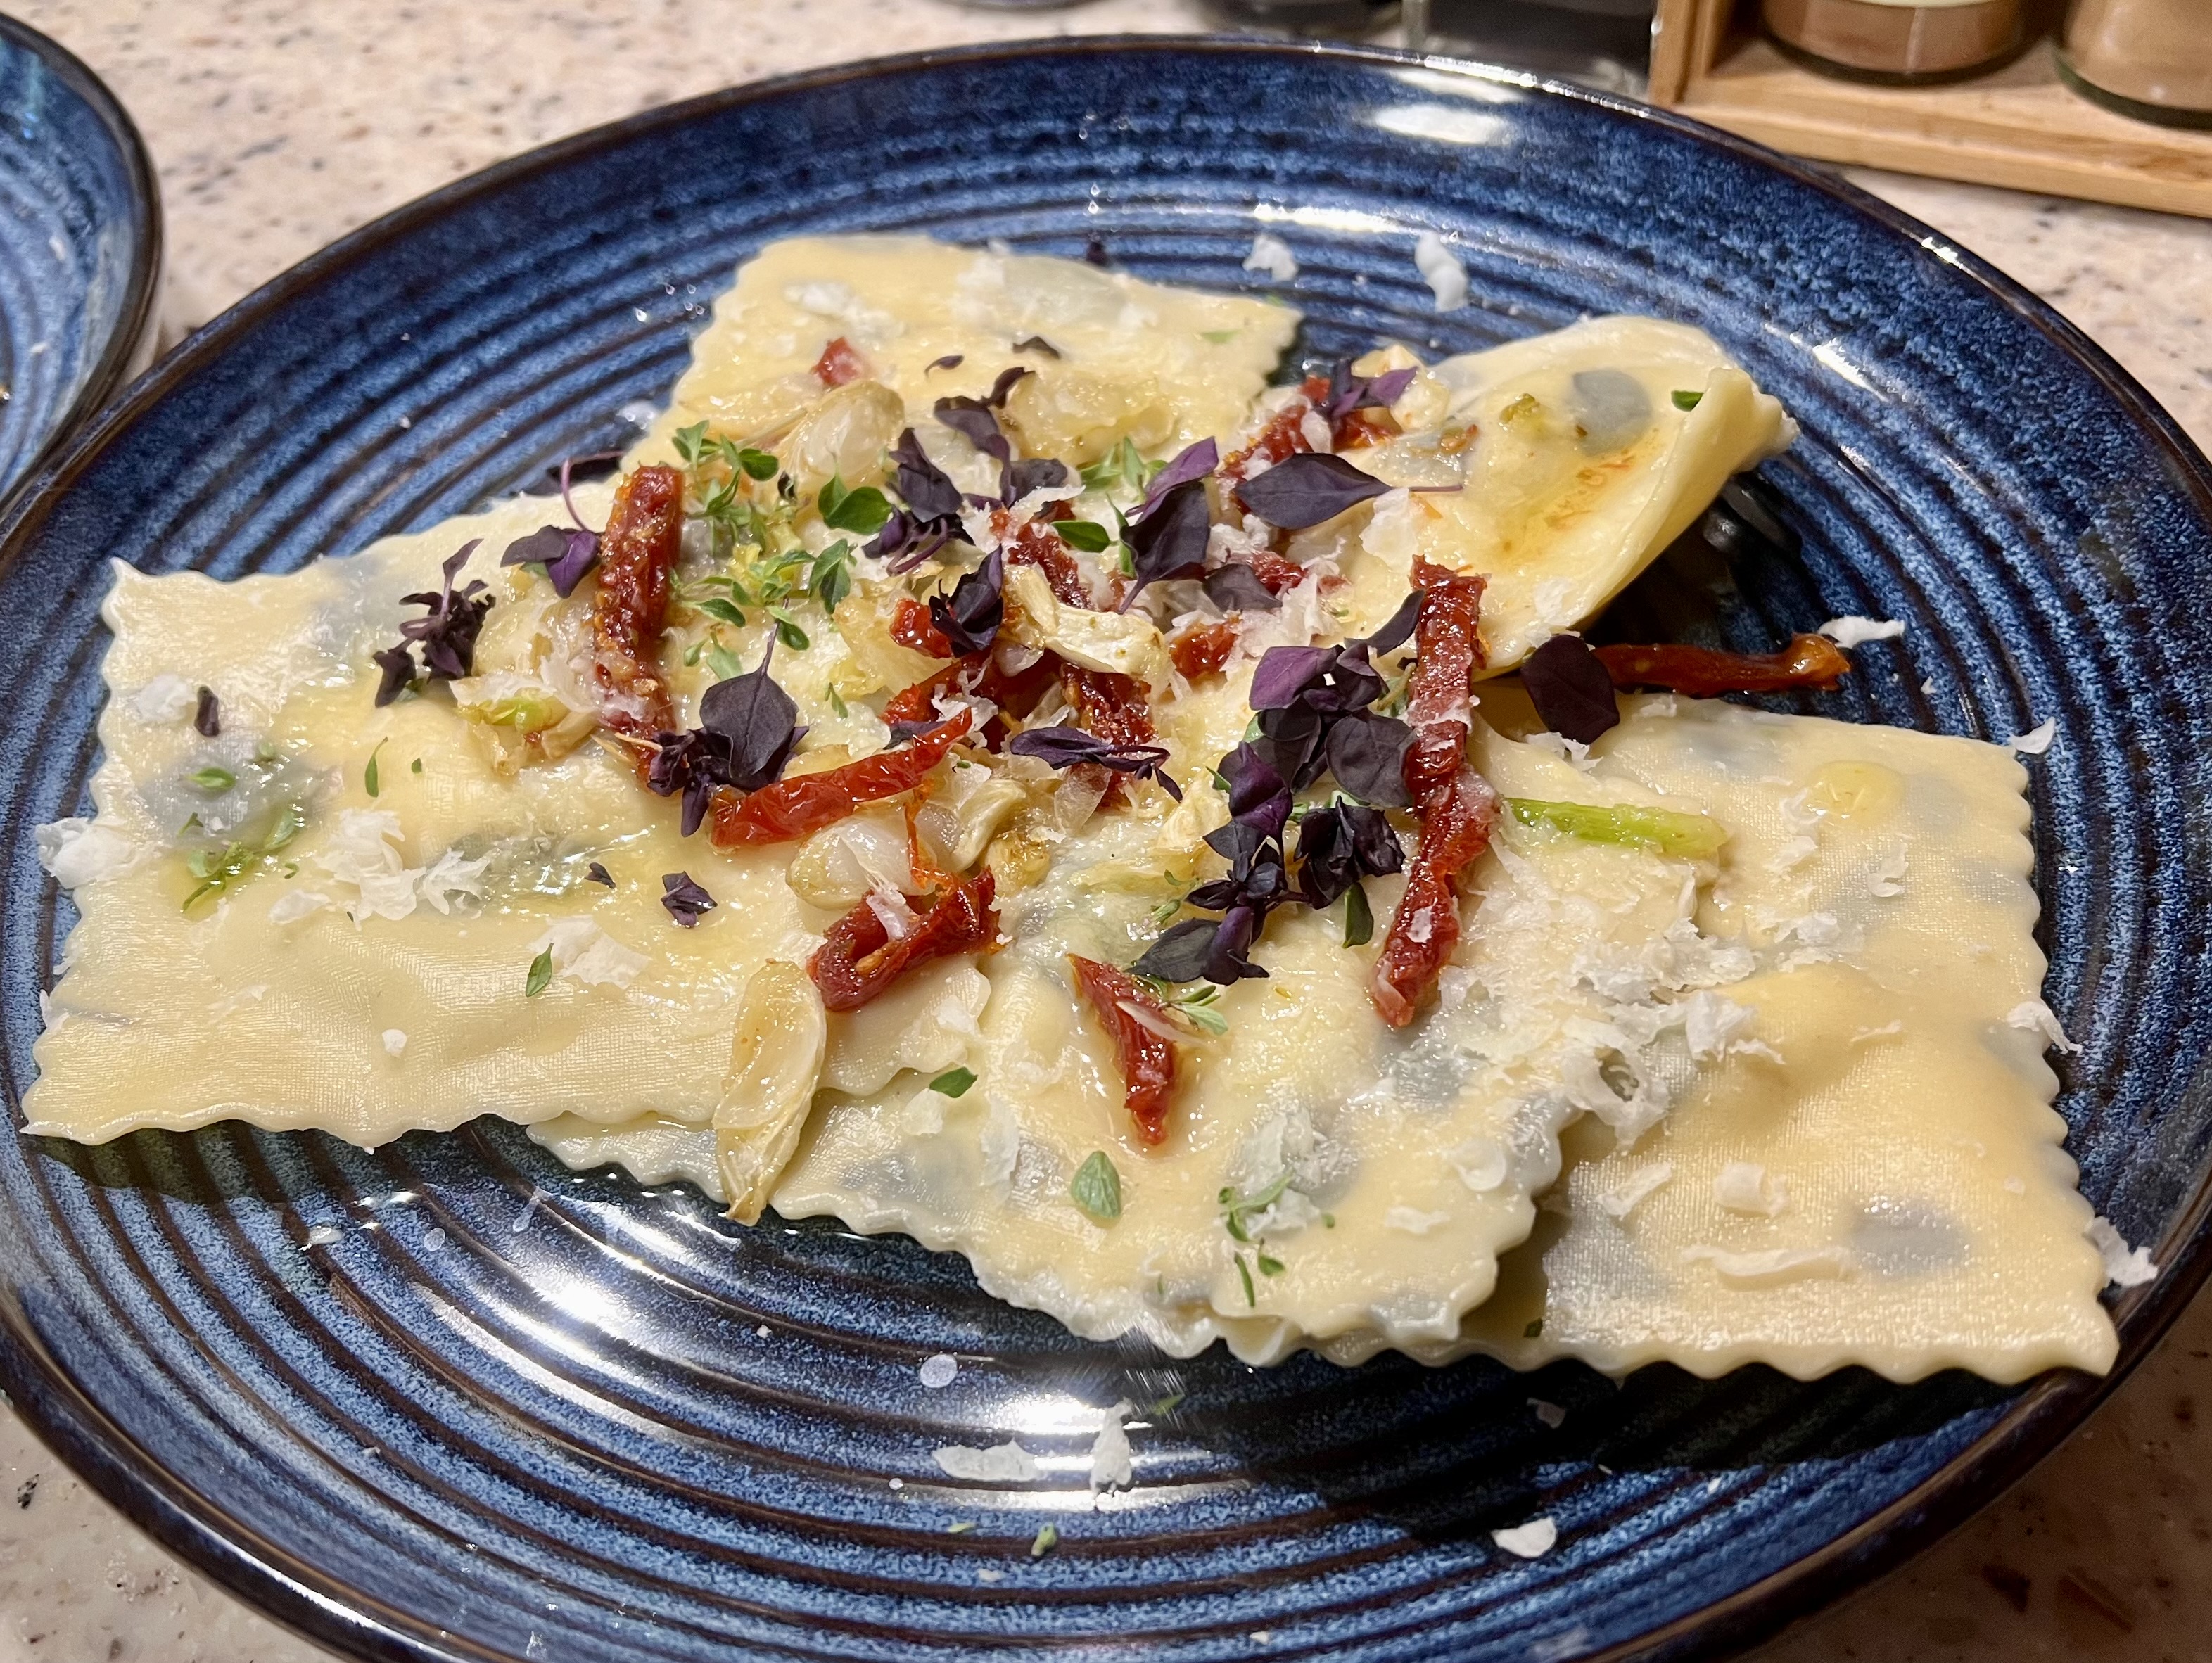
This pasta was a labor of inspired love. First I made and rolled two flat sheets of pasta. Then I spread purple basil leaves on the bottom layer and gently placed a second layer of pasta on top. I learned that a rolling pin was the best way to laminate the two layers. After the laminated sheets were complete, I proceeded to make ravioli as per usual. I laid down a sheet of pasta dough and added generous spoonfuls of a cheese mixture Jack had created. After covering this first sheet with a second sheet of laminated dough, I used a fluted pastry wheel to cut out individual ravioli. Because the finished ravioli has a total of four thin layers of pasta, it does take a little longer to cook – five minutes instead of three. Since this ravioli is so pleasing to look at and has a unique flavor I wanted to keep the finish simple. We served it with a light dressing of sautéed garlic, olive oil, sun-dried tomatoes and sea salt. I finished the dish with fresh purple ball basil and a bit of fresh thyme. We felt like we were eating art!
What would you do with these beautiful, tasty leaves?
Leave a like and know that we appreciate comments! Join over 6,000 subscribers and thousands of regular readers from throughout the world as we continue to explore good food, adventures and Life Off The Beaten Path.