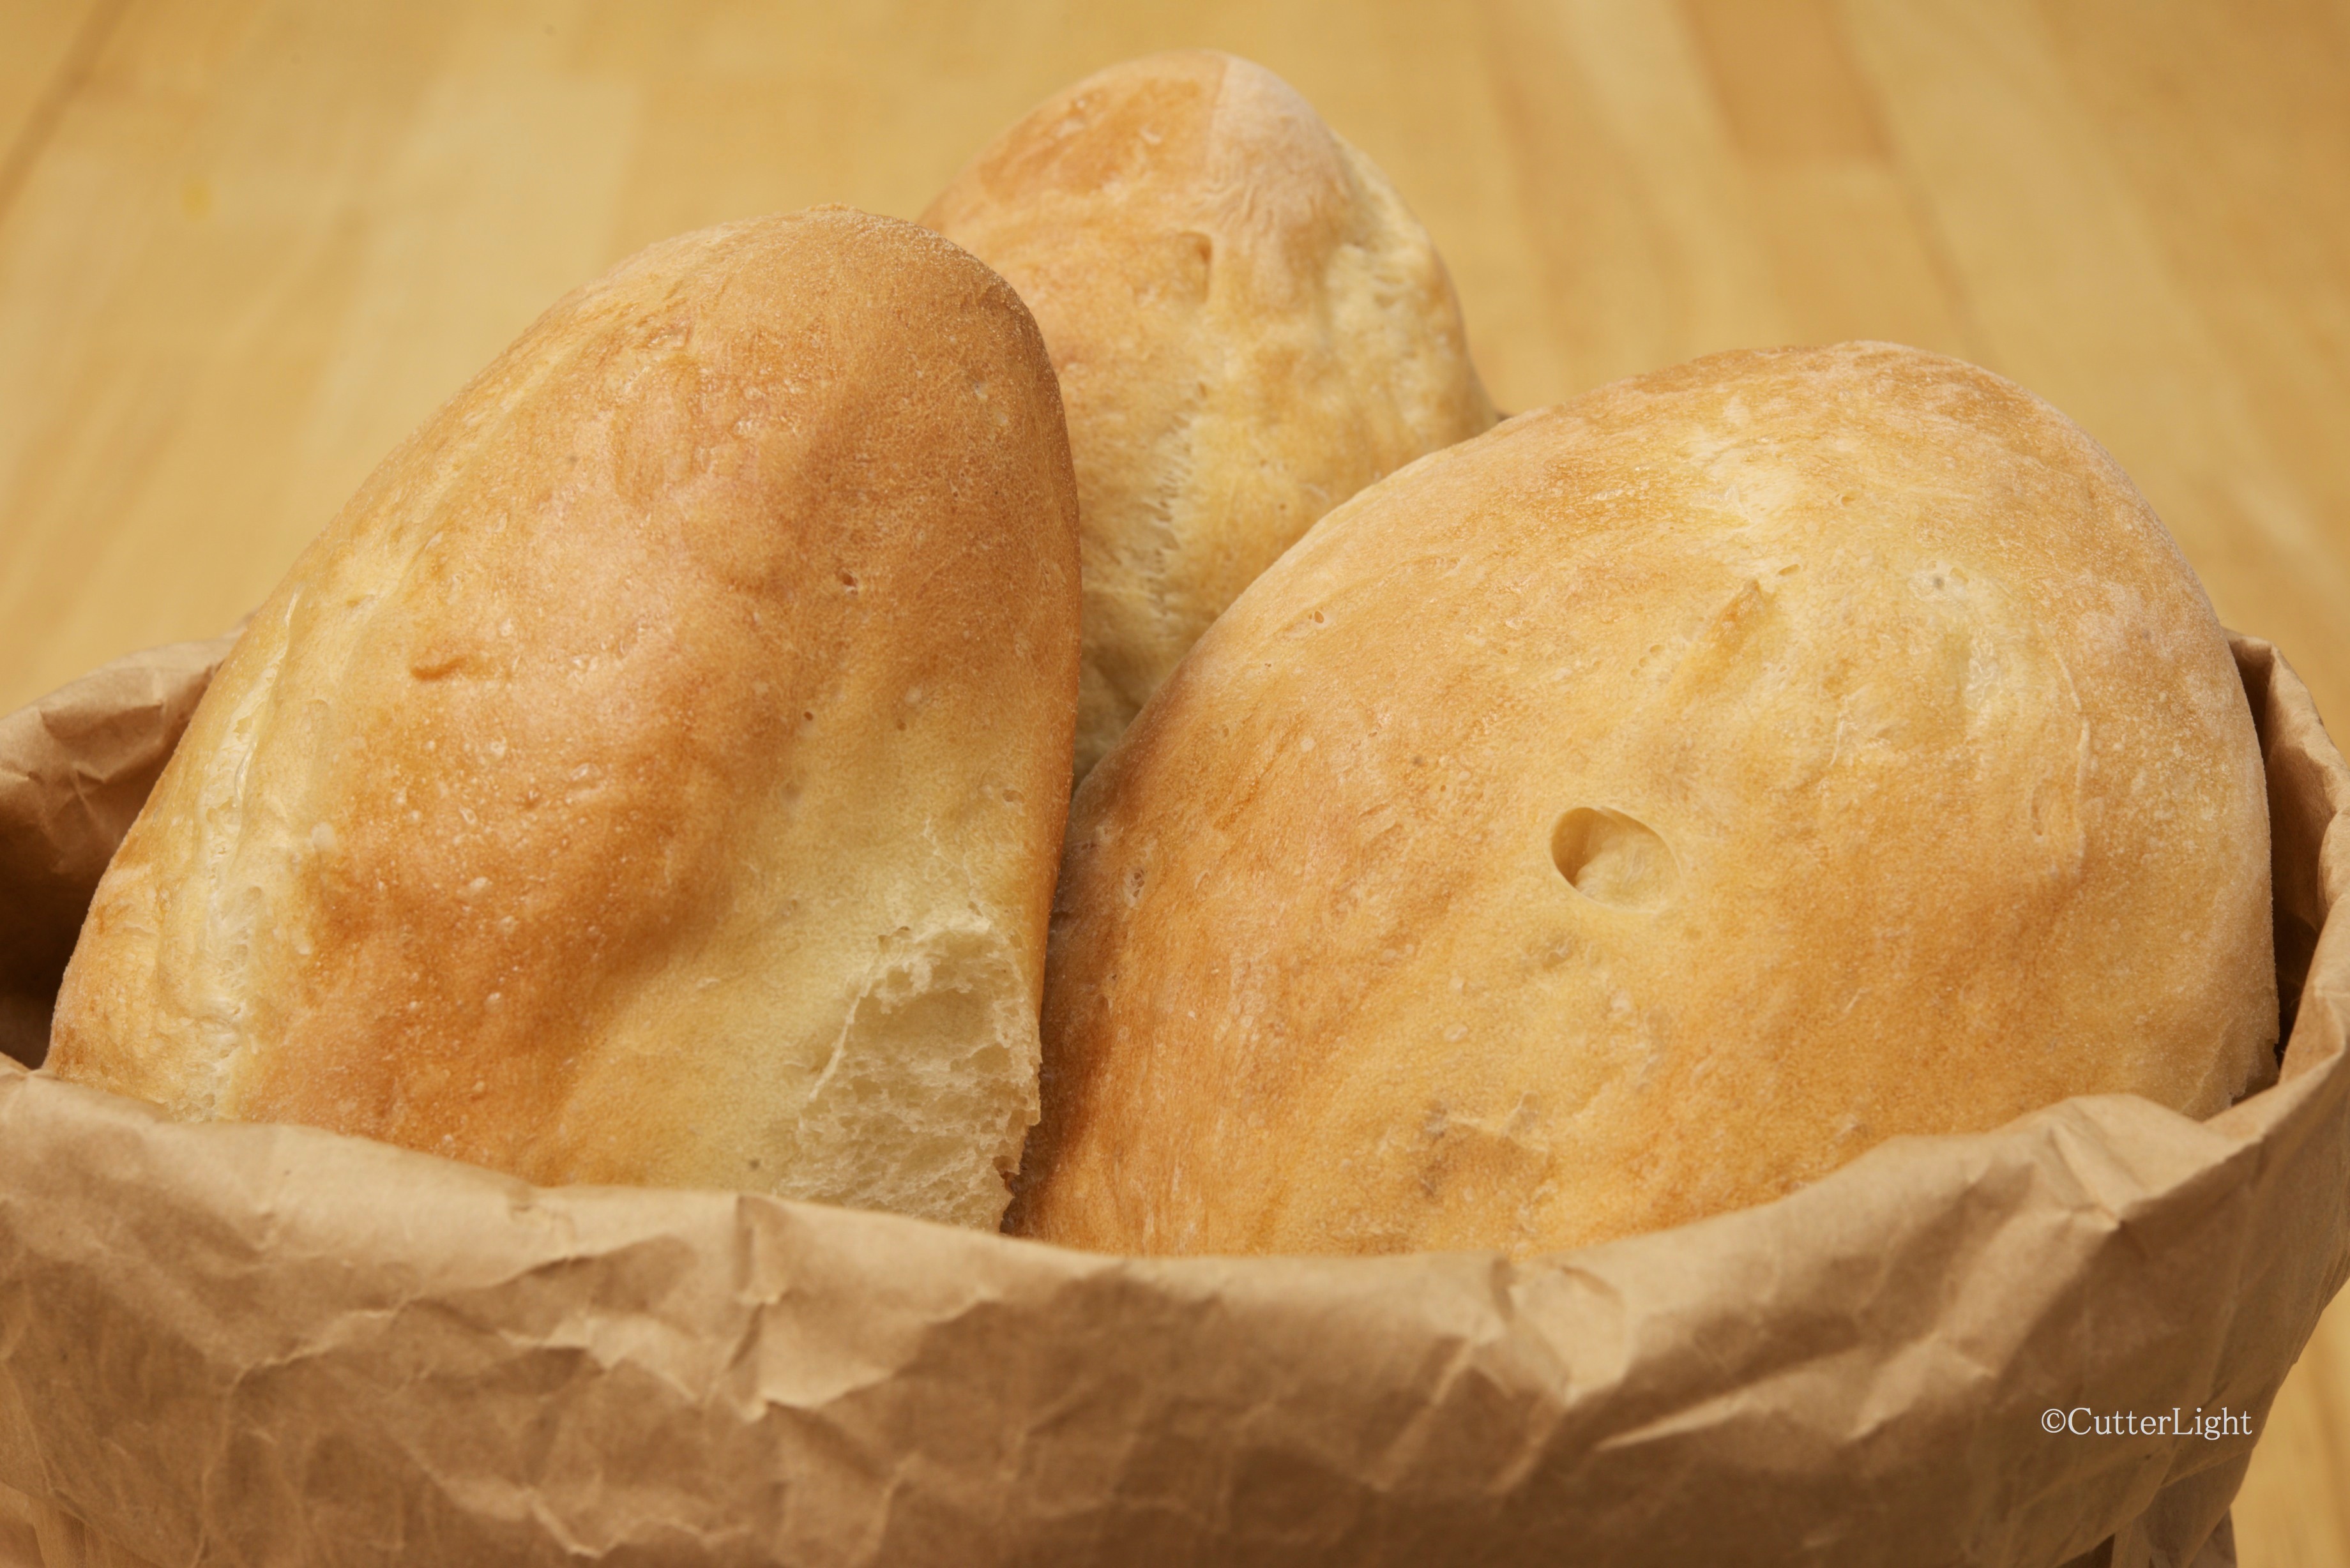
 Fry an egg, brew a cup of coffee and serve with these icing-laced coconut scones chock-full of mini chocolate chips. Fuel for a hike on the tundra, a morning downtown or whatever the weekend brings.
Shelf stable items are a staple in our Arctic pantry. Recently we have been experimenting with powdered coconut milk and are finding it to be easily reconstituted and packed with flavor. Friends recommended we add extra virgin coconut oil to our pantry, which ups the coconut flavor.
Armed with the coconut flavors I needed and an intriguing recipe I came across on MyBakingAddiction.com, I was ready to bake.
These scones have the essence of a chocolate dipped macaroon without being overly sweet. Using whole wheat for half the flour makes them more hearty than a traditional scone, while the baking powder helps them rise to epic scone proportions. The recipe is a perfect candidate for making dough the night before and popping in the oven the next morning for an impress-your-friends brunch.
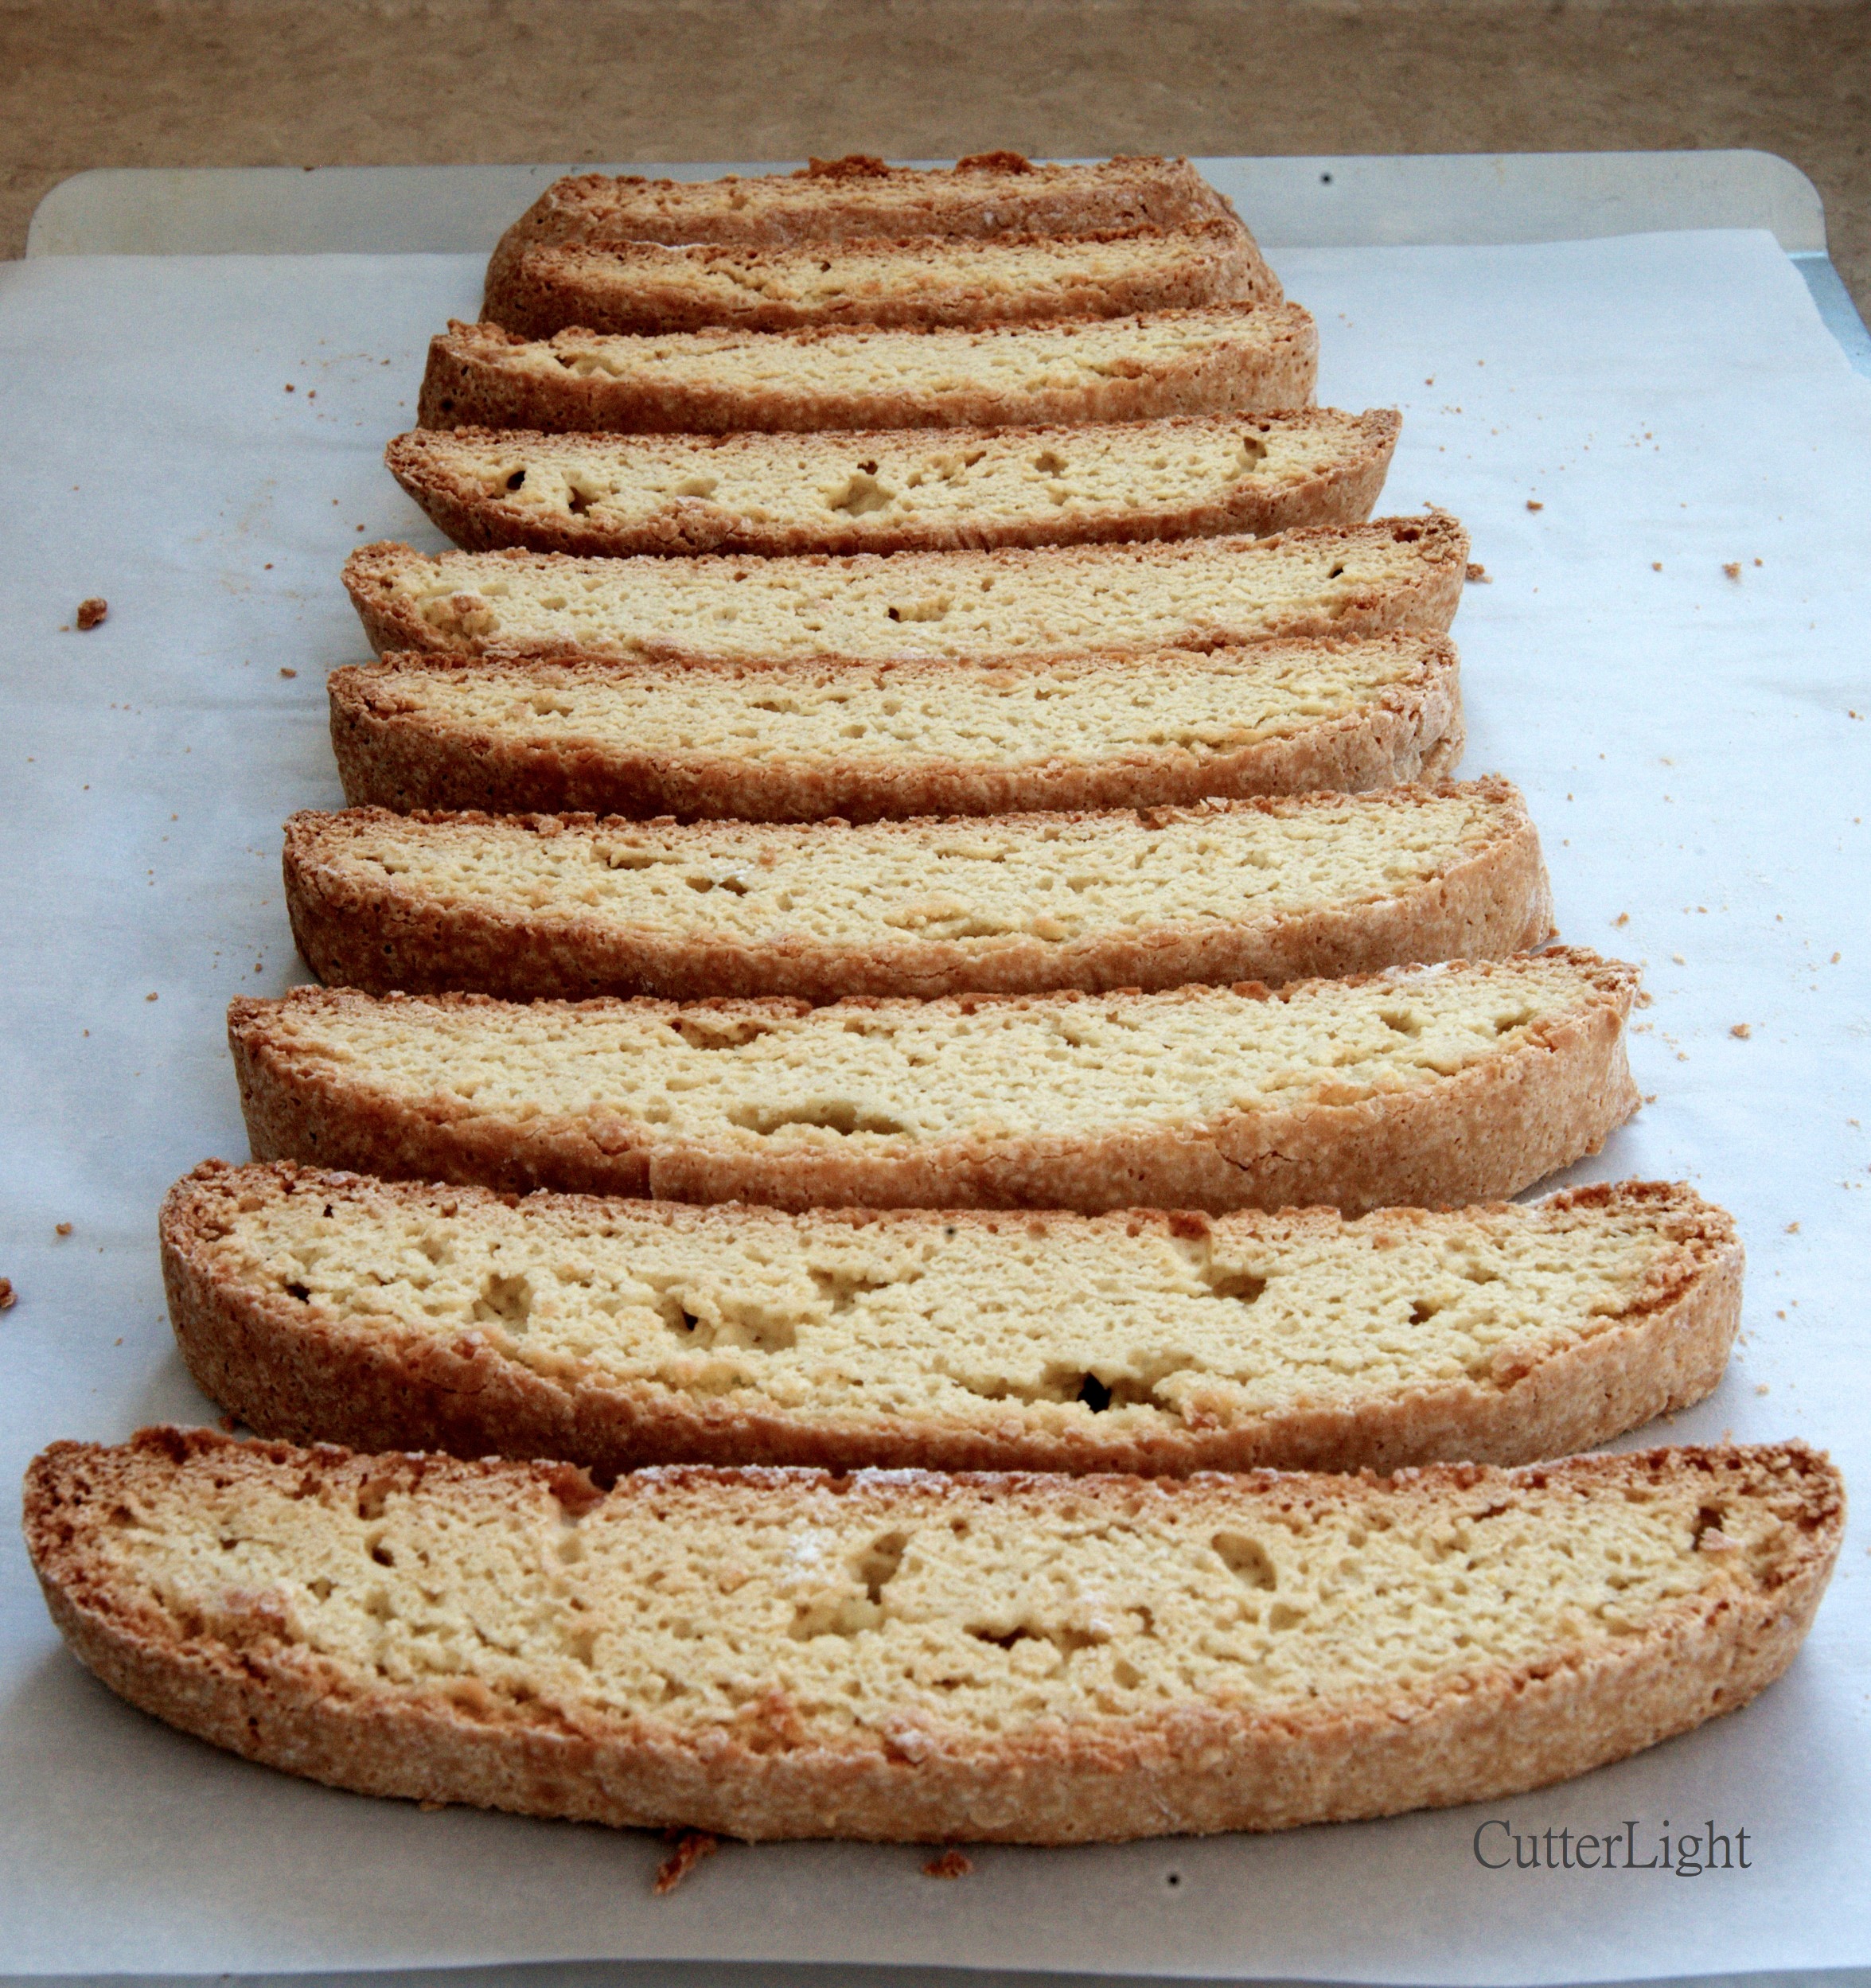
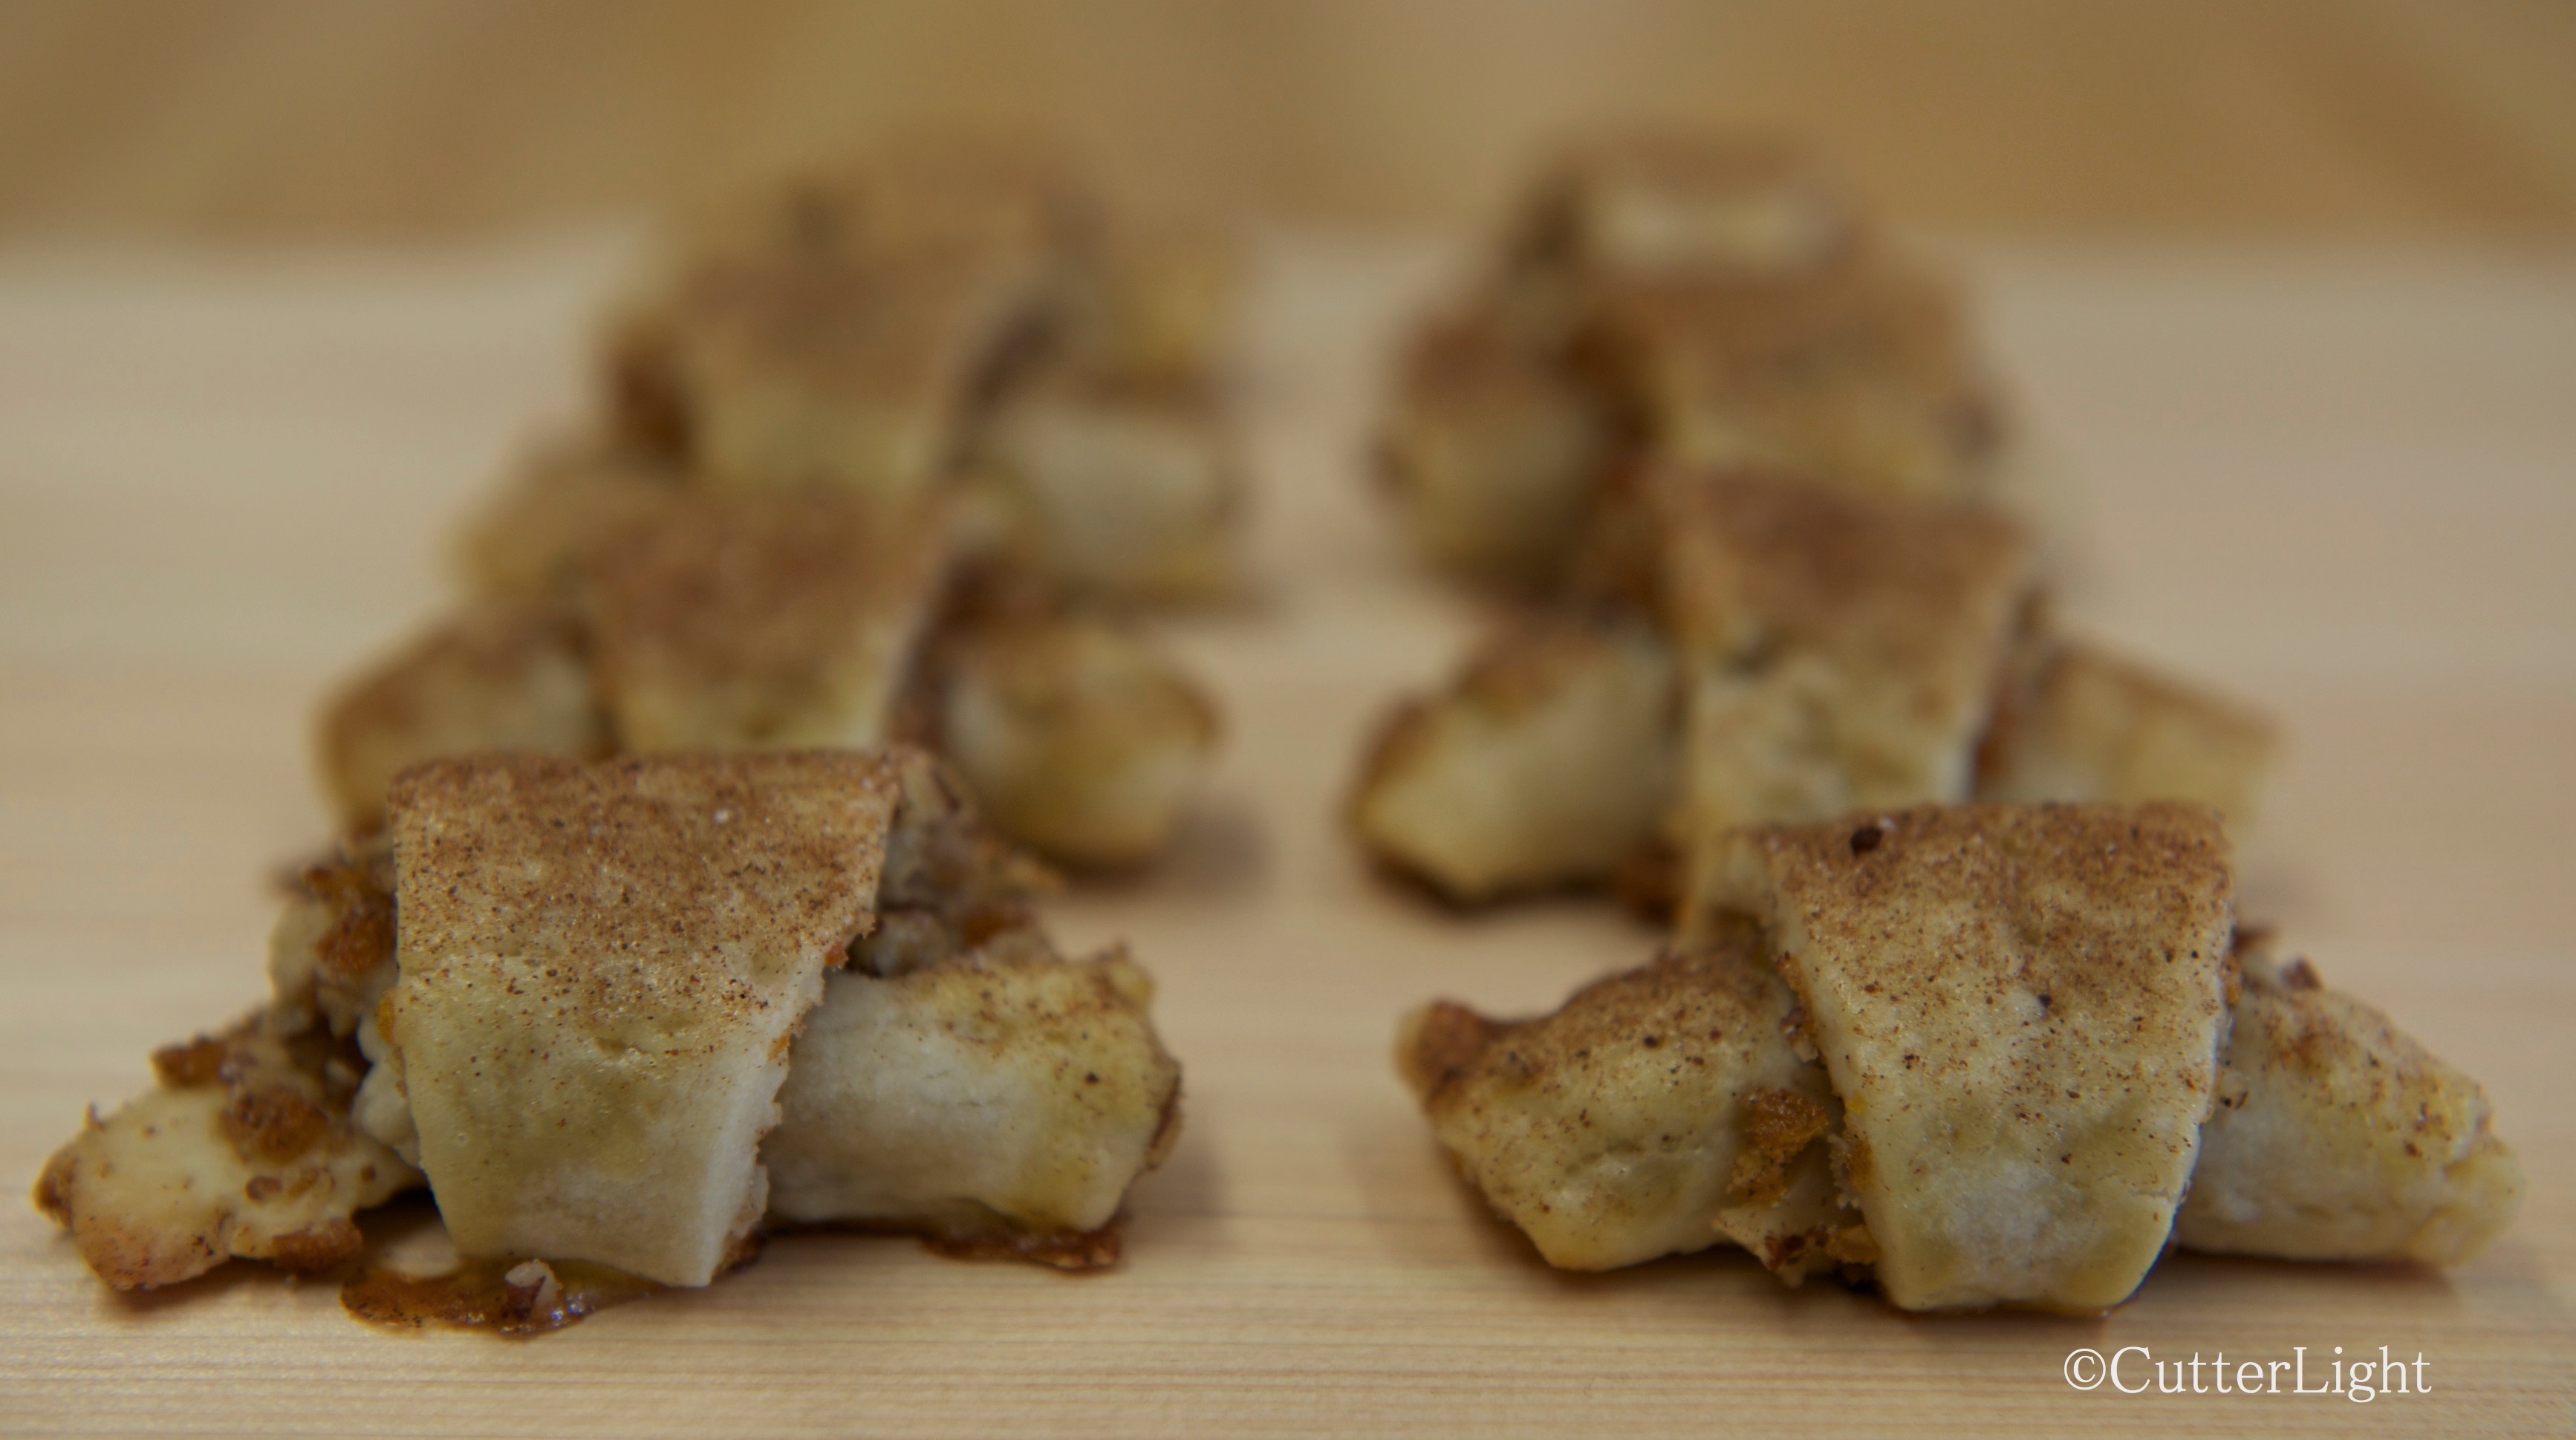
Coconut Chocolate Chip Scones
Ingredients
- 3/4 cup coconut milk
- 1 egg
- 1/4 cup granulated sugar
- 2 tsp vanilla extract
- 1 cup all-purpose flour
- 1 cup whole wheat flour
- 1 tbsp baking powder
- 1/2 tsp salt
- 3 tbsp unsalted butter, cold, cut into small pieces
- 1 tbsp extra virgin coconut oil
- 3/4 cup semi-sweet mini chocolate chips
- 1/2 cup unsweetened coconut flakes
- 2 tbsp coconut milk (to brush on top)
For the drizzle
- 1 cup powdered sugar
- 2 tbsp coconut milk
Directions
- Preheat oven to 375 degrees F. Line a baking sheet with parchment paper. Set aside.
- In a medium bowl, mix coconut milk, egg, sugar and vanilla. Set aside.
- In a large bowl, mix together flours, baking powder and salt.
- Mix butter and coconut oil into flour mixture using a pastry blender or your hands. Do this quickly to avoid melting the butter. Mixture should have pea-sized butter lumps that are evenly distributed in the flour.
- Mix wet ingredients into dry ingredients.
- Fold in chocolate chips and coconut flakes.
- Turn out dough onto lightly floured surface and knead 4 or 5 times.
- Shape dough into a 9-inch disk. Disk should be about 3/4 inch thick.
- Place disk on parchment-lined baking sheet.
- Slice disk into 12 wedges, pizza-style, leaving the dough in place.
- Brush disk with 2 tbsp of coconut milk.
- Bake for 18 – 20 minutes, till scones are slightly golden brown on edges.
- Cool scones in pan.
- While scones are cooling, create drizzle by mixing powdered sugar and coconut milk. Drizzle should be consistency of molasses.
- Place drizzle in a Ziploc bag. Snip a tiny bit off of one corner.
- With a sweeping motion, squeeze out drizzle over scones until you are satisfied with the amount of coverage.