
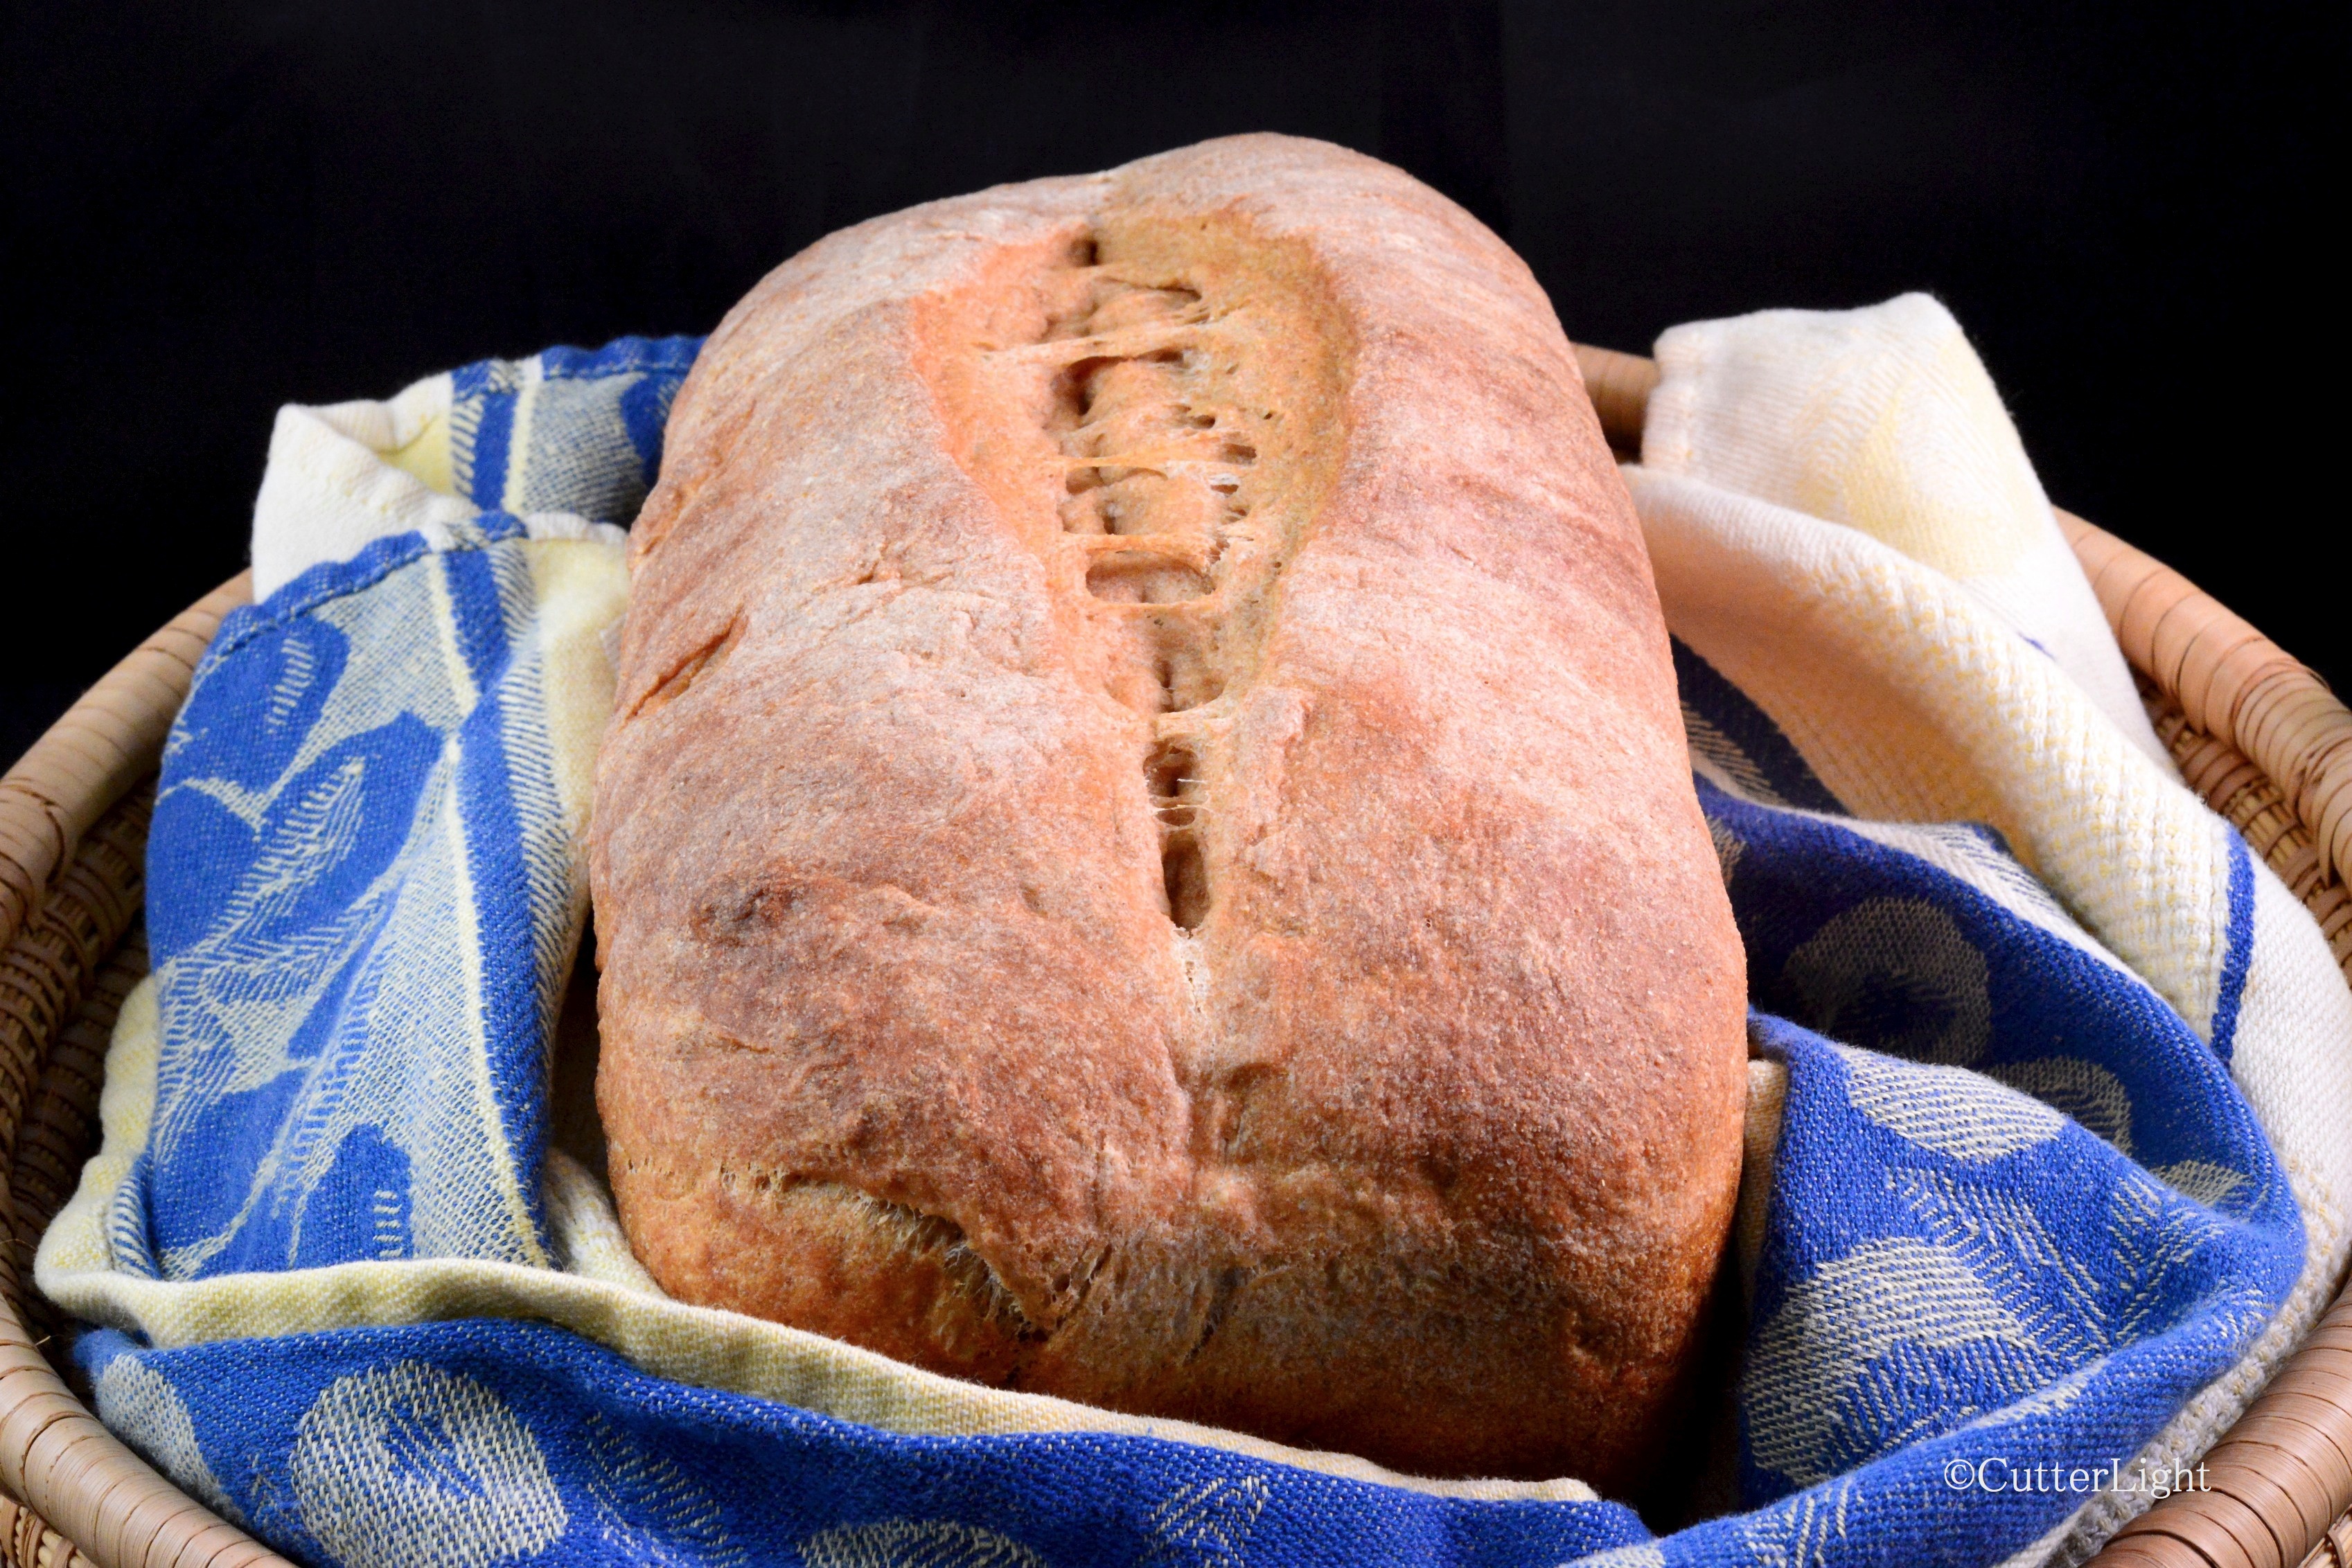
Moist, soft, flavorful and with a crunchy, hearty crust, this is easily the best 100% whole wheat bread recipe we’ve found – the quintessential “lightly toast and slather with butter” bread!
Far away from large grocery stores brimming with aisle upon aisle of reasonably-priced selections, we live a quasi-homesteading life here in Arctic Alaska. We stock most of our dry goods during our annual three-day shopping run in Anchorage in late summer. In late August, an order for spices goes out to Penzeys. Coolers jammed with salmon, halibut and rockfish fillets from the summer’s fishing come with us on the plane north – enough for us, and to reciprocate when we’re given caribou. Once we arrive in the village, we begin picking berries in earnest. We make our soups, chili, stews – and our ice cream – gallons at a time.
Our interest in self-sufficient living has led us to Mother Earth News magazine which we read cover-to-cover despite the fact that many of the articles don’t directly apply to our lives. Under the title Homemade Whole-Grain Bread: You Have to Try This Amazing Recipe, the December/January issue boasted a whole wheat “homemade bread you have to try.” We bake all of our own bread products and include mixed-whole-wheat-and-white-flour bread in our repertoire. But straight whole wheat? Past trials have come out dense and crumbly, so we were skeptical. However, our trust in Mother is high, and when they devoted five pages to the bread and included the science behind why this whole wheat loaf is different, our curiosity was piqued.
After finishing the article and discussing it, our conclusion was a shared, “That sounds like a lot of work for a loaf of bread!” Still, we’d sent up 25 pounds of Bob’s Red Mill whole wheat flour with every intention of feathering more whole wheat into our diet. So after procrastinating for a couple of weekends I decided to go for it.
As it turned out, the extra work is actually fun and quite satisfying. With two very successful loaves under my belt (in more ways than one), we both agree with Mother Earth News – this is an “exceptionally delicious whole-grain bread.”
I’ve simplified the directions for this post, but full credit for the following recipe goes to the staff of Mother Earth News. Their full-length article is highly recommended reading.
Exceptionally Delicious Whole-Grain Bread
Ingredients
Sponge:
- 1 3/4 cups whole-wheat flour
- 1/4 tsp instant yeast
- 3/4 cup cool water
Soaker:
- 1 cup whole-wheat flour
- 1/2 tsp salt
- 2/3 cup plain yogurt
- 2 tbsp orange juice
Final Dough:
- all of sponge recipe
- all of soaker recipe
- 2 1/4 tsp instant yeast
- 1 tbsp unsalted butter, softened
- 2 tbsp honey
- extra whole-wheat flour and water for adjustments
Directions
The day before baking, make the sponge and the soaker:
- Mix the sponge ingredients together to form a ball of dough.
- Knead for about 2 minutes.
- Let dough rest for 10 minutes.
- Knead again for about a minute.
- Immediately cover and refrigerate for at least 6 hours.
- Mix the soaker ingredients together to form a loose, wet ball.
- Cover soaker dough and leave at room temperature for 6 to 24 hours.
The day of baking:
- An hour before making bread, remove the soaker from the refrigerator and let it come to room temperature.
- Tear sponge into about a dozen pieces.
- Roll each sponge piece with a piece of soaker. Place bowl of a stand mixer.
- Attach dough hook.
- Sprinkle in 2 1/4 tsp of yeast.
- Mix on first speed for 2 minutes. Increase to second speed and continue mixing for 2 more minutes.
- Add in honey and butter. Mix for another 2 minutes.
- Let dough rest in mixing bowl for 10 minutes.
- On a floured work surface, knead dough by hand for a few minutes, add extra flour or water if necessary to make a soft, slightly sticky dough.
- Form dough into a ball and transfer it to oiled bowl, turning ball to coat it.
- Let rise for 45 minutes. It should be 1 1/2 times its original size.
- Transfer dough to floured work surface and form it into a loaf to fit a 9″ x 5″ or 8.5″ x 4.5″ loaf pan.
- Grease loaf pan and place dough into pan.
- Cover and allow to rise for 45 minutes. Dough should be 1 1/2 times its original size.
- While loaf rises, preheat oven to 450 degrees F.
- For most consistent heat, place baking stone on bottom rack and a cast-iron pan on top rack while preheating.
- Brush top of loaf with water.
- Slash top of bread down the middle or with diagonal cuts.
- Place loaf on stone in center of oven.
- Immediately add 1/2 cup of hot water to heated cast-iron pan (be careful of steam burns!).
- Lower the temperature to 375 degrees F.
- Bake bread for 20 minutes.
- Rotate pan in oven and add another 1/2 cup of hot water to cast-iron pan.
- Bake for another 15 – 20 minutes.
- Bread is done when top is golden brown and bottom sounds hollow when thumped. Another method to check for doneness is the internal temperature of the bread is 195 degrees or more.
- Remove loaf from pan immediately and transfer it to a cooling rack.
- As tempting as the loaf will be, allow bread to cool at least an hour before slicing!

It’s the sponge that makes this bread so tender. Even though making a sponge adds additional steps to the process, I’ve found that it contributes to a superior loaf of bread every time. I can’t wait to try this recipe that you’ve posted. It looks delicious.
Thanks for checking in and commenting on the importance of the sponge in this recipe, Libby. If you and other readers try this, we’d be very interested to know the verdict!
I must give this recipe a try. I make my own bread but in a lazy fashion, a Japanese machine doing the hard work.
Yet another recipe I must try. I love making bread and this recipe looks like it makes one heck of a loaf of bread!:)
Reblogged this on What's For Dinner? and commented:
Have to give this one a try one weekend in the near future!
Oh, that bread looks superb!
Thanks. I’m eating it with peanut butter and jelly at this very moment!
oh yum! enjoy 🙂
I am in the middle of making this bread – have soaker and sponge doing their thing. I make all my bread by hand – no machines. Any advice as to doing the day-of mixing w/o a mixer? I figure I’ll just go at it longer by hand and use my judgement, but since you’ve already made it, I wonder what you think. I’m surprised how little water this recipe calls for. In other multi-day breads I’ve made, there’s a good amount of water on baking day that I used 1st to soften the soakers/sponges for hand mixing.
I think you’re right, it will take longer by hand. Splitting the soaker and the sponge into pieces and rolling them together helped for even mixing. I think the butter and honey will make for messy hand mixing/kneading, but it should still work. The water seemed just fine. I think the honey and the soft butter did the trick of adding moisture to the final dough. The bread came out wonderfully moist and kept its moistness during the week it took to eat it.
Thanks for the quick response! I will let you know how it comes out. I have 2 late evenings at work, so baking day is day 3, so mine may a bit more of a sourdough.
I completed baking on day 5. 1st rise was slow, but that’s hardly new to me. My house is not particularly warm. I don’t know that I mixed it enough by hand, but having made bread for over a decade, I used my judgement. Much more work than “Artisan Bread in 5 min/day”, but it came out great. I think it’s the best 100% whole wheat I’ve ever made. And the bonus is that it does not require added wheat gluten or extra sugar. I look forward to adding other grains to this recipe.
Hey Bill. We’re so glad you reported back! We’re thrilled you had the same results as us. We’ve made this recipe three times now, each equally delicious. The original article suggested adding cooked grains. That will be part of our future experiments with this recipe. Let us know if you have any tasty results with your experiments.
Jack and Barbra
When I made this bread, it made 2 huge loaves. It looked beautiful with great texture, but I was very disappointed in the flavor. It was way too bland. So in the future, I definitely will add more salt. It raised extremely quickly, and I’m sure adding more salt will slow it down a bit.
I loved the texture of this bread, too. As you said, additional salt will both up the flavor and slow the rise. I didn’t mind the low salt in our sandwiches because I enjoyed the texture so much. I’d be interested to know how much salt you add in order to boost the flavor. Thanks for trying out the recipe and commenting!