Country-Style Apple Brioche

Apple Brioche_n

Slices of this apple-filled brioche served with cups of freshly brewed French roast coffee sent our spirits overseas to a sidewalk table at a cafe in France.  

Baking projects tend to be inspired by a single ingredient. Last week, two students gave me the biggest Granny Smith apples I have ever seen. They were a little bumped and bruised and seemed to be begging to be baked into something sweet. I remembered an apple brioche recipe I had wanted to try in one of the cookbooks we have in our library, Beth Hensperger’s Bread. Brioche is an egg-and-butter rich pastry-type bread dough which can be used in both savories and sweets. It produces a soft, moist bread and the dough is easy to make and easy to work with.

Apple Brioche

Ingredients

  • 2 giant Granny Smith apples (or 4 regular-sized apples), peeled, cored and sliced into 1/4 inch pieces
  • 1  1/2 tbsp lemon juice
  • 1/4 cup granulated sugar
  • 1 tbsp water
  • 1 tsp ground cinnamon
  • 1 recipe chilled brioche dough (see below)

Topping

  • 1/4 cup granulated sugar
  • 1/6 cup all-purpose flour
  • 4 tbsp chilled unsalted butter
  • 1 egg, beaten

Directions

  1. Toss apple slices with lemon juice. Let sit for 1 hour, occasionally stirring.
  2. Place apples, sugar, water, and cinnamon in a heavy skillet and sauté until liquid is reduced and sugar is dissolved.
  3. Cool apple mixture to room temperature.
  4. Turn chilled brioche dough out to a lightly floured surface.
  5. Roll dough into a 10 x 15 inch rectangle.
  6. Spread cooled apple mixture down the center third of the dough rectangle.
  7. Cut strips 1.5 to 2 inches apart diagonally, almost touching filling.
  8. Starting at one end, fold strips over filling, alternating each side. You will have somewhat of a braided look when finished.
  9. Transfer bread to a parchment-lined baking sheet.
  10. Make topping by combining sugar and flour until blended. Cut in cold butter with a pastry blender (or food processor) until coarse crumbs are formed.
  11. Brush dough generously with beaten egg.
  12. Sprinkle topping on egg-washed dough.
  13. Cover loosely with plastic wrap and let rise at a cool room temperature until puffy and not quite doubled, about 40 minutes.
  14. Bake in preheated 350 degree F oven for 40 minutes. Bread will be browned and filling will be bubbly.
  15. Cool completely on a wire rack before serving.

Brioche Dough

Ingredients

  • 2  1/4 cups all-purpose flour
  • 1/2 tbsp active dry yeast
  • 1/4 cup sugar
  • 1 tsp salt
  • 3 eggs, at room temperature
  • 1/4 cup hot water (120 degrees F)
  • 1 stick unsalted butter, cut into small pieces and softened

Directions

  1. In a bowl of a stand mixer fitted with a paddle attachment, combine 1/2 cup flour, yeast, sugar and salt.
  2. Add hot water and beat at medium speed for 2 minutes.
  3. Add eggs, one at a time, beating well after each addition.
  4. Gradually add 1 cup more flour.
  5. When well-blended, add butter, a few pieces at a time.
  6. Gradually add 3/4 cup flour. Beat until thoroughly blended. Dough will be very soft and have a thick batter-like consistency.
  7. Scrape dough into a greased bowl.
  8. Cover tightly with plastic wrap and let rise at room temperature until doubled, about 3 hours.
  9. Refrigerate dough for at least 2 hours. Can be refrigerated longer or frozen for up to 2 weeks.

Exceptionally Delicious Whole-Grain Bread

Whole Wheat Bread_n

Moist, soft, flavorful and with a crunchy, hearty crust, this is easily the best 100% whole wheat bread recipe we’ve found – the quintessential “lightly toast and slather with butter” bread!

Far away from large grocery stores brimming with aisle upon aisle of reasonably-priced selections, we live a quasi-homesteading life here in Arctic Alaska. We stock most of our dry goods during our annual three-day shopping run in Anchorage in late summer. In late August, an order for spices goes out to Penzeys. Coolers jammed with salmon, halibut and rockfish fillets from the summer’s fishing come with us on the plane north – enough for us, and to reciprocate when we’re given caribou. Once we arrive in the village, we begin picking berries in earnest. We make our soups, chili, stews – and our ice cream – gallons at a time.

Our interest in self-sufficient living has led us to Mother Earth News magazine which we read cover-to-cover despite the fact that many of the articles don’t directly apply to our lives. Under the title Homemade Whole-Grain Bread: You Have to Try This Amazing Recipe, the December/January issue boasted a whole wheat “homemade bread you have to try.” We bake all of our own bread products and include mixed-whole-wheat-and-white-flour bread in our repertoire. But straight whole wheat? Past trials have come out dense and crumbly, so we were skeptical. However, our trust in Mother is high, and when they devoted five pages to the bread and included the science behind why this whole wheat loaf is different, our curiosity was piqued.

After finishing the article and discussing it, our conclusion was a shared, “That sounds like a lot of work for a loaf of bread!” Still, we’d sent up 25 pounds of Bob’s Red Mill whole wheat flour with every intention of feathering more whole wheat into our diet. So after procrastinating for a couple of weekends I decided to go for it.

As it turned out, the extra work is actually fun and quite satisfying. With two very successful loaves under my belt (in more ways than one), we both agree with Mother Earth News – this is an “exceptionally delicious whole-grain bread.”

I’ve simplified the directions for this post, but full credit for the following recipe goes to the staff of Mother Earth News. Their full-length article is highly recommended reading.

Exceptionally Delicious Whole-Grain Bread

Ingredients

Sponge:

  • 1 3/4 cups whole-wheat flour
  • 1/4 tsp instant yeast
  • 3/4 cup cool water

Soaker:

  • 1 cup whole-wheat flour
  • 1/2 tsp salt
  • 2/3 cup plain yogurt
  • 2 tbsp orange juice

Final Dough:

  • all of sponge recipe
  • all of soaker recipe
  • 2 1/4 tsp instant yeast
  • 1 tbsp unsalted butter, softened
  • 2 tbsp honey
  • extra whole-wheat flour and water for adjustments

Directions

The day before baking, make the sponge and the soaker:

  1. Mix the sponge ingredients together to form a ball of dough.
  2. Knead for about 2 minutes.
  3. Let dough rest for 10 minutes.
  4. Knead again for about a minute.
  5. Immediately cover and refrigerate for at least 6 hours.
  6. Mix the soaker ingredients together to form a loose, wet ball.
  7. Cover soaker dough and leave at room temperature for 6 to 24 hours.

The day of baking:

  1. An hour before making bread, remove the soaker from the refrigerator and let it come to room temperature.
  2. Tear sponge into about a dozen pieces.
  3. Roll each sponge piece with a piece of soaker. Place bowl of a stand mixer.
  4. Attach dough hook.
  5. Sprinkle in 2  1/4 tsp of yeast.
  6. Mix on first speed for 2 minutes. Increase to second speed and continue mixing for 2 more minutes.
  7. Add in honey and butter. Mix for another 2 minutes.
  8. Let dough rest in mixing bowl for 10 minutes.
  9. On a floured work surface, knead dough by hand for a few minutes, add extra flour or water if necessary to make a soft, slightly sticky dough.
  10. Form dough into a ball and transfer it to oiled bowl, turning ball to coat it.
  11. Let rise for 45 minutes. It should be 1 1/2 times its original size.
  12. Transfer dough to floured work surface and form it into a loaf to fit a 9″ x 5″ or 8.5″ x 4.5″ loaf pan.
  13. Grease loaf pan and place dough into pan.
  14. Cover and allow to rise for 45 minutes. Dough should be 1 1/2 times its original size.
  15. While loaf rises, preheat oven to 450 degrees F.
  16. For most consistent heat, place baking stone on bottom rack and a cast-iron pan on top rack while preheating.
  17. Brush top of loaf with water.
  18. Slash top of bread down the middle or with diagonal cuts.
  19. Place loaf on stone in center of oven.
  20. Immediately add 1/2 cup of hot water to heated cast-iron pan (be careful of steam burns!).
  21. Lower the temperature to 375 degrees F.
  22. Bake bread for 20 minutes.
  23. Rotate pan in oven and add another 1/2 cup of hot water to cast-iron pan.
  24. Bake for another 15 – 20 minutes.
  25. Bread is done when top is golden brown and bottom sounds hollow when thumped. Another method to check for doneness is the internal temperature of the bread is 195 degrees or more.
  26. Remove loaf from pan immediately and transfer it to a cooling rack.
  27. As tempting as the loaf will be, allow bread to cool at least an hour before slicing! 

Fresh Roasted Sweet Pecans

Roasted Sweet Pecans_n

Lightly candied and oven roasted, these pecans are perfect for snacking, as a dessert topping, or savored on a fresh garden salad.

Our kitchen is always well stocked with pecans and almonds. They’re great plain, but sometimes it’s fun to gussy ’em up a bit. This easy recipe results in snack that goes as well on morning oatmeal as it does as the finishing touch on a fresh salad.

Sweet Roasted Pecans

Ingredients

  • 2 egg whites
  • 1/2 tbsp water
  • 1/2 tbsp vanilla extract
  • 2  1/2 cups pecans
  • 1/4 cup granulated sugar
  • 1/4 cup brown sugar
  • 1  1/2 tsp ground cinnamon
  • 1 tsp coarse sea salt

Directions

  1. Preheat oven to 225 degrees F. Line a baking sheet with parchment paper. Set aside.
  2. Combine egg whites, water and vanilla in bowl of a stand mixer. Attach wire whip attachment.
  3. Whip egg mixture until really fluffy, about 2 minutes.
  4. Fold pecans into egg mixture.
  5. In a separate bowl, mix sugars and cinnamon.
  6. Fold in sugar mixture to pecan-egg mixture.
  7. Spread nuts evenly on parchment paper.
  8. Sprinkle sea salt over nuts.
  9. Bake in preheated oven for 60 – 75 minutes. Stir every 15 minutes. Nuts should be toasted and fragrant.
  10. Cool in pan. Stored cooled nuts in an airtight container.

Recipe adapted from allrecipes.com.

Pre-Workout Almond, Craisin, Chocolate, Honey Granola Bars

Granola Almond Energy Bars_n

Soft and chewy granola bars packed with helpful protein and complex carbohydrates are a tasty, energy-packed pre-workout snack.

At this time of year, many people are re-tooling their workout program or starting a new one. Two hundred miles north of the Arctic Circle, that part of life is no different. We mostly confine ourselves to the weight room and gym at our school for workouts. With typical days featuring windchill below zero, running means treadmill workouts. Jack likes running workouts on the treadmill. I am slowly becoming accustomed to them. Running gives us a little cushion in terms of burning calories so we can enjoy all the sumptuous meals we cook, and it keep us in shape for our active lifestyle.

The most convenient time for our workouts is after school – a time of day when we often need an energy boost. I thought about making some kind of cookie that was filled with nuts and raisins, envisioning something soft and chewy. I also wanted to use up some of the staples in our pantry. What resulted was a chewy bar stuffed with craisins, coconut, nuts, peanut butter and honey. A homemade version of sweetened condensed milk is the binding agent. We snacked on them before our workout today and thought they came out great: tasty and energy boosting!

I imagine that any dried berries or nuts could be used in this recipe. I’m already planning on baking up a few batches to take with us on our summer adventures hiking, fishing and boating around the Kenai Peninsula.

Granola Bars

Ingredients

  • 3 cups rolled oats
  • 1 cup chopped almonds
  • 1 cup dried cranberries
  • 1/2 cup semi-sweet chocolate chips
  • 1/2 cup unsweetened coconut
  • 1/4 cup peanut butter
  • 1/2 cup boiling water
  • 1 cup powdered non-fat milk
  • 2/3 cup granulated sugar
  • 3 tbsp unsalted butter, softened
  • honey

Directions

  1. Preheat oven to 350 degrees F.
  2. Line a 13 x 9-inch glass baking dish with parchment paper. Paper should go all the way up the sides of the dish.
  3. In a large bowl, mix together oats, nuts, cranberries, chocolate chips and coconut. Set aside.
  4. Using a blender, (I prefer an immersion blender), blend sugar, boiling water, and non-fat milk powder.
  5. Add butter and peanut butter to milk mixture. Blend until fully mixed.
  6. Add enough honey to bring liquid mixture to 16 ounces. Blend until fully mixed.
  7. Pour milk mixture into oat mixture and thoroughly mix.
  8. Press dough into baking dish.
  9. Bake for 20 minutes.
  10. Allow bars to cool for 5 minutes in pan.
  11. Lift bars out of pan by holding parchment paper. Set on a wire rack to continue cooling.
  12. Allow the bars to cool completely on parchment paper on a wire rack before cutting.
  13. Store cut bars in an airtight container.

The Galangal Experiment: Orange Pecan Galangal Scones

Galangal, Pecan, Orange Scones

Scones are easy to make and always a favorite with a cup of coffee or tea.

Penzeys Spices is one of our grown up toy catalogues. Last spring, we pored over every page as we created a list of the spices and seasonings we thought we might want for the following year. During this perusal, a number of unfamiliar spices piqued our interest. One such item was galangal. Also known as blue ginger, galangal is indeed a member of the ginger family, but has a more intense, flowery taste not much at all like the ginger we’re familiar with. Perhaps cardamom is a closer comparison.

Recently, we came across a lemon-ginger scone recipe that seemed ripe for a makeover. In the following recipe, pecans and orange zest meld with the pleasantly flowery galangal to create a new classic. The yogurt gave the scone a moister texture that traditional recipes.

Orange Pecan Galangal Scones

Ingredients

Scone:

  • 2  1/4 cups all purpose flour
  • 1/4 cup granulated sugar
  • 1 tbsp baking powder
  • 2 tsp galangal
  • finely grated zest of one orange
  • healthy pinch of salt
  • 3/4 cup chopped pecans
  • 3/4 cup plain yogurt
  • 1/4 cup orange juice

Icing:

  • 1 cup powdered sugar
  • 1 tbsp orange juice

Directions

  1. Preheat oven to 375 degrees F.
  2. Line a baking sheet with parchment paper. Set aside.
  3. In a medium bowl, sift together flour, baking powder and galangal.
  4. Stir in sugar, salt and zest.
  5. Stir in pecans.
  6. Using wooden spoon or rubber spatula, stir in orange juice. Then stir in yogurt.
  7. On a lightly floured surface, gently knead dough until it comes together. Do not over-knead.
  8. Press dough into a circle, about one inch thick.
  9. Cut circle into 8 wedges.
  10. Arrange wedges on baking sheet so there is about 1 inch in between each one.
  11. Bake scones for 20 minutes. Scones will be lightly browned on the bottom and pale on the top.
  12. Let cool in pan for 5 minutes, then transfer to wire rack to continue cooling.
  13. Meanwhile, whisk powdered sugar and orange juice together to make drizzle icing. Consistency should be like honey.
  14. To drizzle icing, fill  a pastry bag with a small tip or a small Ziplock bag with a corner snipped, or simply use a spoon. Drizzle icing evenly over scones.
  15. Serve warm or room temperature.

Arctic Anpan 2 Ways: Azuki and Caribou Cha Sui (Sweetened Red Bean and Marinated Caribou)

Anpan with Sweet Azuki Paste_n

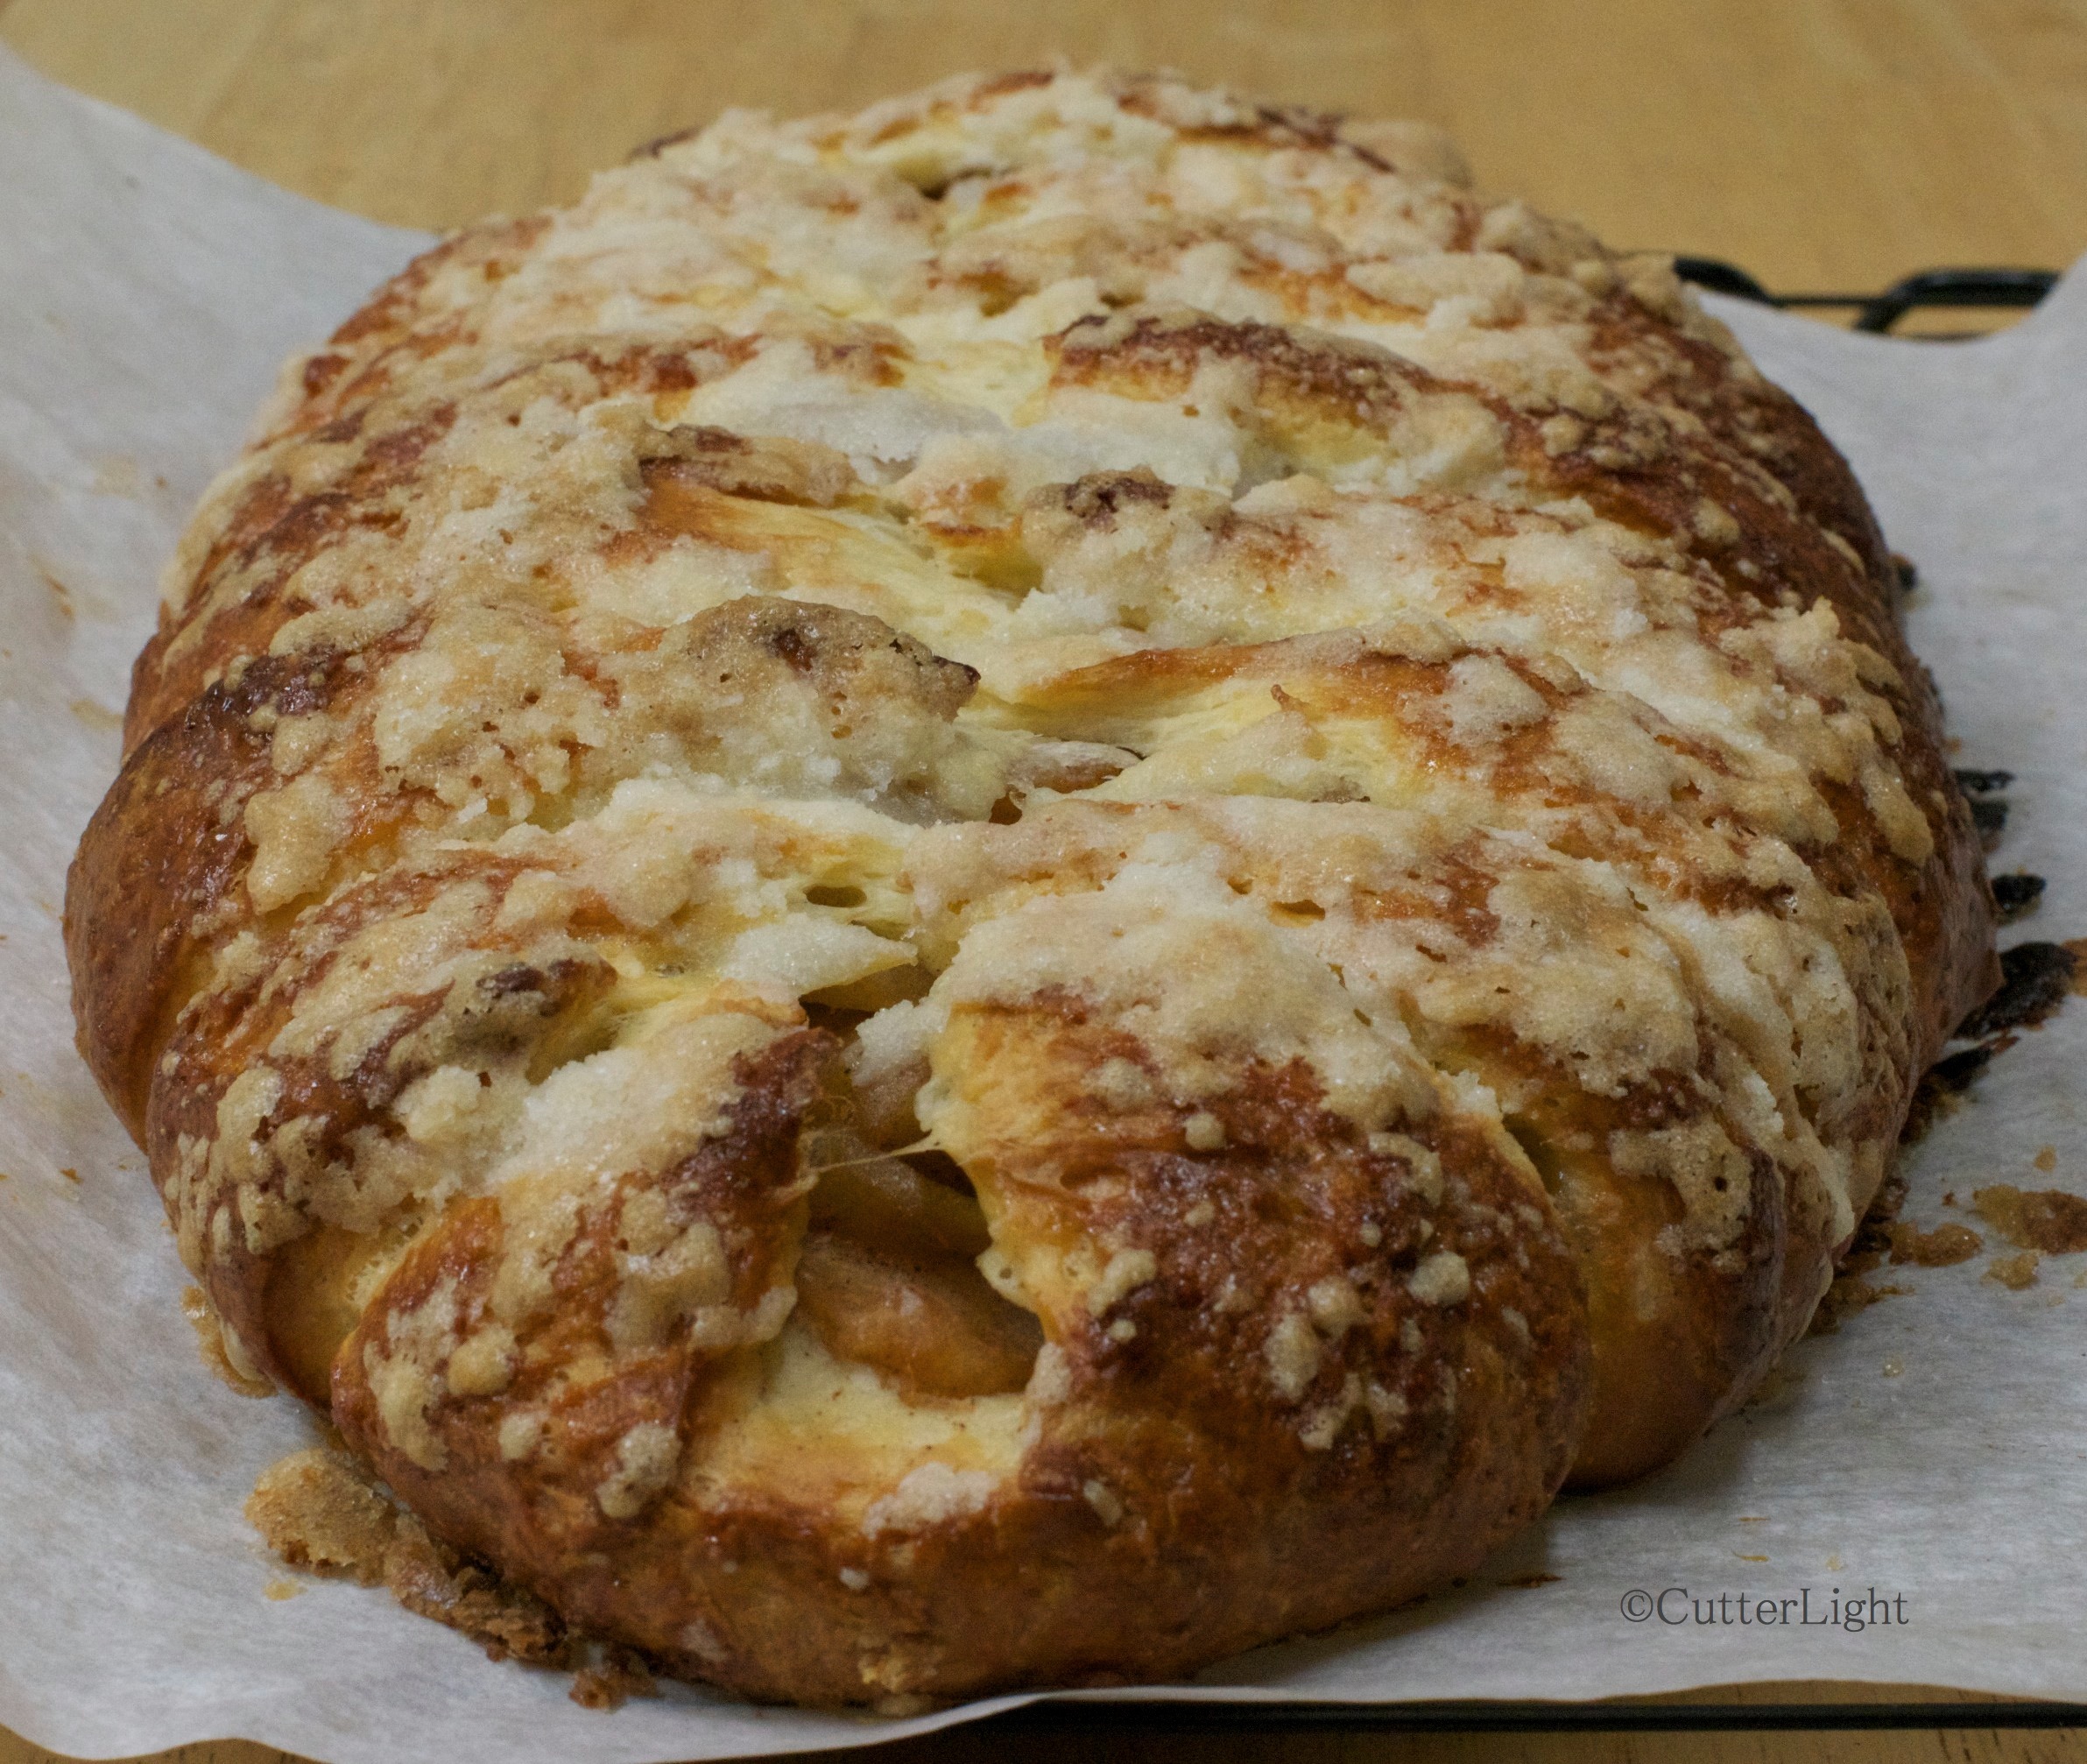
Delicious steamed buns filled with sweetened red bean paste were the finishing touch to an Asian-inspired meal. All that was lacking was a cold Sapporo Beer… The beer will have to wait until summer.*

Wintertime fishing, birding or just bike riding with my daughter Maia in Japan is indelibly linked with one of my happiest food memories: stopping by a local bakery and purchasing piping hot steamed buns filled with sweetened bean filling (anpan) or marinated pork (nikuman). The filling was so hot we’d have to be careful not to burn our tongues. Those steamed buns were the perfect on-the-go snack on chilly days.

Anpan ready for the steamer_n

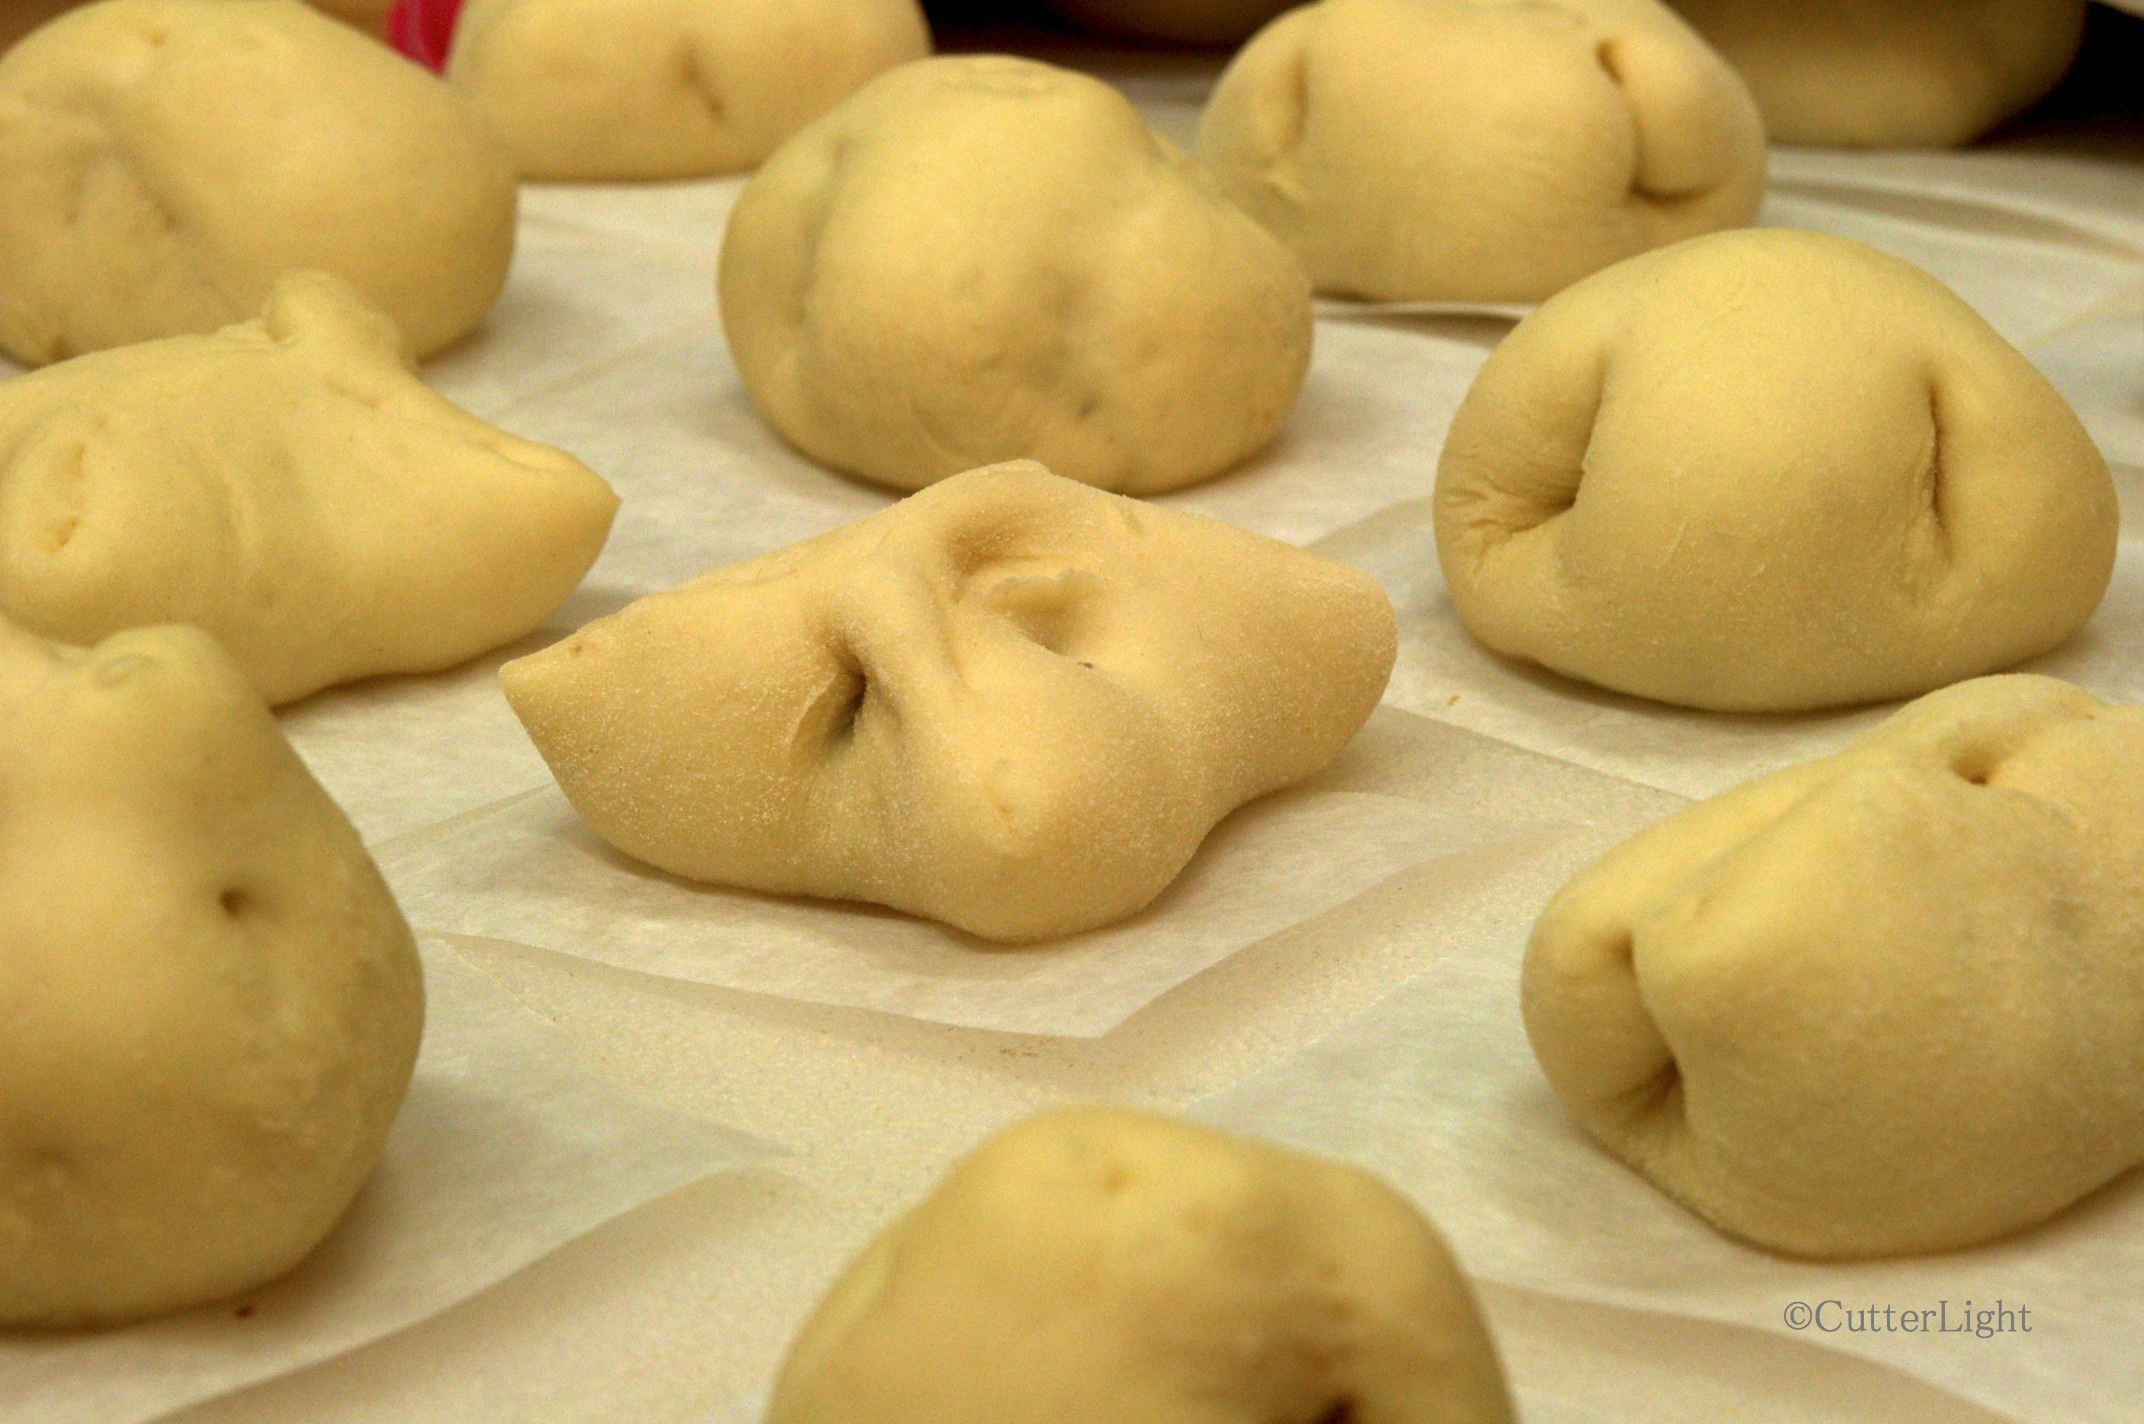
Filled with bean paste or marinated meat and ready for the steamer…

Known as bao or baozi in China, steamed buns were on our list of items to try making this year. With Maia in Point Hope visiting over winter break from Berkeley, the anpan and nikuman Barbra created turned out just like the ones we’d enjoyed back in Japan. After devouring anpan with sweet red bean filling, we all could imagine the buns stuffed with a variety of other fillings: vegetable mixtures, curry, barbequed caribou, fruit, or even chocolate!

Anpan freshly steamed_n

Light, freshly steamed, piping hot and ready to be lifted out of our fish poacher, anpan definitely fit the category “comfort food.”  The ones we made were about the size of tangerines.

Because we rely on our Zojirushi bread machine to regulate the temperature for consistently rising dough, the following recipe has been created for the dough cycle of a bread machine. As an alternative to steaming, the dough can be given an egg wash and baked at 350 degrees F for 15 minutes. A recipe for Caribou Cha Sui follows the anpan recipe below. Click here to see a recipe for sweetened red bean filling.

Anpan

Ingredients

  • 1 cup water
  • 1 tbsp extra light olive oil
  • 1  3/4 cups all purpose flour
  • 1  1/2 tbsp granulated sugar
  • 1/4 tsp salt
  • 1 tbsp dry yeast
  • 1/2 tsp baking powder
  • 1 tbsp white vinegar

Directions

  1. Place first 6 ingredients into pan of bread machine in the order recommended by the manufacturer.
  2. Set machine to dough cycle. Start.
  3. After cycle is complete, punch down dough on a lightly floured surface.
  4. Sprinkle baking powder evenly over surface of dough.
  5. Knead dough for 5 minutes.
  6. Divide dough in half. Place half of dough in a covered bowl.
  7. Cut the remaining dough into 12 equal pieces.
  8. Roll dough pieces into balls and then flatten. Make sure that edges are thinner than the center.
  9. Fill dough with 1 teaspoon of desired filling. Bring edge of circle up to pinch closed so that none of the filling is showing.
  10. Place filled dough on a small piece of waxed or parchment paper. Continue with remaining dough balls.
  11. Repeat process with dough that has been covered in the bowl.
  12. Let all filled dough balls stand covered for another 30 minutes.
  13. Steaming process could be done in a steamer basket or a wok. I have a fish poacher with a raised grate and used this to steam the buns.
  14. Bring water and 1 tbsp vinegar to a boil in steamer.
  15. Place as many buns as will fit in steamer, allowing for about an inch between buns so that they don’t stick together as they cook.
  16. Cover with lid. Steam over boiling water for 15 minutes.

———————————————————————————————————————

Caribou Cha Sui (Works well with venison, moose, elk, lean beef or similar meat)

The first step is to create a marinade and let the tenderized caribou absorb the flavors overnight in the refrigerator. The next day, make a filling with the marinated caribou and stuff the anpan. The filling will make enough for 6 steamed buns (nikuman). This recipe is best started a day in advance to ensure the meat is properly marinated.

Ingredients (Makes 6 nikuman)

Filling:

Ingredients

  • 1/4 lb caribou, pounded/tenderized till 1/2 inch thick or thinner
  • cha sui marinade (see below)
  • 1/4 cup finely diced onions
  • 2 tbsp soy sauce
  • 1 tbsp honey
  • 1 tsp sesame oil
  • 1/4 cup beef stock (we use Better than Bouillon)
  • 1 tsp cornstarch
  • extra light olive oil

Directions:

  1. Place tenderized caribou in a glass bowl or container and completely cover with marinade.
  2. Cover glass container and place in refrigerator overnight.
  3. The following day…
    1. In a medium-sized frying pan, heat 1/2 tbsp oil over medium-high heat until a drop of water sizzles in pan.
    2. Sear caribou on each side to seal in the juices.
    3. Reduce heat to medium and cover pan. Continue cooking for 3 minutes on each side. Meat should be cooked to “medium.”
    4. Remove pan from heat and place cooked meat on a cutting board to rest a few minutes.
    5. Dice cooked caribou into 1/4 inch cubes and set aside.
    6. In a small bowl, mix cornstarch and beef stock and set aside
    7. Wipe out the pan used to cook the caribou. Heat 1/2 tbsp oil over medium heat.
    8. Add diced caribou and onion to pan. Cook for about 1 minute, stirring occasionally.
    9. Add soy sauce, honey and sesame oil to pan. Stir fry for another minute.
    10. Add cornstarch and stock mixture to pan and continue cooking until sauce thickens, about 2 minutes.
    11. Place caribou in bowl to cool prior to filling anpan rolls.
    12. See above directions for anpan to complete recipe.

Cha Sui Marinade:

Combine the following ingredients in a glass bowl:

  • 4 large cloves garlic, minced or chopped fine
  • 1/2 tsp dried ginger
  • 1 tbsp honey
  • 2 tbsp soy sauce
  • 1/4 tsp white pepper
  • 1/4 tsp dry fennel
  • 1/4 tsp ground cinnamon
  • 1/2 tsp sesame oil
  • pinch salt

*Point Hope, like many bush villages in Alaska, is dry. Every now and again a certain meal calls for a special adult beverage. At these times we miss being able to enjoy an alcoholic beverage. Most of the time we are content to wait until summer, which we spend in the “wet” town of Seward, Alaska or traveling.

Pumpkin Pancakes: A Tasty, Healthy Way to Start the Day

Pumpkin Pancakes

Give your pancakes a tasty nutritional boost by stirring in some pumpkin purée left over from baking pies. Hot off the grill, these especially light pancakes are served with chopped pecans and a slice of smoked Alaskan salmon.

Pumpkin pie is practically a staple at our Thanksgiving and Christmas meals. Easy to make and inexpensive (pumpkins can generally be had for pennies per pound), pumpkin is also one of the more healthful pies. In fact, we sometimes have a slice sans whipped cream along with an egg for breakfast. But what to do with the leftover pumpkin purée, particularly if all you have is a cup or so? One of our favorite solutions is pumpkin pancakes. Use the same spices you would with pumpkin pie, hold the sugar, and you’ve got a great start to your day!

Pumpkin Pancakes 

Ingredients (4 medium-sized pancakes):

  • 1/2 cup pumpkin purée (or use butternut squash)
  • 1 cup your favorite pancake mix (we use Krusteaz buttermilk mix, which we buy in bulk at Costco)
  • approximately 3/4 cup cold water
  • 2 tbsp light olive oil
  • 1 – 2 tbsp butter
  • a healthy dash of nutmeg
  • a healthy dash of ginger
  • 1/4 tsp cinnamon

Directions:

  1. Place purée and pancake mix in a small bowl or large measuring cup. Add cold water and stir. Mixture should be thick but pourable. Do not overstir. Batter should have lumps. This ensures for better rising pancakes.
  2. Meanwhile, heat a griddle or large frying pan over medium heat. Place the olive oil and butter onto the griddle. When oil is hot enough to sizzle when a small drop of batter is added, it’s ready. Pour batter onto the griddle in 4 separate portions and reduce heat to medium-low.
  3. When the surface of the pancakes have formed bubbles and the bottoms are golden brown, turn them over with a spatula.
  4. Reduce heat further, if necessary, and continue cooking pancakes till golden brown.

Once the griddle or pan is hot and the batter has been poured, reducing the heat will allow the pancakes to rise better. A fairly thick, heavy griddle or pan works best.

See also:

Big, Fluffy Blueberry One-Pan Pancakes

Smoked Salmon with Soy Sauce and Brown Sugar Brine

Maple Pecan Pumpkin Pie

Pumpkin and Pecan Pies

Fluffy Hamburger Buns

Fluffy Hamburger Buns_n

Tempting to eat straight from the oven, these soft rolls are perfect for any savory filling. The dough can be shaped to accommodate big burgers, sliders, or even hot dogs. Most recently, we enjoyed them with barbecued turkey sandwiches made from Christmas dinner leftovers.

I first made these soft and delicious buns to go with Jack’s Bison Sloppy Joes with Roasted Bell Peppers.  They came out perfectly soft and fluffy with no trace of doughiness. I’ve since made variations by adding dried onions into the dough as well as different toppings, such as sesame seeds. This recipe is now the go-to recipe for buns in our home.

Perfect Hamburger Buns

Ingredients

  • 1 cup warm water
  • 2 tbsp extra light olive oil
  • 2 cups all purpose flour
  • 1 tbsp granulated sugar
  • 3/4 tsp salt
  • 2  1/4 tsp yeast

Directions

  1. Place all the dough ingredients into the bread machine pan in the order recommended by the manufacturer.
  2. Set machine to dough setting. Start machine.
  3. Line a baking sheet with parchment paper.
  4. Turn finished dough onto a lightly oiled work surface.
  5. Knead for 2 – 3 minutes.
  6. Cut dough into 8 equal pieces.
  7. Take each piece and roll into ball using cupped hands.
  8. Place dough balls onto baking sheet.
  9. Flatten each dough ball into bun-size and shape. Dough balls should be about an inch thick.
  10. Cover with a cloth and let dough rise for 30 minutes.
  11. Preheat oven to 350 degrees F.
  12. Bake rolls for 12 minutes, or until tops are golden.
  13. Cool on wire rack before slicing.

Adapted from Allrecipes.com.

Sour Cherry Almond Hearts

Sour Cherry Almond Hearts_n

Tart dried cherries, sour cherry concentrate and almond extract combine to create wonderful flavors in these cookies which can be cut into fun and festive shapes to suit any holiday. 

One flavor we enjoy in our culinary creations is sour cherry. It has a wonderful flavor and stirs memories of our home in Sacramento and our sour cherry tree laden with ripe, bright red fruit. We always looked forward to seeing the birds this tree attracted as well as the ice creams, biscotti and sauces for pork and chicken the fruit starred in. While we can’t get sour cherries here in the Arctic, dried cherries are a must on our annual shopping list. This past summer during our annual bulk shopping, we came across sour cherry concentrate at Natural Pantry, a health food store in Anchorage. The concentrate, which claims  antioxidant benefits when consumed daily, was in the store’s vitamin section.

Of course, our first thoughts upon finding this concentrate went to the kitchen where we imagined an extraordinarily tangy-sweet syrup for our homemade Italian-style sodas and for Jack’s giant pancakes. The combination of the concentrate and the dried cherries sets these cookies far apart from the ordinary. Cherry liqueur might be a good substitute for the concentrate in the dough recipe.

Sour Cherry Almond Cookies

Ingredients

Cookie dough:

  • 6 tbsp unsalted butter, softened
  • 1 oz. cream cheese, softened
  • 1/4 cup granulated sugar
  • 1/2 tsp almond extract
  • pinch salt
  • 1  1/4 cup all purpose flour
  • 1/4 cup finely chopped dried cherries
  • 1 tbsp sour cherry concentrate

Frosting:

  • 2 oz. cream cheese
  • 2 tbsp unsalted butter, softened
  • 1 tbsp sour cherry concentrate
  • 1 cup powdered sugar

Directions

  1. Preheat oven to 325 degrees F.
  2. Line a baking sheet with parchment paper.
  3. In a mixing bowl, combine butter and cream cheese. Beat with an electric mixer on medium speed until incorporated.
  4. Add sugar, almond extract, salt and sour cherry concentrate. Mix until well incorporated.
  5. Mix in half the flour until combined.
  6. Mix in dried cherries and remaining flour until combined.
  7. On a lightly floured surface, roll out dough to 1/4 inch thick. Cut out desired shapes using a cookie cutter.
  8. Place cut cookies on cookie sheet.
  9. Bake for 14 minutes, or until bottoms are lightly browned.
  10. Cool on cookie sheet for 2 minutes and then finish cooling on wire rack.
  11. While cookies are cooling, make frosting.

Frosting Directions:

  1. Clean and dry mixer bowl and beater.
  2. Combine cream cheese, butter and sour cherry concentrate in mixer bowl and mix on low speed for about 30 seconds.
  3. Gradually beat in powdered sugar. Frosting should be of spreading consistency.
  4. When cookies are cooled, pipe frosting onto center of cookie.

Recipe makes 2 dozen cookies.

Maple Pecan Pumpkin Pie

Pumpkin Pie with Pecans & Maple Syrup_n

Crunchy pecans drenched in maple syrup add an inviting twist to this classic autumn and wintertime dessert.

Two hundred miles north of the Arctic Circle, we’re a long way from the closest pumpkin patch, and at $65.00 and up, the pumpkins brought into the Native Store for Halloween didn’t tempt us. But Jack kept his eye on them, and as predicted, the day after Halloween the price fell by half. We held out a few days beyond that and the prices dropped another 50%. One of the wonderful things about squashes and pumpkins is that they keep well, and so we purchased a 17-pound beauty no worse for the extra week or two it had spent on the store shelves for only $18.00. Jack then set to work cutting up and roasting the pumpkin, seeds and all. The seeds were tossed with olive oil, garlic, salt, and a blend of Italian seasonings. Crisp, crunchy and zesty, they were devoured immediately. The pumpkin was roasted plain and then puréed with several uses in mind.

I used the first two cups of pumpkin purée to create a pie inspired by the superb Pennsylvania maple syrup that a friend had sent to us. Along with a healthy dollop of bourbon, maple syrup is the perfect compliment to the flavors in pumpkin pie filling. The pecans in this recipe come out sweet, light and crunchy.

Maple Pecan Pumpkin Pie

Ingredients

Filling:

  • pastry crust for one 9-inch pie
  • 3 eggs
  • 2 cups pumpkin purée
  • 1 cup heavy whipping cream
  • 1/4 cup maple syrup
  • 2 tsp vanilla extract
  • 1/4 cup granulated sugar
  • 1 tsp ground cinnamon
  • 1/2 tsp ground ginger
  • 1/2 tsp mace
  • 2 tbsp bourbon (optional)

Pecan Topping:

  • 1 tbsp unsalted butter, melted
  • 3 tbsp firmly packed brown sugar
  • 3 tbsp maple syrup
  • 1/4 tsp cinnamon
  • 1 cup pecan halves

Directions

  1. Preheat oven to 425 degrees F.
  2. Line a 9-inch pie pan with pastry crust.
  3. In a large mixing bowl, beat eggs until frothy.
  4. Add pumpkin, whipping cream, maple syrup, vanilla, sugar, cinnamon, ginger, and mace. Beat well to mix. Pour mixture in the pastry-lined pie pan.
  5. Bake for 40 minutes.
  6. Meanwhile, make pecan topping. Combine butter, sugar, syrup, and cinnamon. Mix thoroughly.
  7. Add pecan halves to topping mixture. Stir well.
  8. After pie has baked for 40 minutes, arrange pecan topping on top of pie.
  9. Cover edges of pie with foil to prevent burning and return pie to oven. Continue baking for 20 – 25 minutes, or until a knife inserted in the center of pie comes out clean.
  10. Remove from oven and cool on a wire rack.
  11. Cover and refrigerate within 2 hours.

Adapted from The Baking Pan