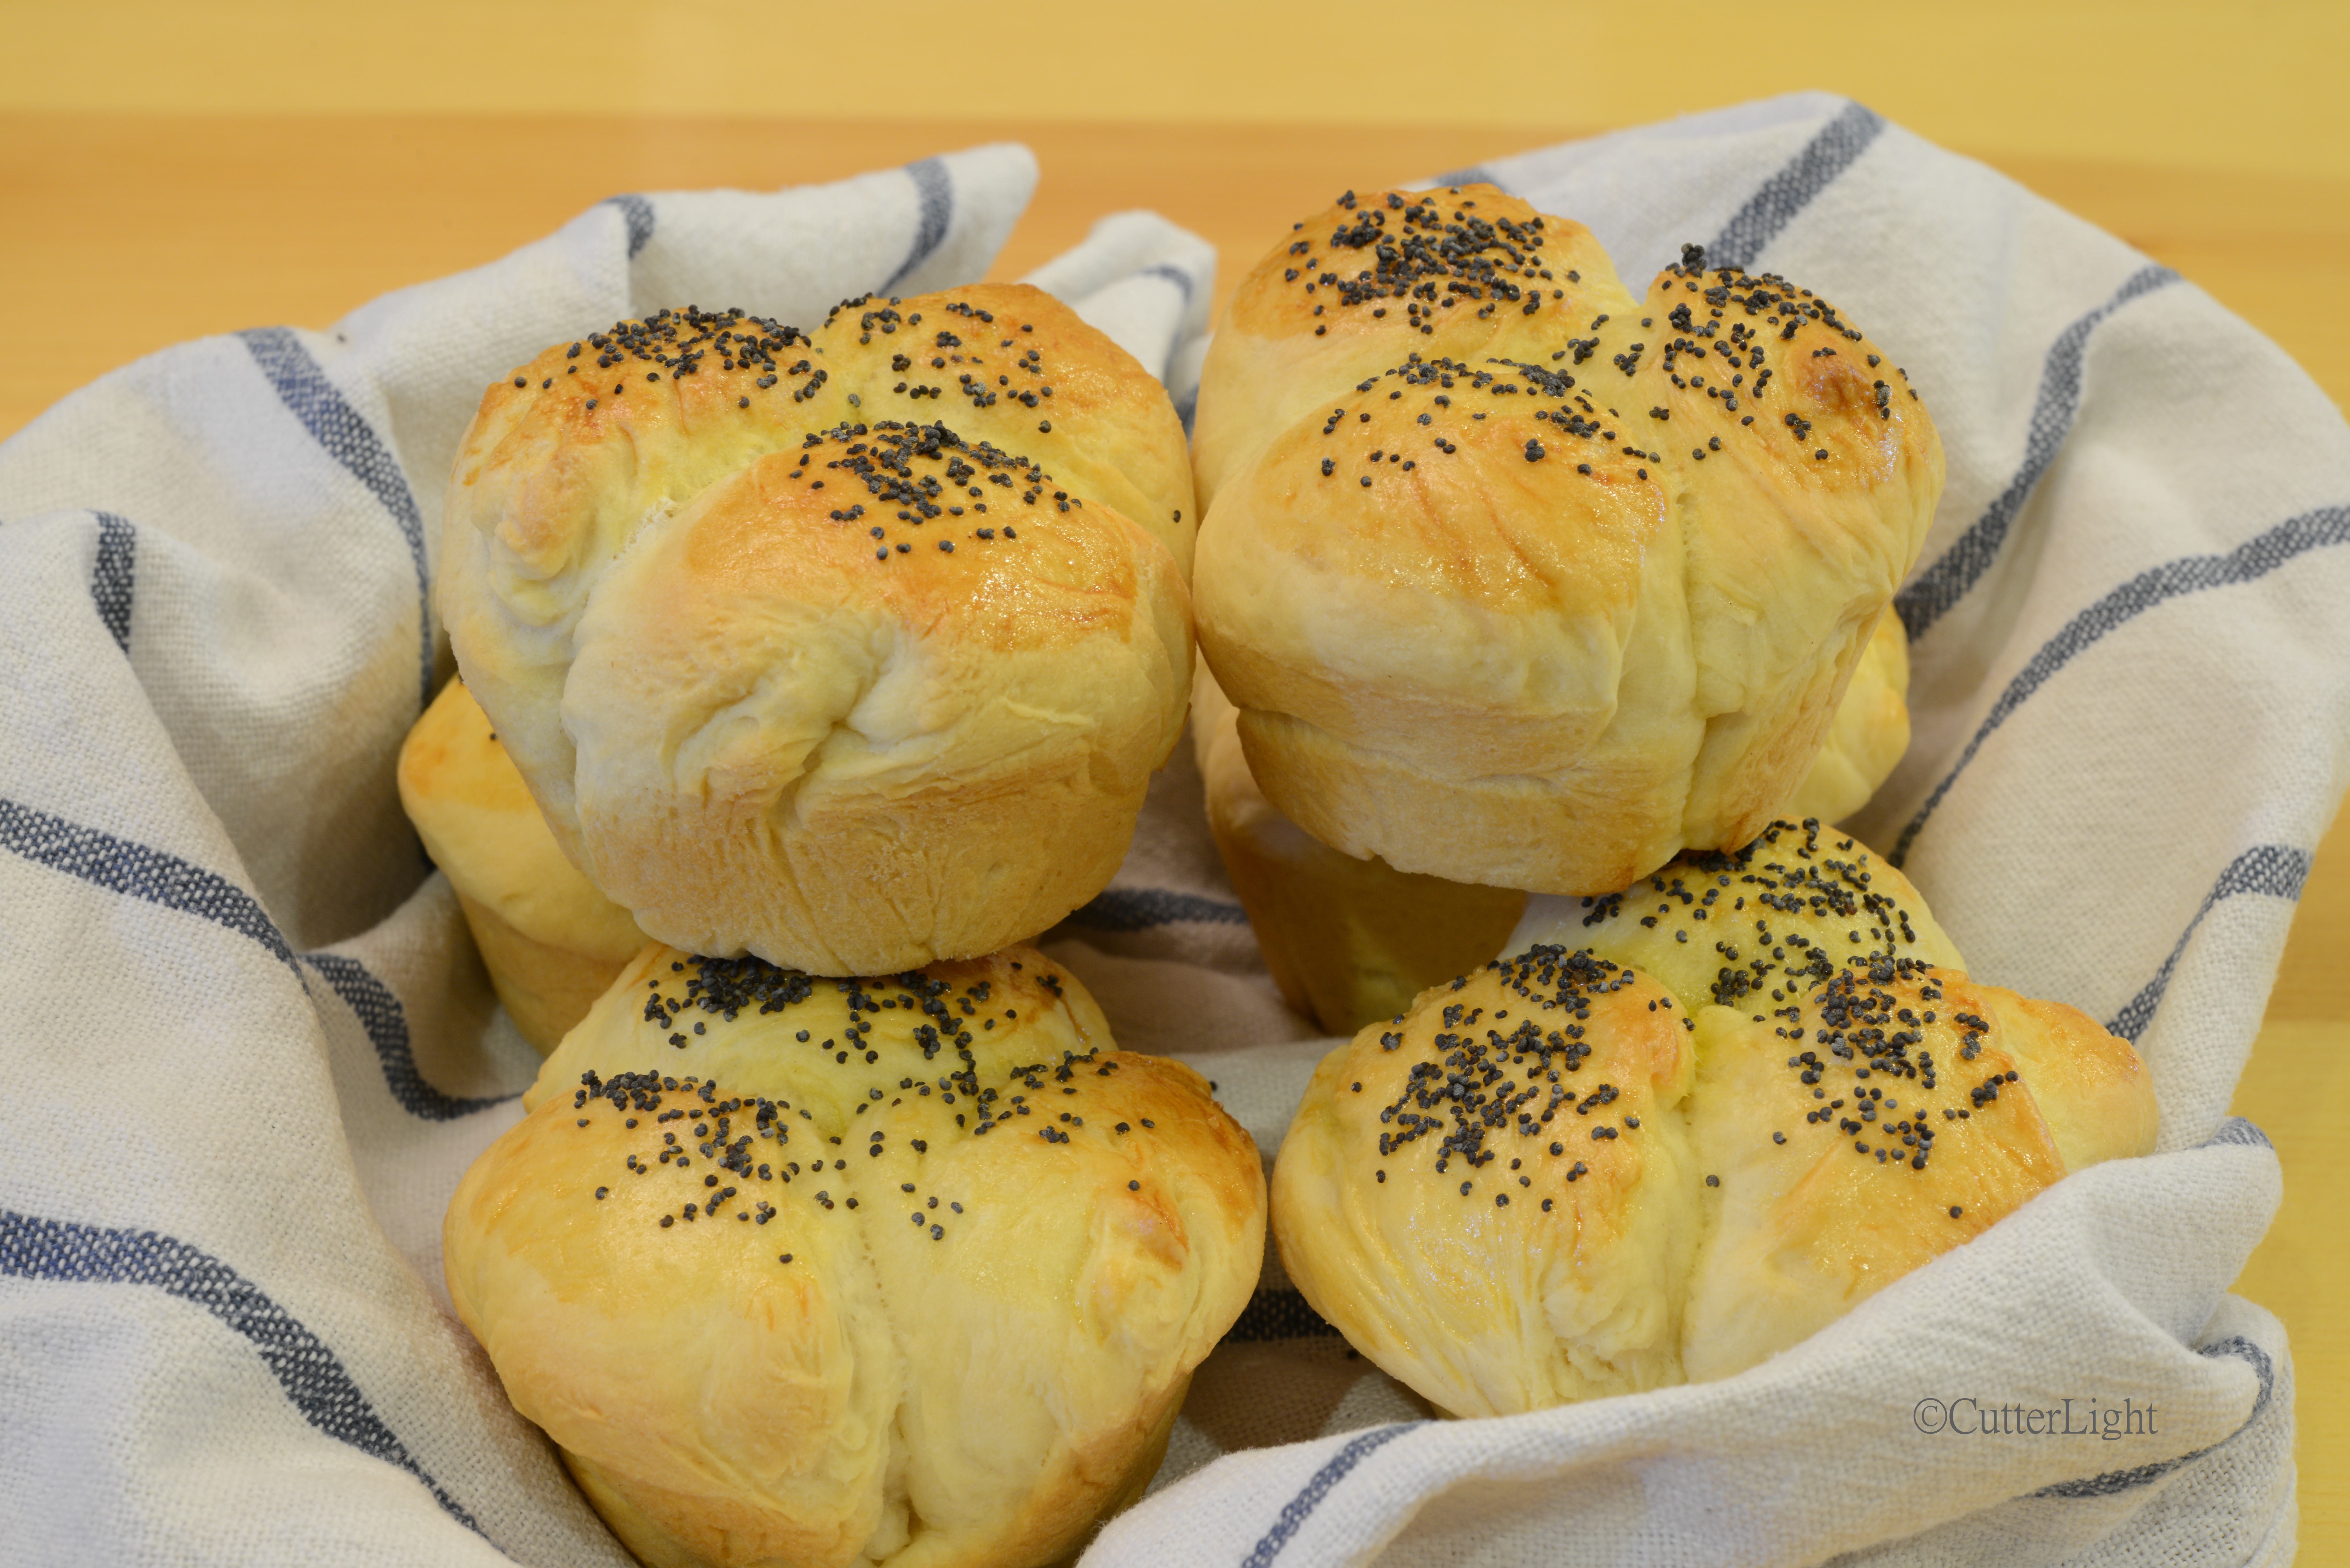
In theory, this recipe will make twelve rolls. When I went to retrieve the rolls for my photo shoot, there were only six. Jack!?! They must have been really tasty!
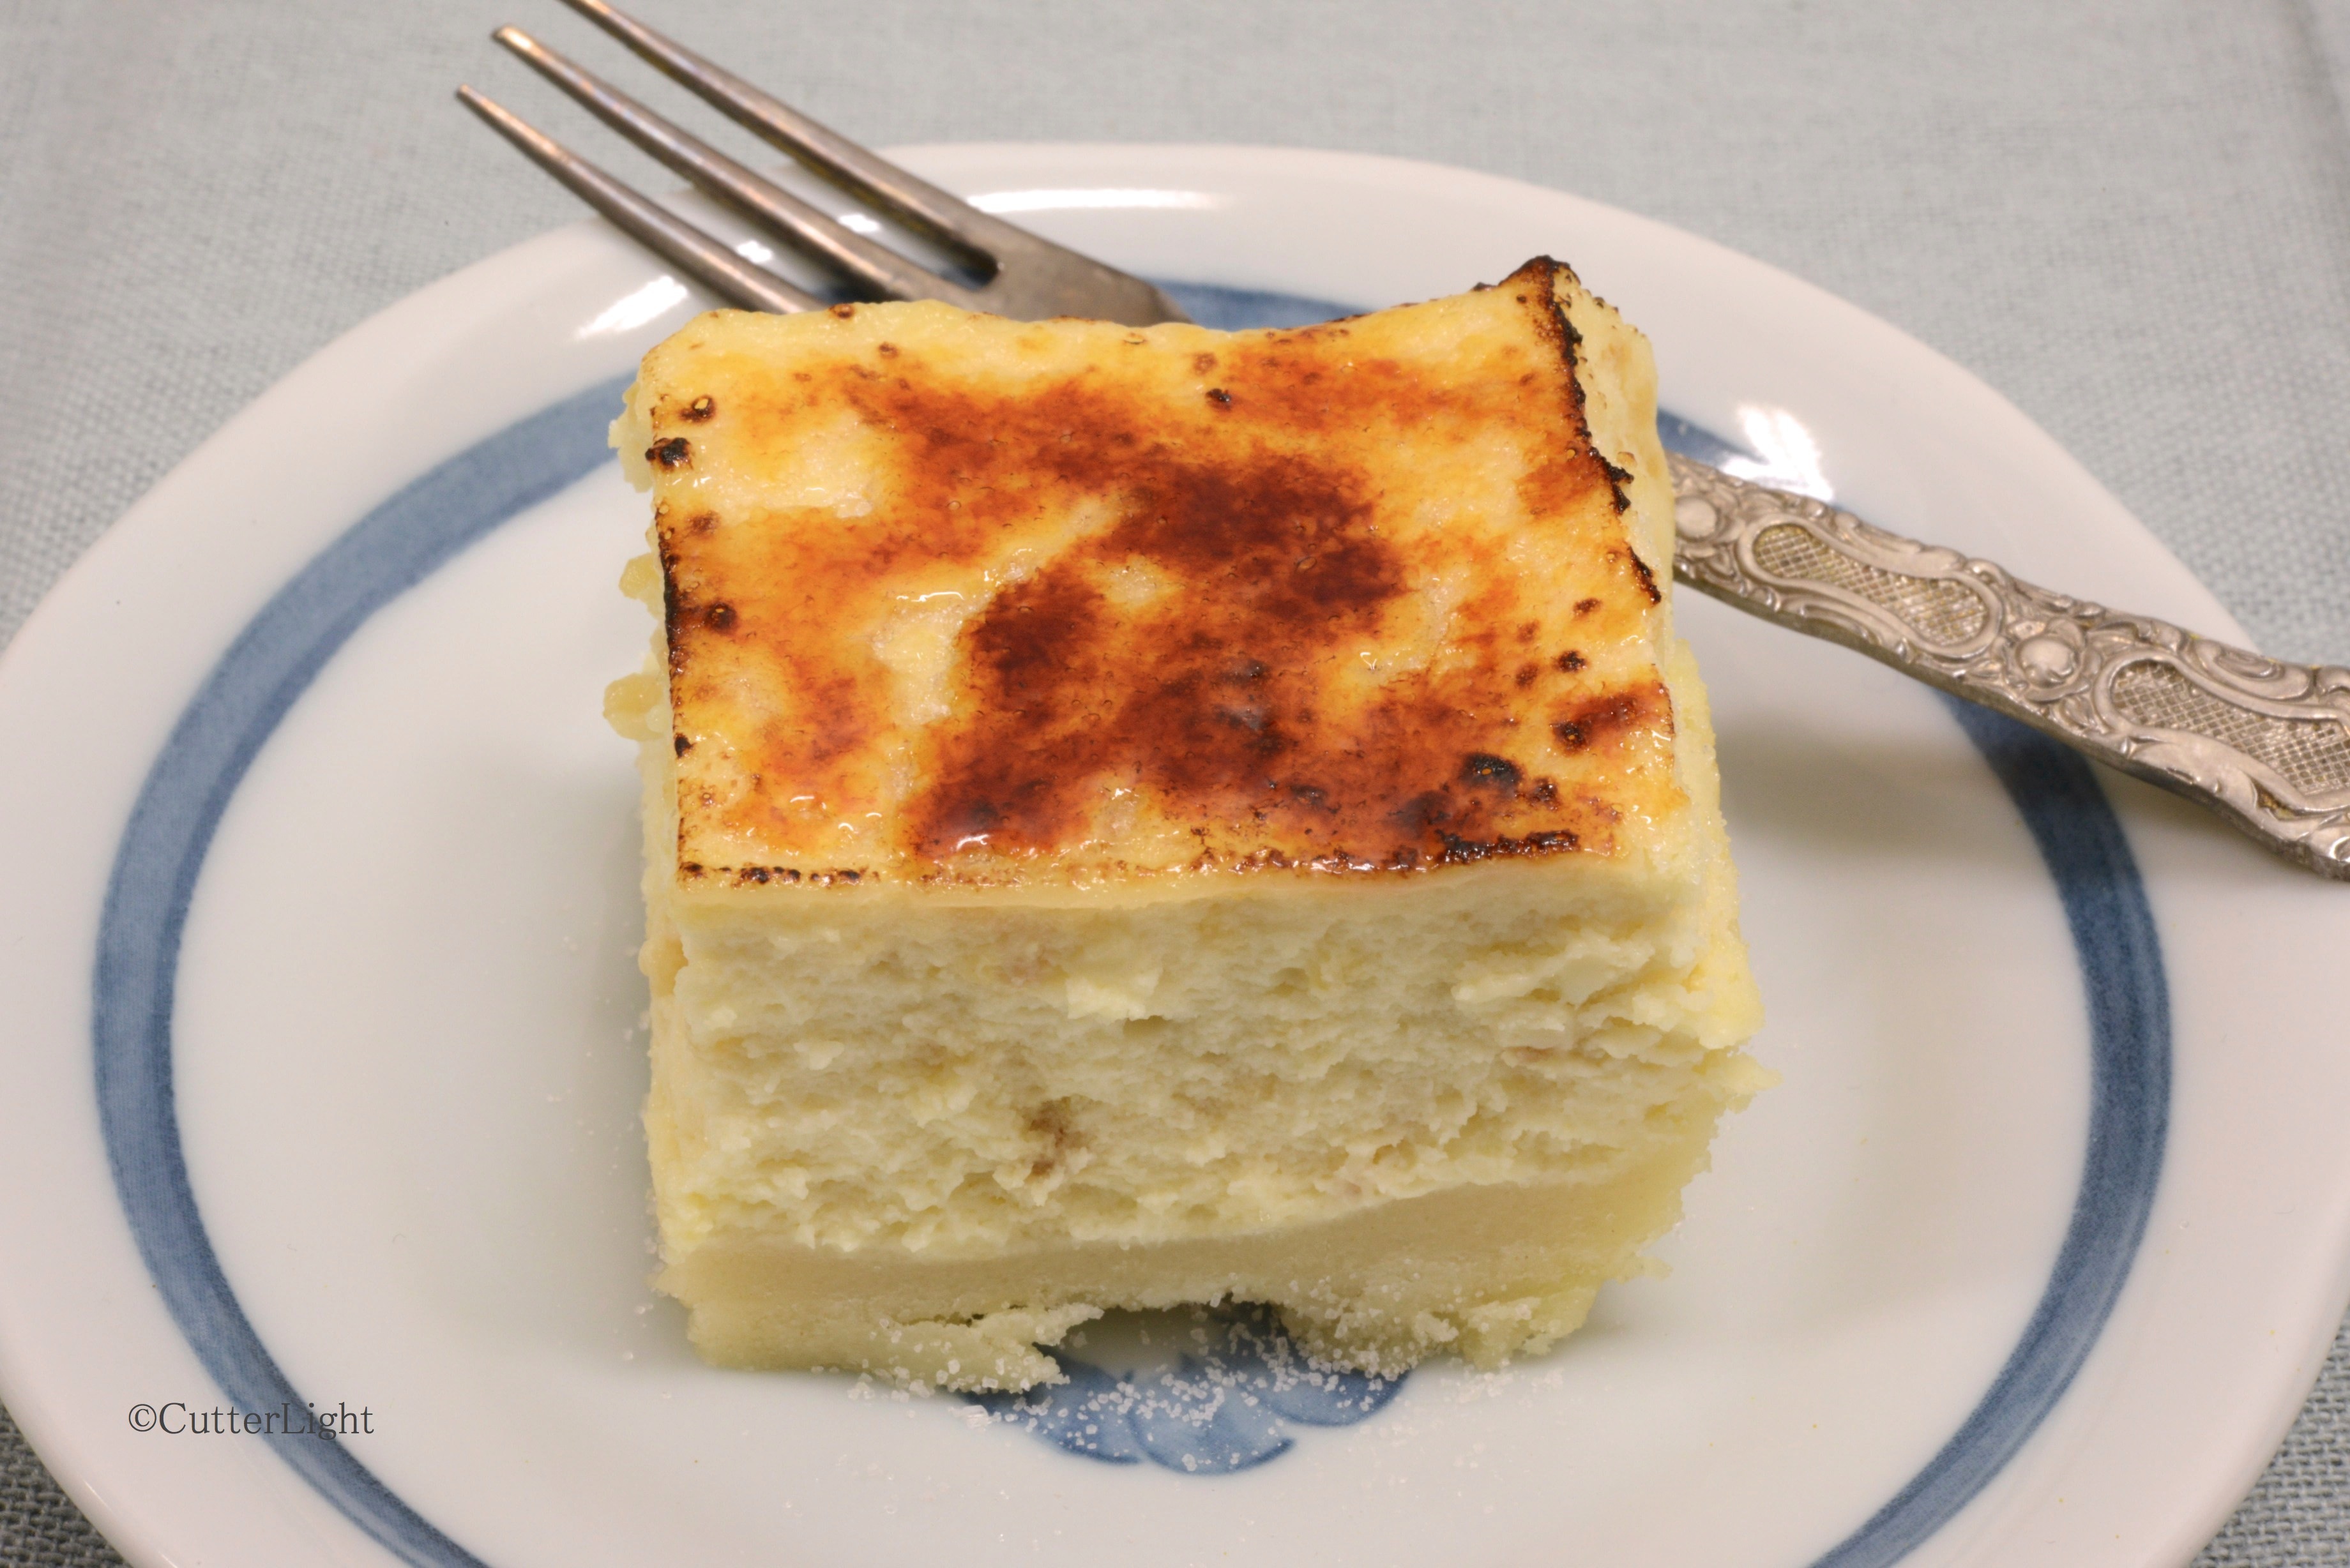
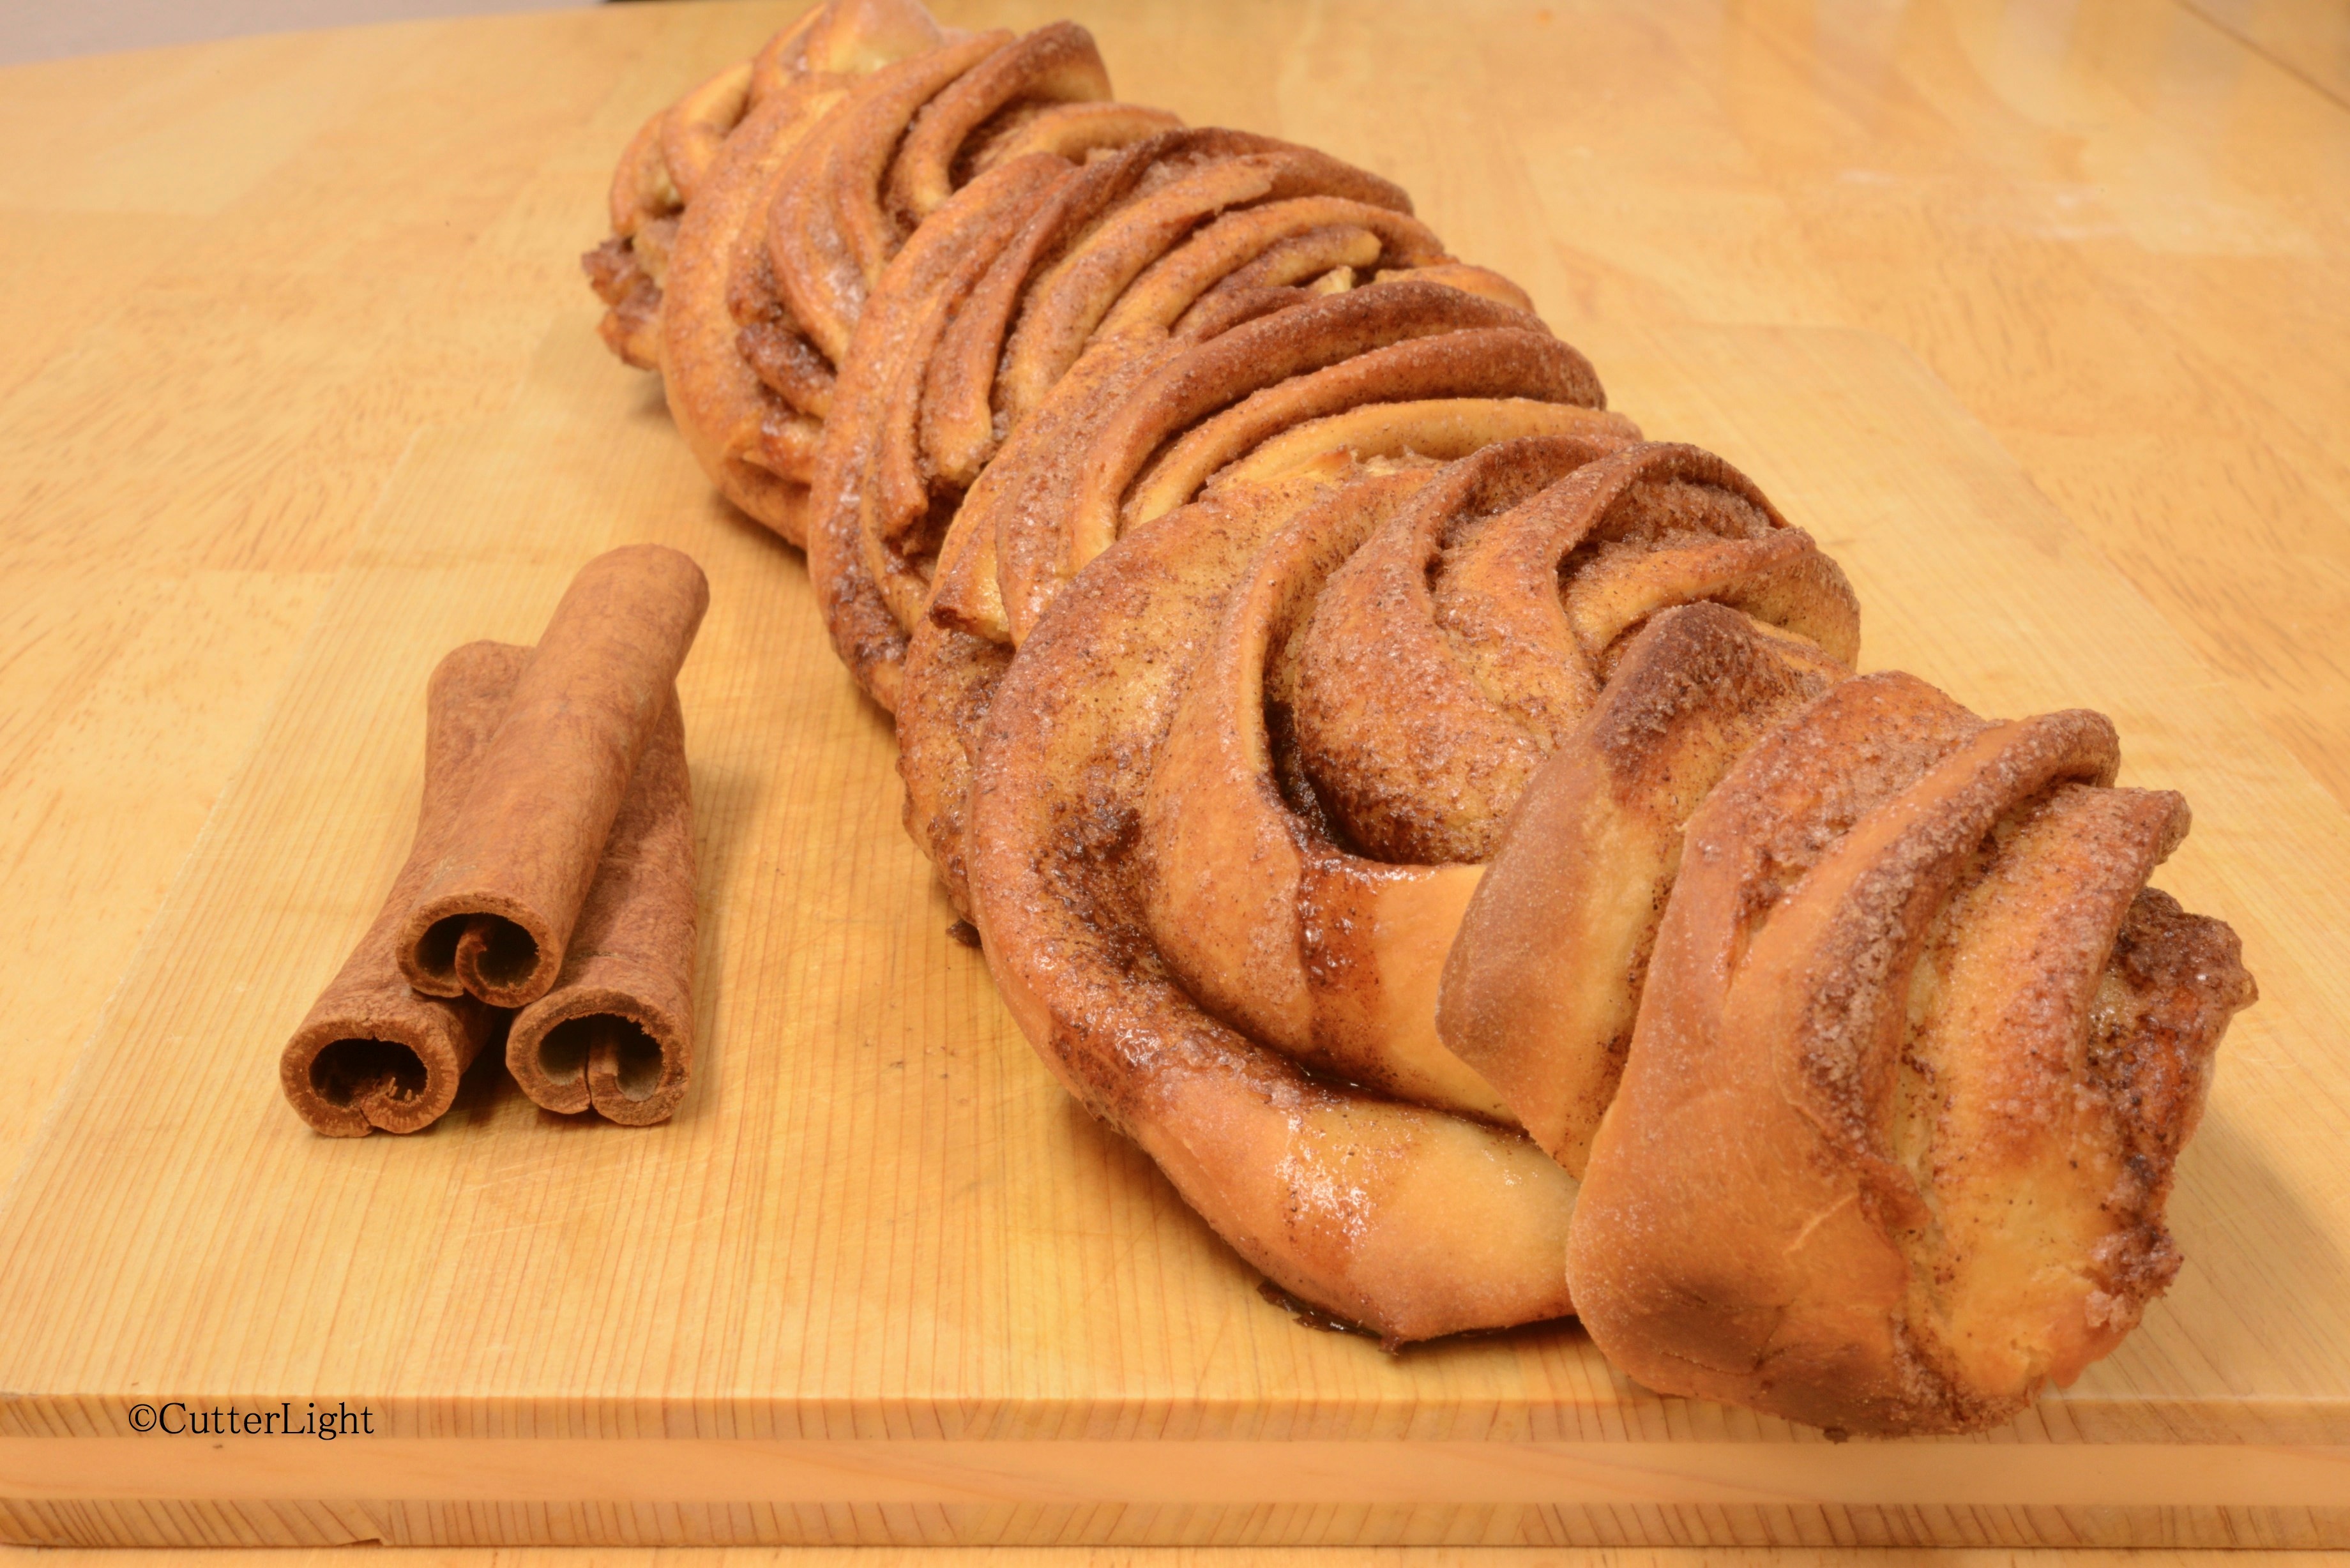
The transition from Alaska to Ulaanbaatar, Mongolia has not been easy for the baker in me. Ulaanbaatar is known for being the coldest capital in the world. Since we have arrived, the weather has been really warm. Turns out highs in the 70’s and 80’s F is mighty warm for our Alaskan blood. Finally, a cloudy day with a high of 53 degrees F made for a comfortable baking weather.
After years of making dough in my Zojirushi bread machine, the move to a country with different electrical outlets encouraged me to relinquish my training wheels and bake on my own. I had always had trouble getting my doughs to rise properly in our home in Point Hope. With experience and a few tricks, I was ready to give it a go without any machinery.
I pulled my Williams-Sonoma Baking Book off the shelf and looked for a yeasted bread recipe which would be a delicious accompaniment to Jack’s tomato soup. Poppy seed cloverleaf rolls sounded tasty and look beautiful, too. The recipe was easy to follow and the dough rose beautifully. The final product proved to be irresistible.
Poppy Seed Cloverleaf Rolls
Ingredients
- 1 cup whole milk
- 2 tbsp unsalted butter, plus extra for greasing
- 1 tbsp granulated sugar
- 2 1/2 tsp active dry yeast
- 3/4 tsp salt
- 2 3/4 cups all purpose flour
- 1 tbsp light oil
- 1 egg, well beaten
- 1 1/4 tsp poppy seeds
Directions
- In a small pan over low heat, mix milk, butter, and sugar.
- Stir until butter is melted.
- Pour milk mixture into a large bowl.
- Allow mixture to cool to 105 – 115 degrees F, then whisk in yeast.
- Let mixture stand until foamy, about 5 minutes.
- Whisk again and then stir in flour and salt, about 1/2 cup at a time. Dough should be soft and sticky.
- Turn dough out onto a lightly floured surface and knead until it is smooth and elastic, about 5 minutes.
- Coat a bowl with oil, then add dough to bowl. Turn dough so that it is covered with oil.
- Cover bowl with damp cloth and allow dough to rise until doubled, about 1 1/2 hours.
- Grease 12 standard muffin cups.
- Turn the dough out onto a lightly floured surface.
- Flatten dough to a rectangle.
- Cut rectangle into 12 equal portions.
- Take each portion and break into 3 pieces. Roll each piece into a ball and place three balls into each muffin cup.
- Cover pan with a kitchen towel and allow dough to rise until doubled, about an hour.
- Preheat oven to 375 degrees F.
- Brush tops of rolls with egg.
- Sprinkle each roll with some of the poppy seeds.
- Bake until puffed and golden, about 15 minutes.
- Remove from pan right away. Serve hot or warm.
Recipe courtesy of The Williams-Sonoma Baking Book.