Sockeye Salmon off the Beaten Path: Dipnetting on Alaska’s Copper River

barbra dipnetting sockeye b and w_n

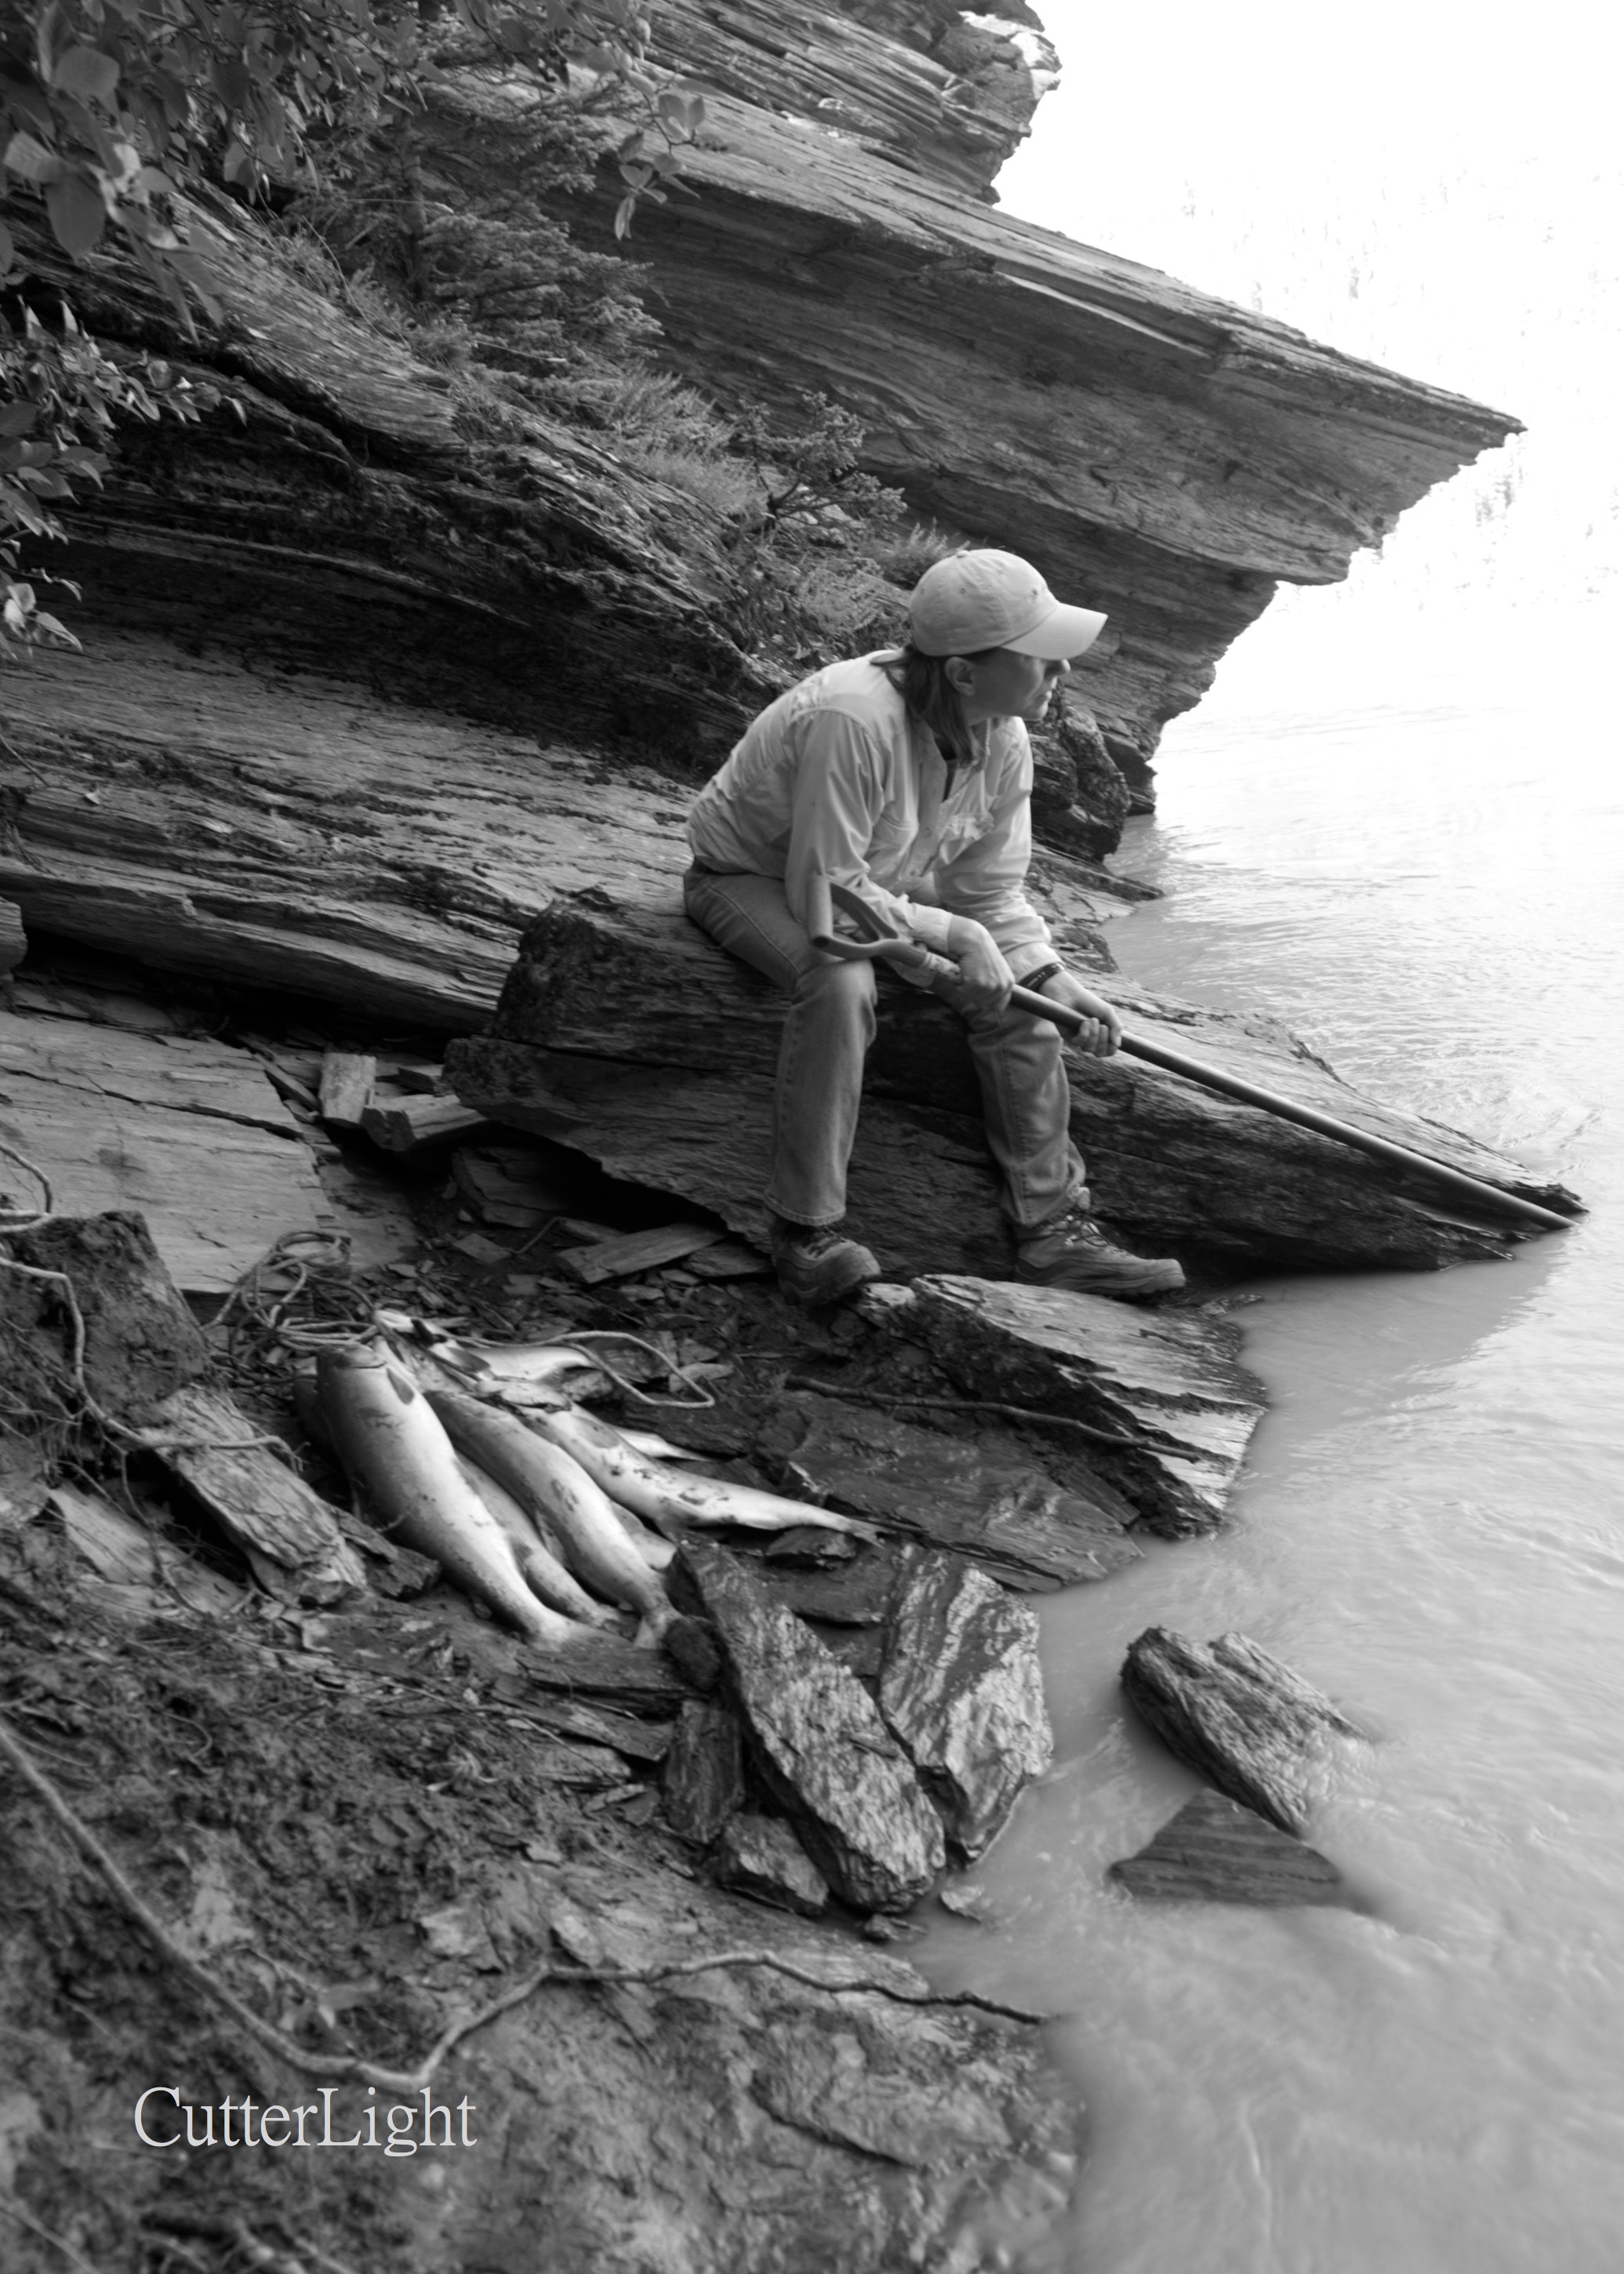
A two-mile hike into the canyon, a scramble down a steep bank, a piece of river with no one else in sight, and a run of red salmon hugging the shoreline, pushing upstream, heading home… 

Chalky-brown with glacial silt and bank erosion, the broad river sweeps by below, swift, powerful, wild. If we’ve timed it right, the piece of water we’ve chosen to fish will be full of sockeyes. Fireweed has just begun to bloom, and the forest trail above the river is lined with bluebells and pink wild roses.

barbra dipnetting sockeye_n

Barbra fishes an eddie where the fish swim close to the bank on their journey to spawning grounds further upstream.

This is not the fishing of hackle and thread carefully presented on graceful, arcing casts, nor even of Pixie spoons heaved out and fluttered through clear riffles. The net our friend Nathaniel Wilder has loaned us measures roughly three feet across and four feet long and is attached to a 12-foot handle. The rig is cumbersome, made more so by the surging tug of the current and we take turns bracing the handle against a slate rock outcropping to keep it steady in the river’s flow. When a fish hits, the net comes to life.

barbra dipnetting sockeye b_n

With a salmon in the net, the scramble for solid footing begins. 

sockeye in net_nLeft: On average the hens are smaller, but the roe is a delicacy. 

They come one, two and even three at a time and average six pounds apiece. The limit is 30, and it’s quickly apparent it won’t take long to put that many on the bank. A small, ice-cold stream cascading down the canyon wall provides the perfect place to clean the catch. We’re happy to have packed in a scrap of wood to serve as a filleting table.

The two-mile hike back to our camper, our backpacks loaded with 90 pounds of fish between the two of us is work, but a good kind of work. Back home, we’ll smoke and can the bright red fillets. The roe we’ve kept will be cured and made into ikura.

sockeye fillets_n
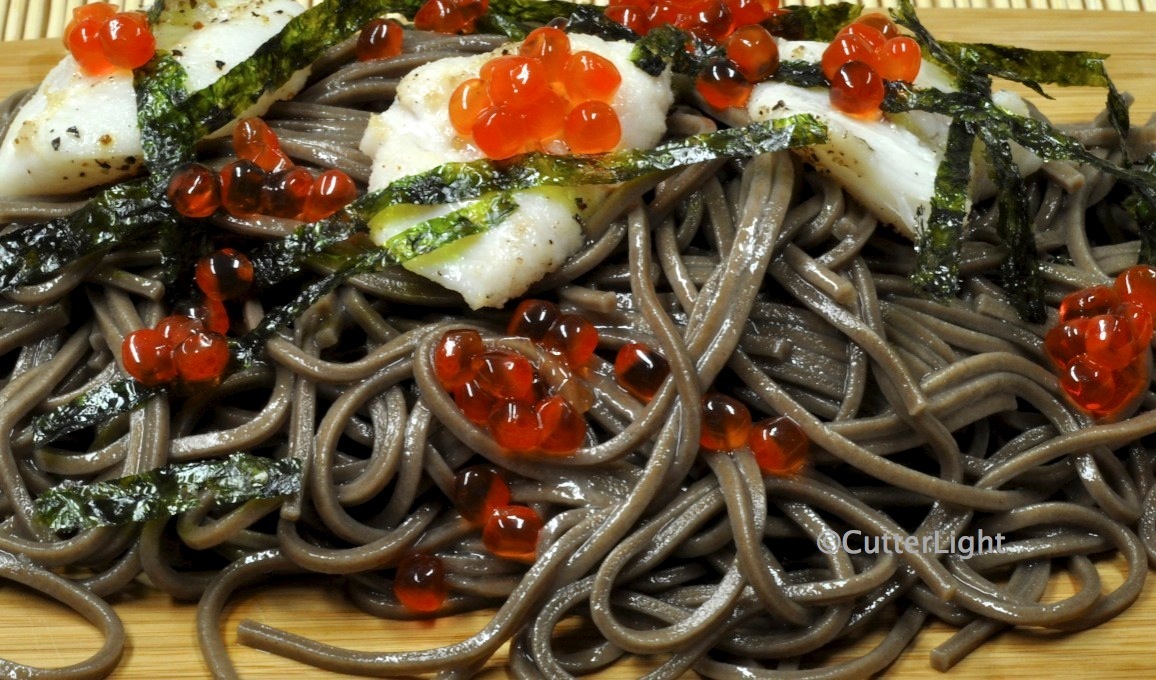
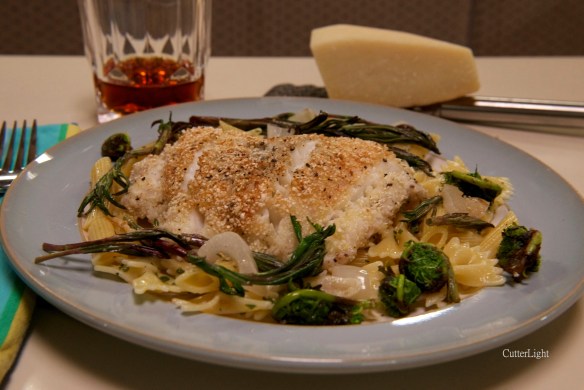
Brilliant red-orange and marbled with fat, these sockeye fillets are ready to be brined and smoked, seasoned and broiled, grilled on a cedar plank, or sliced thin and served as sashimi. As per standard practice in Japanese sushi shops, we freeze salmon (and other fish) for at least 24 hours prior to preparing raw.

eagle in high water_n

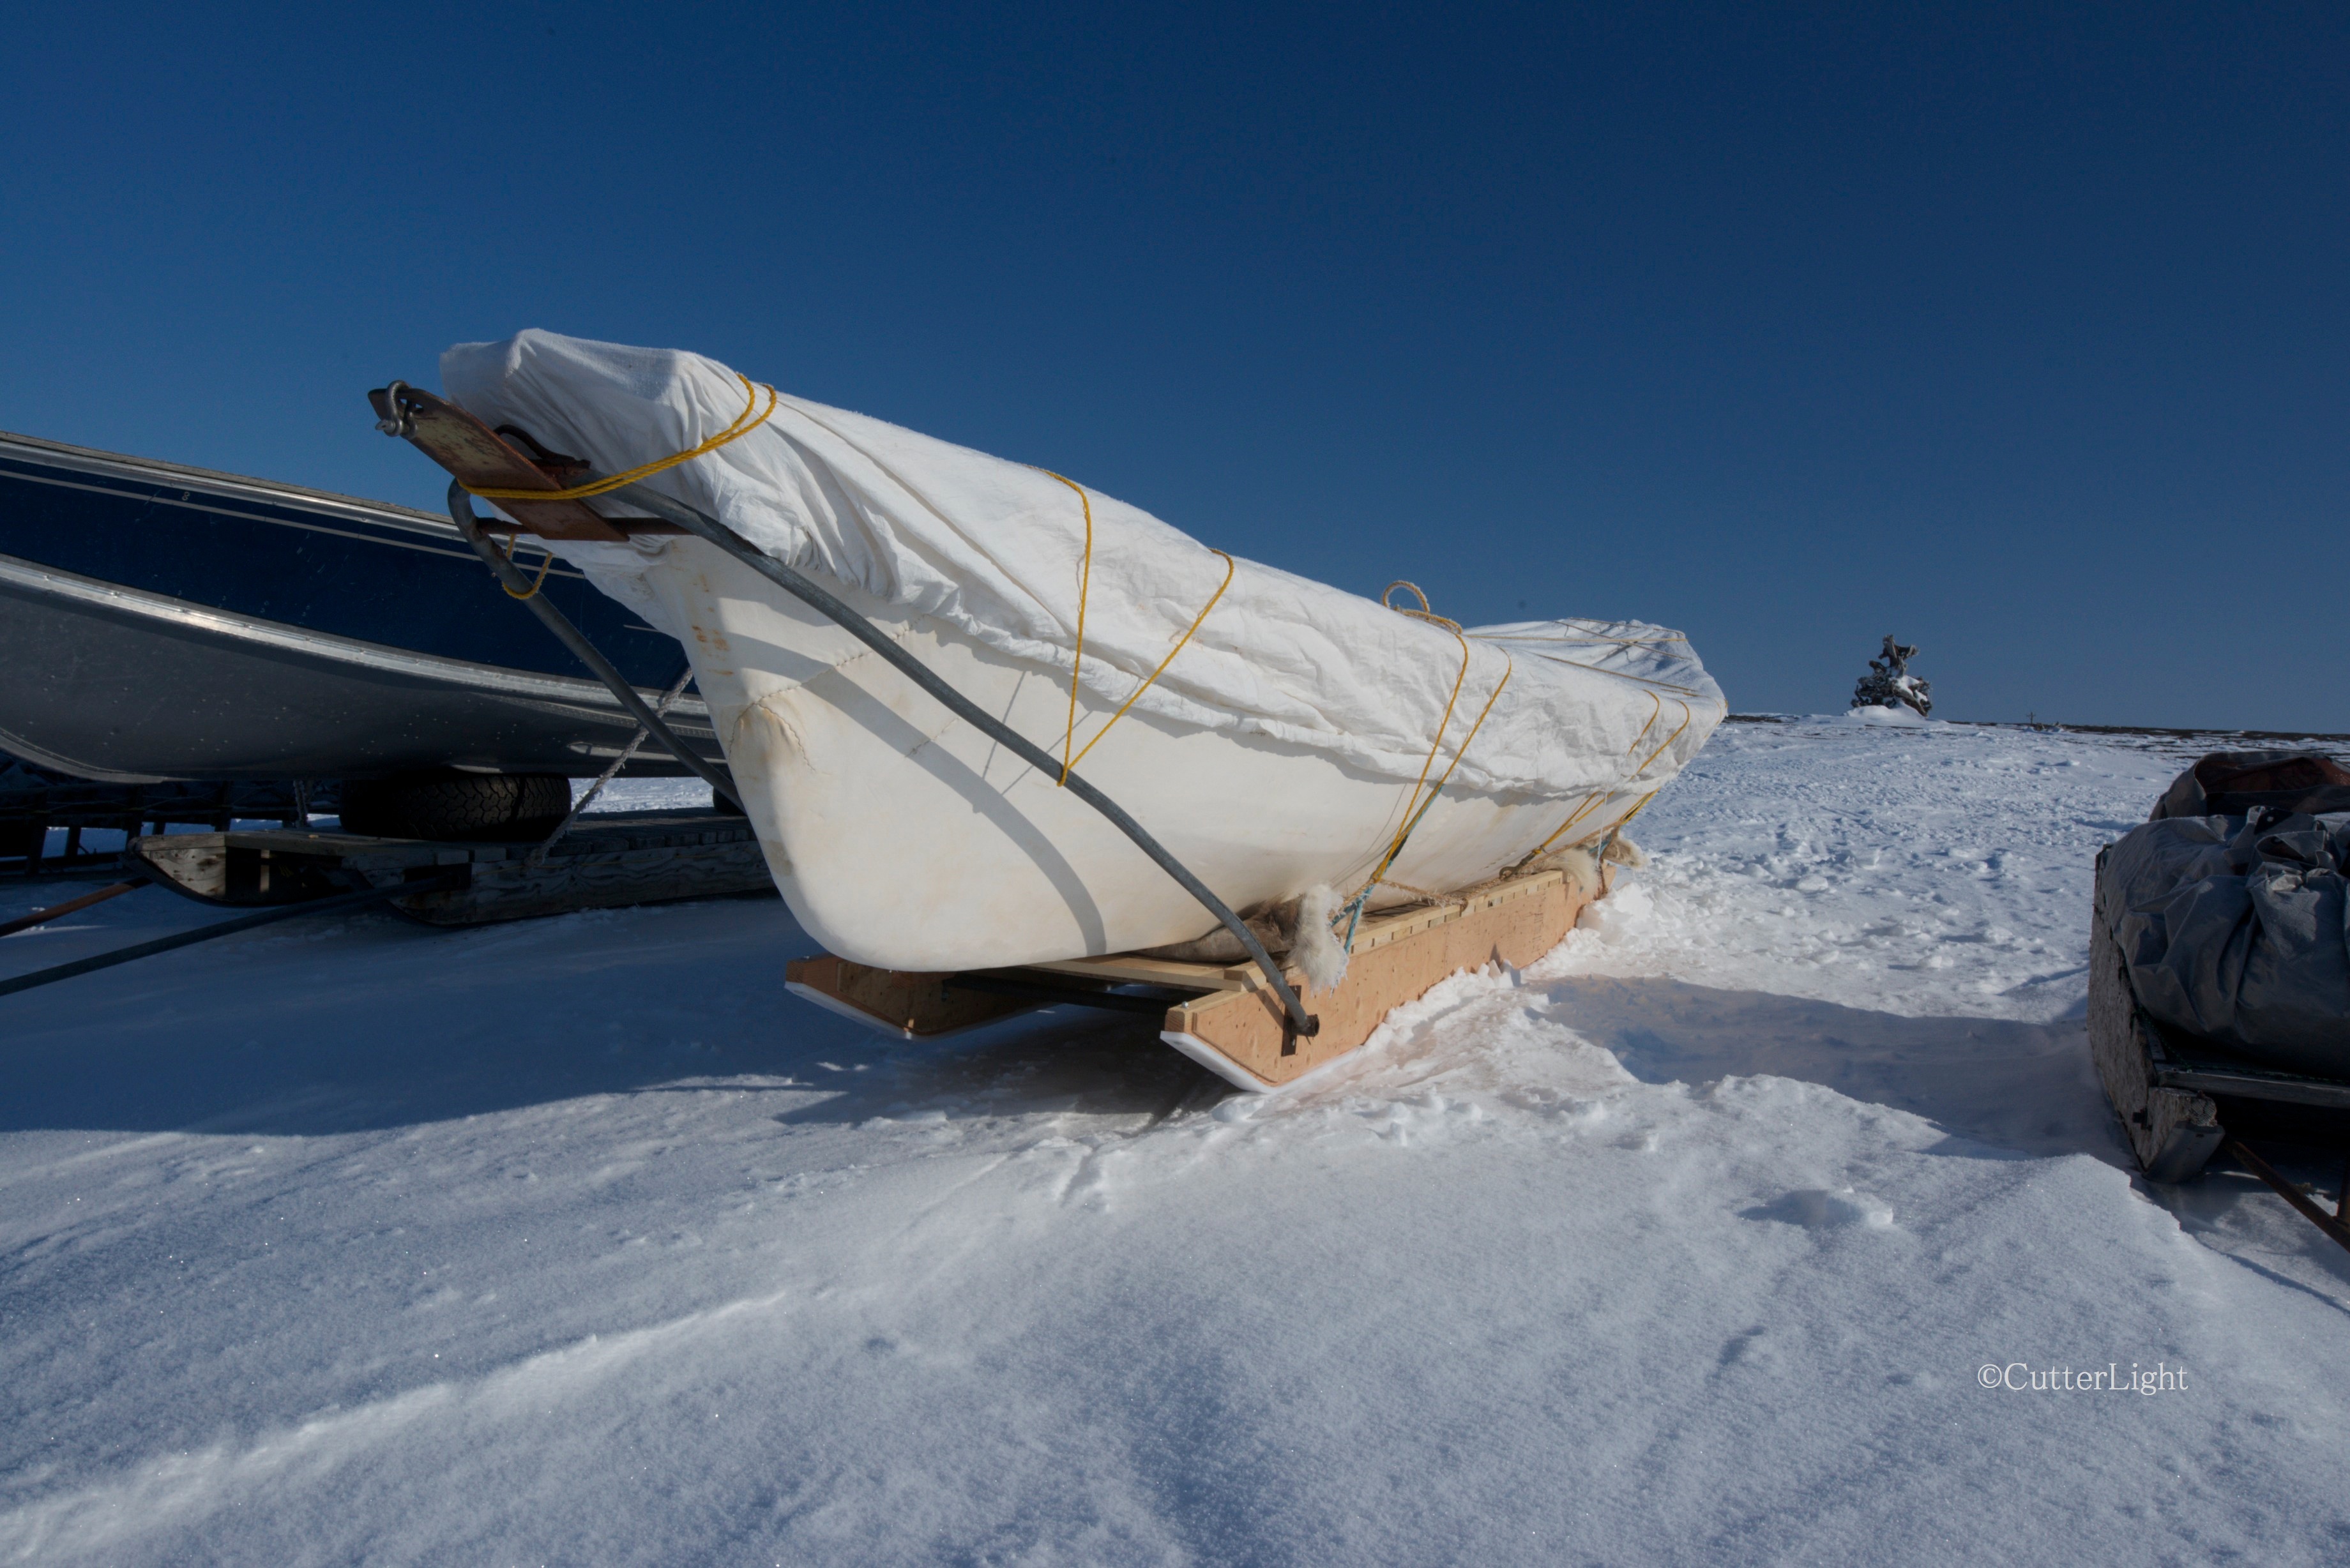
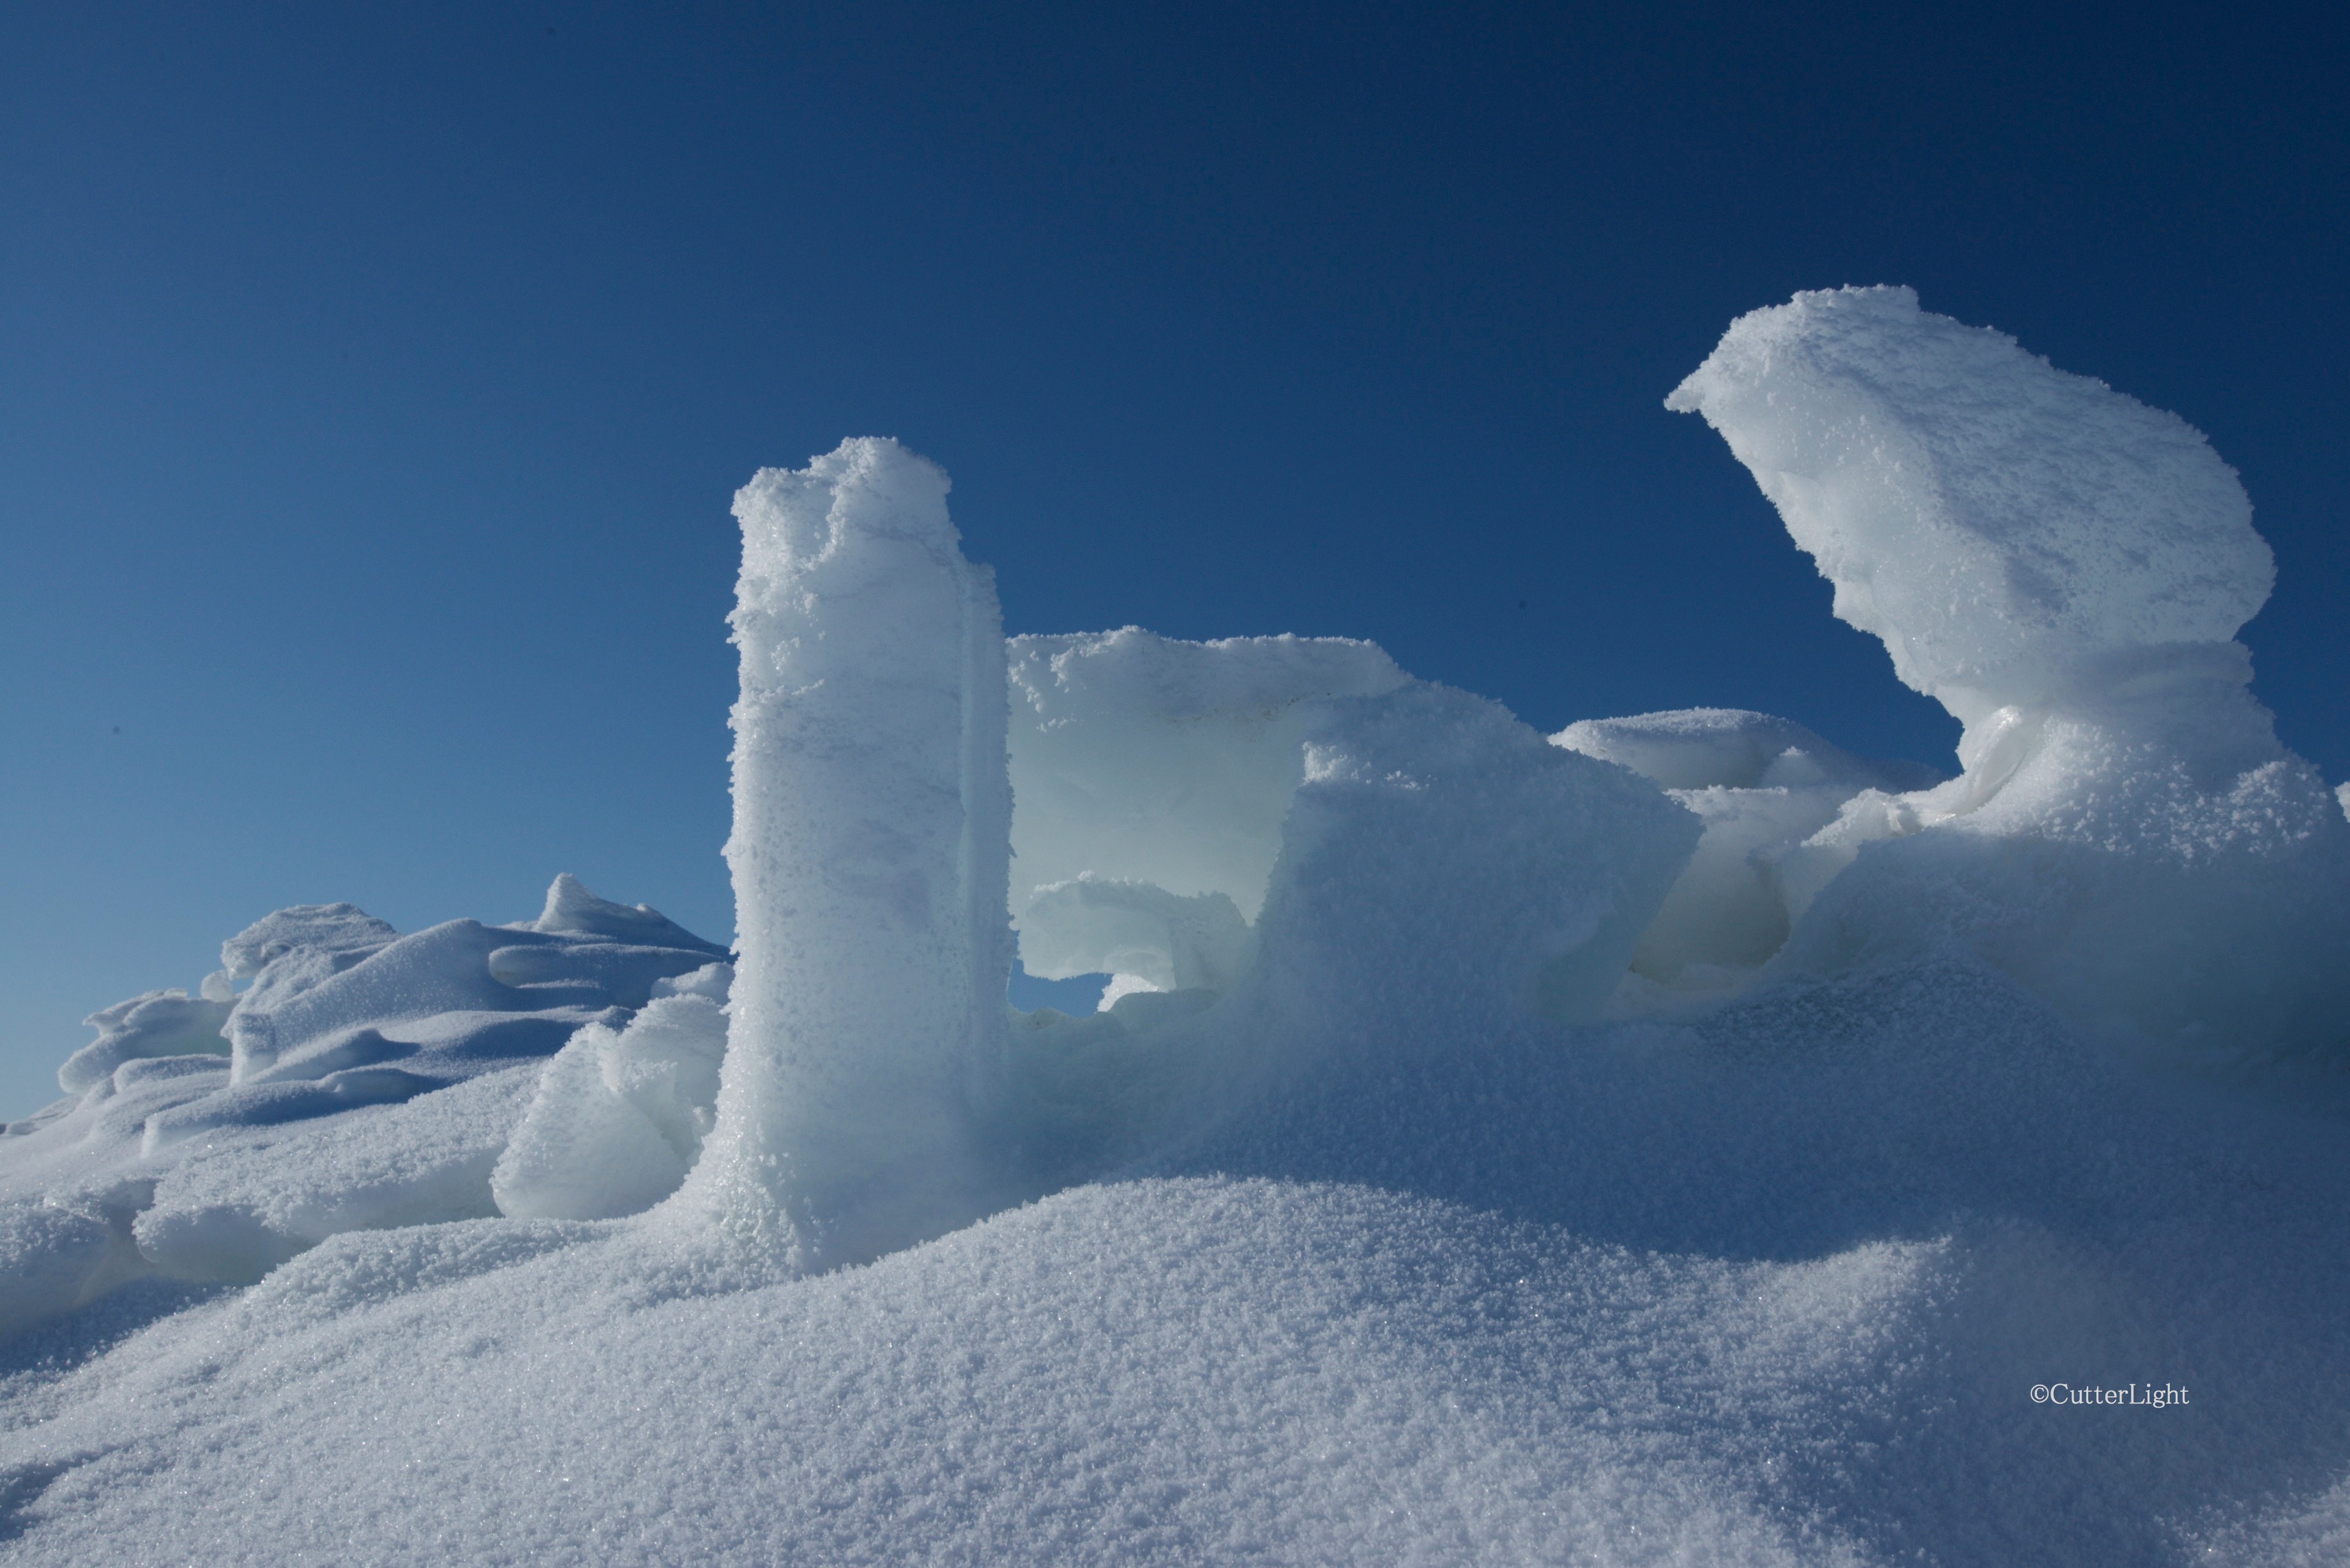
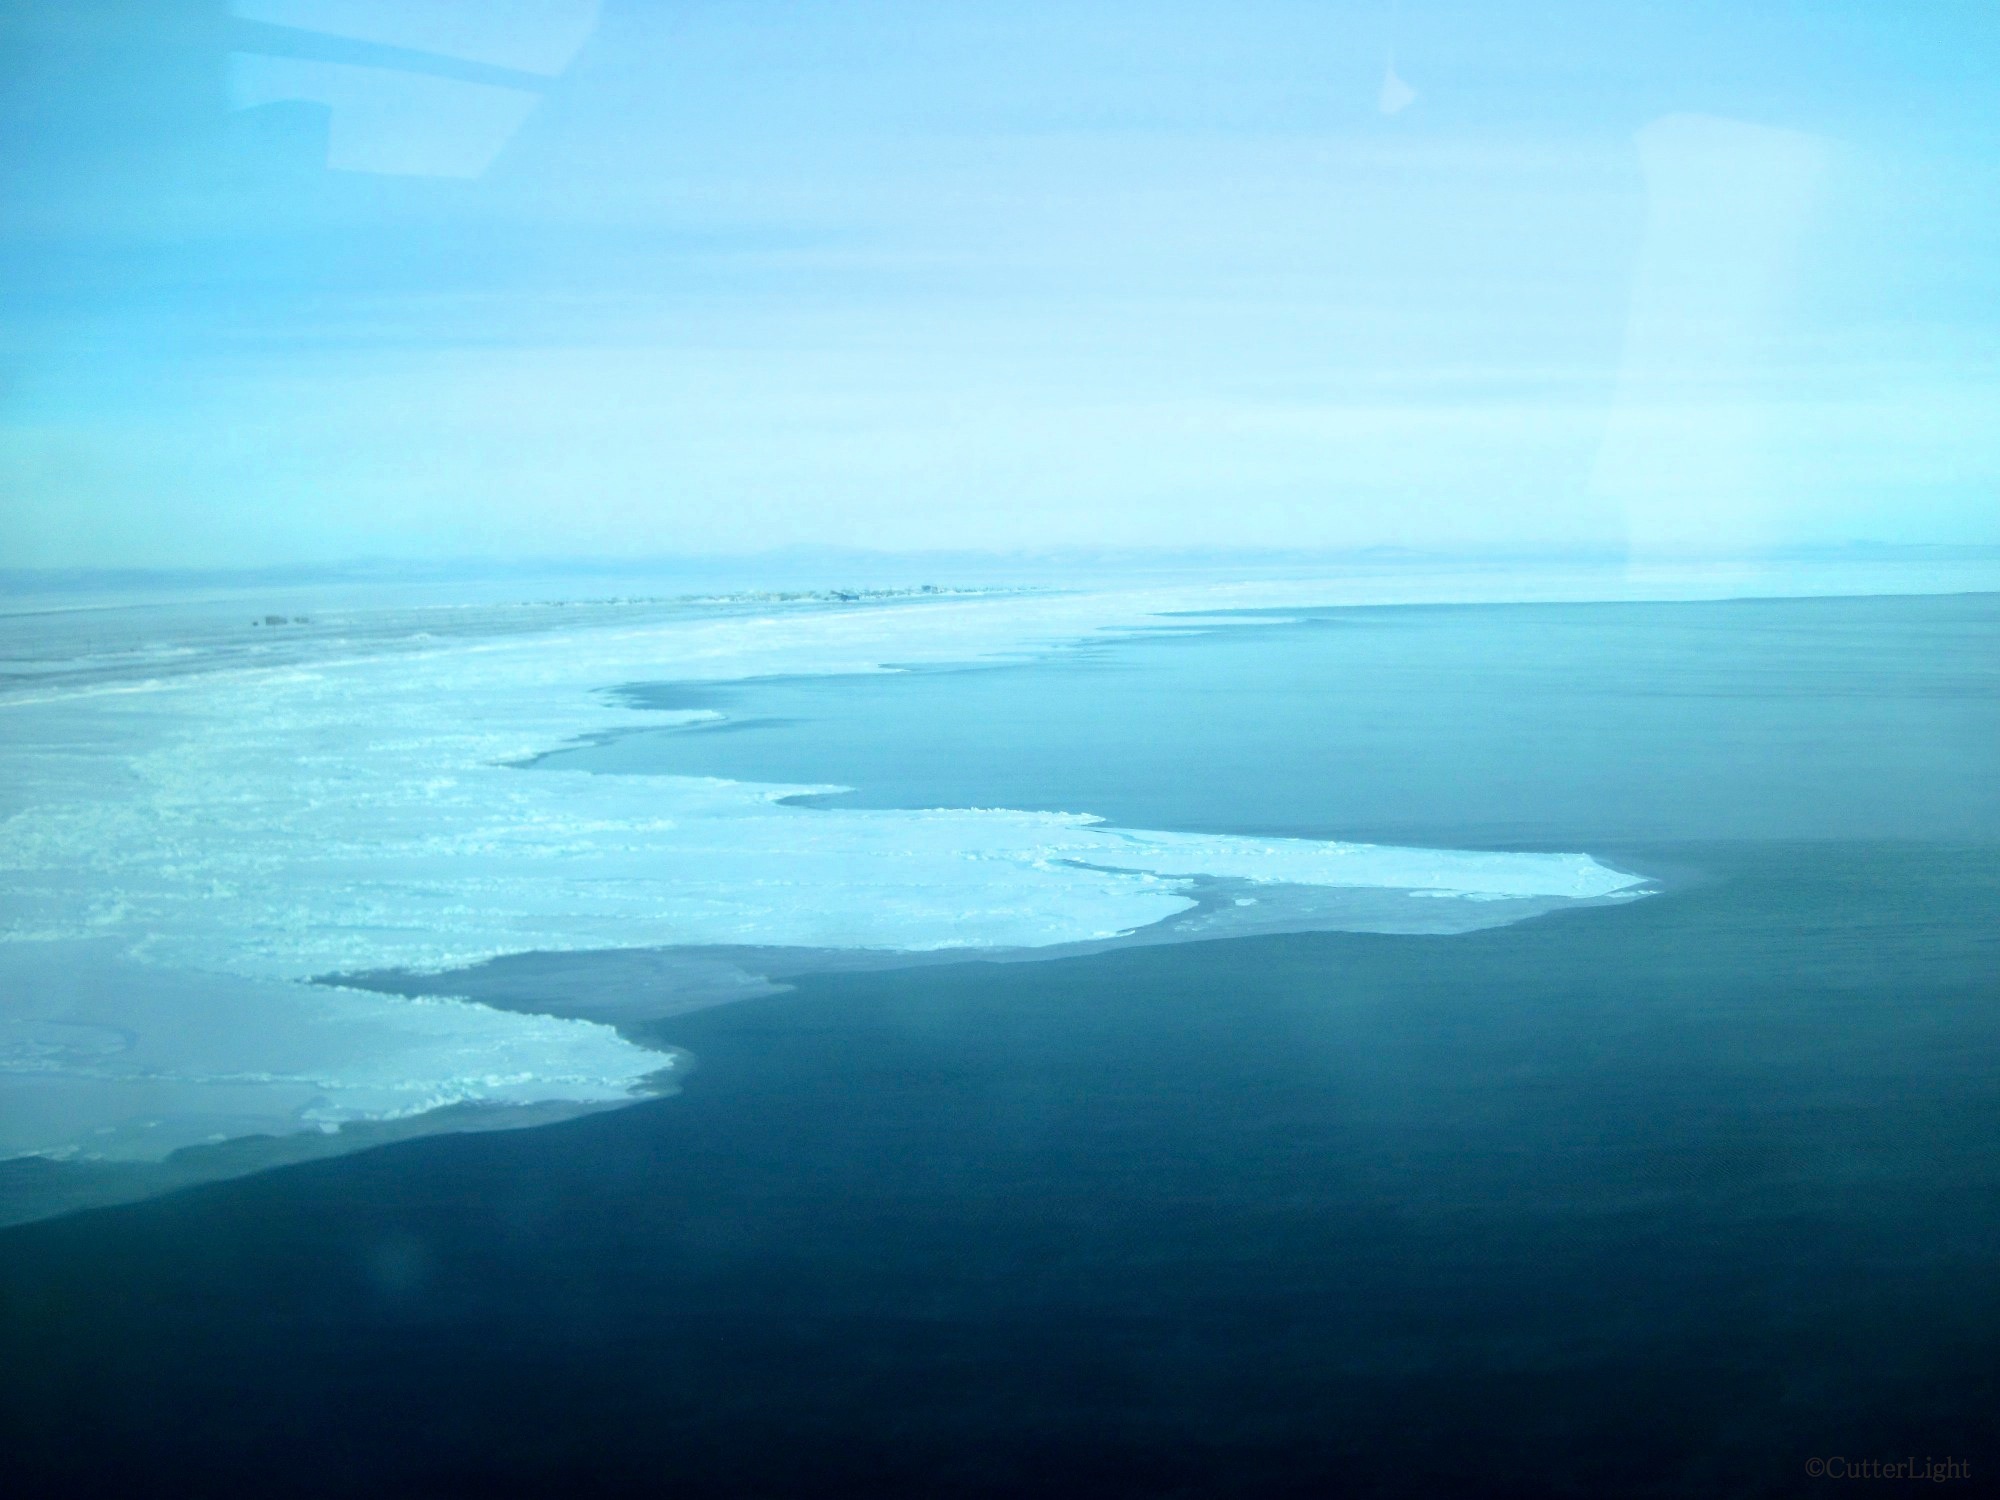
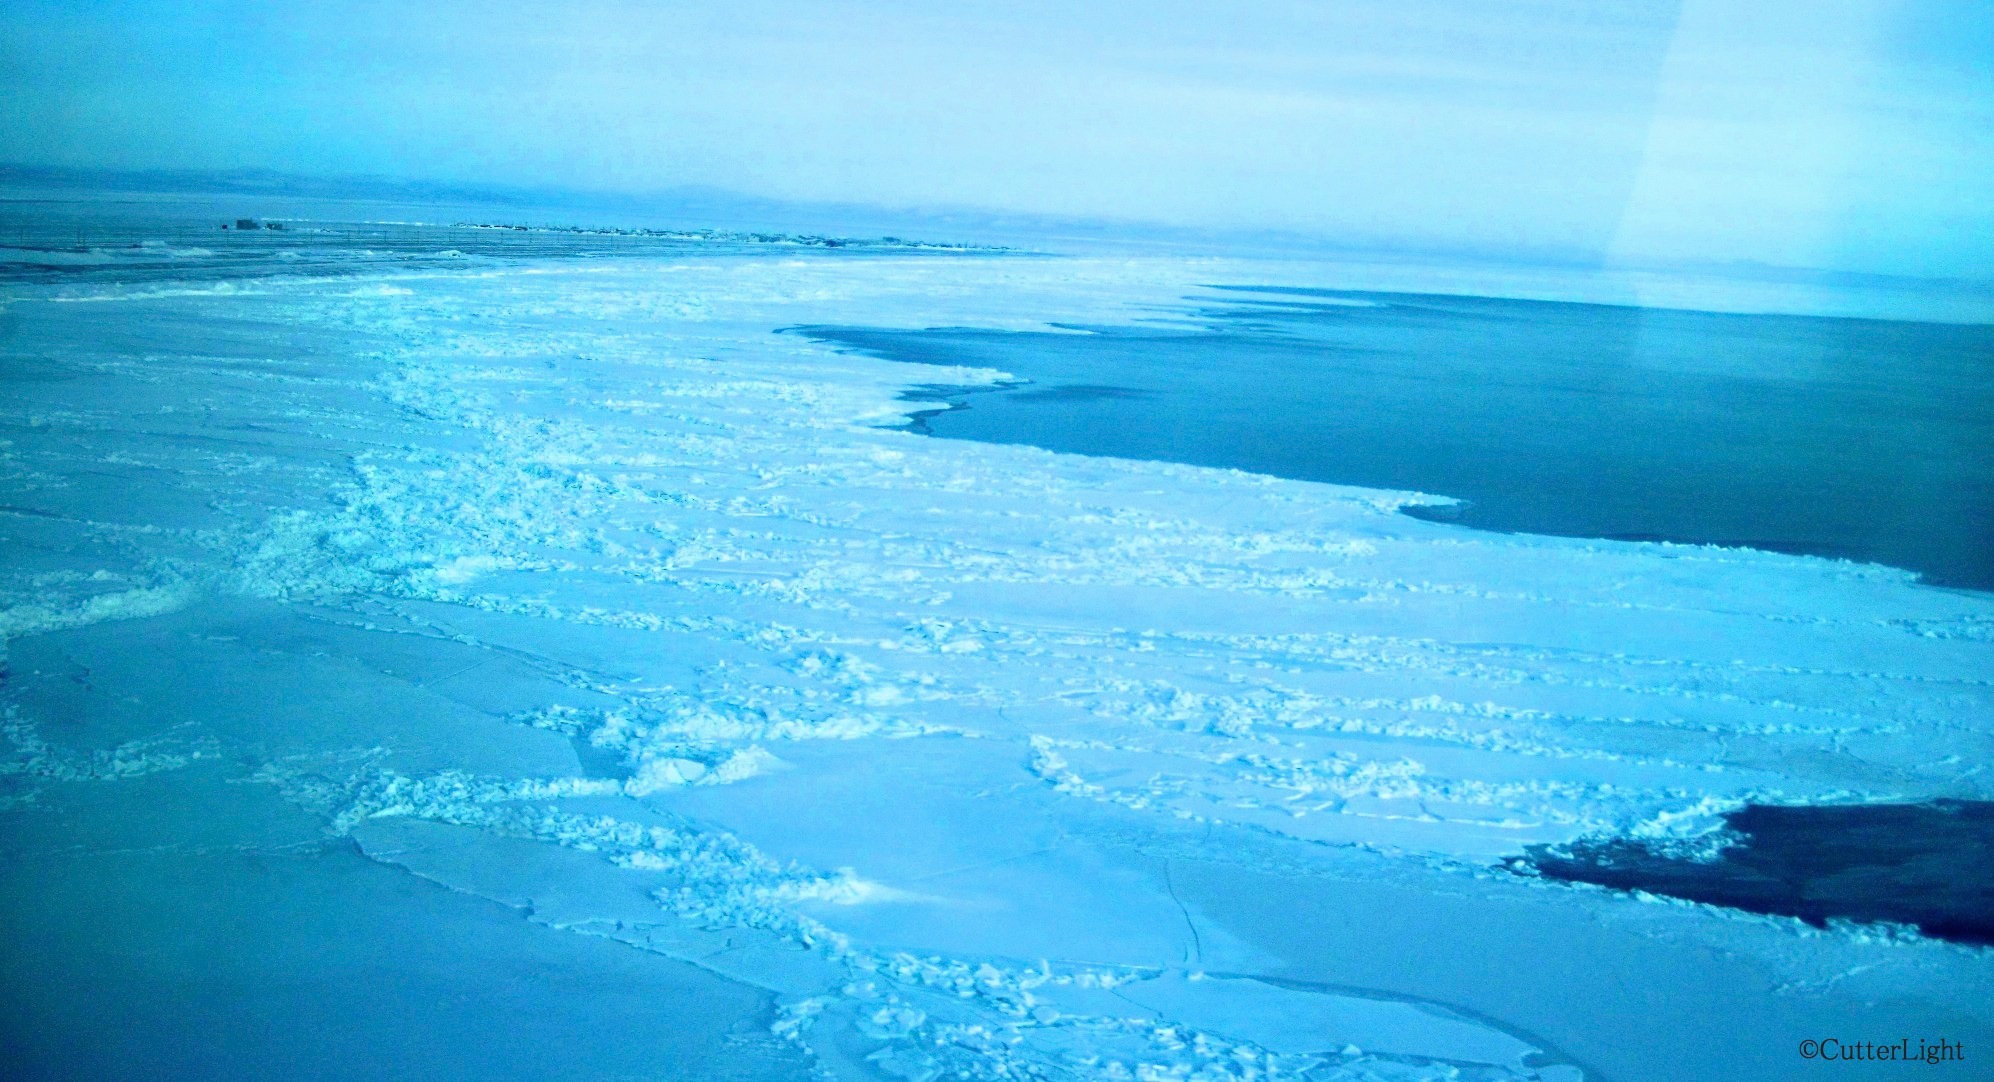
Warm weather in Alaska has meant quickly melting ice and high water. 

wild roses_n

blue bells and trestle ruins_n

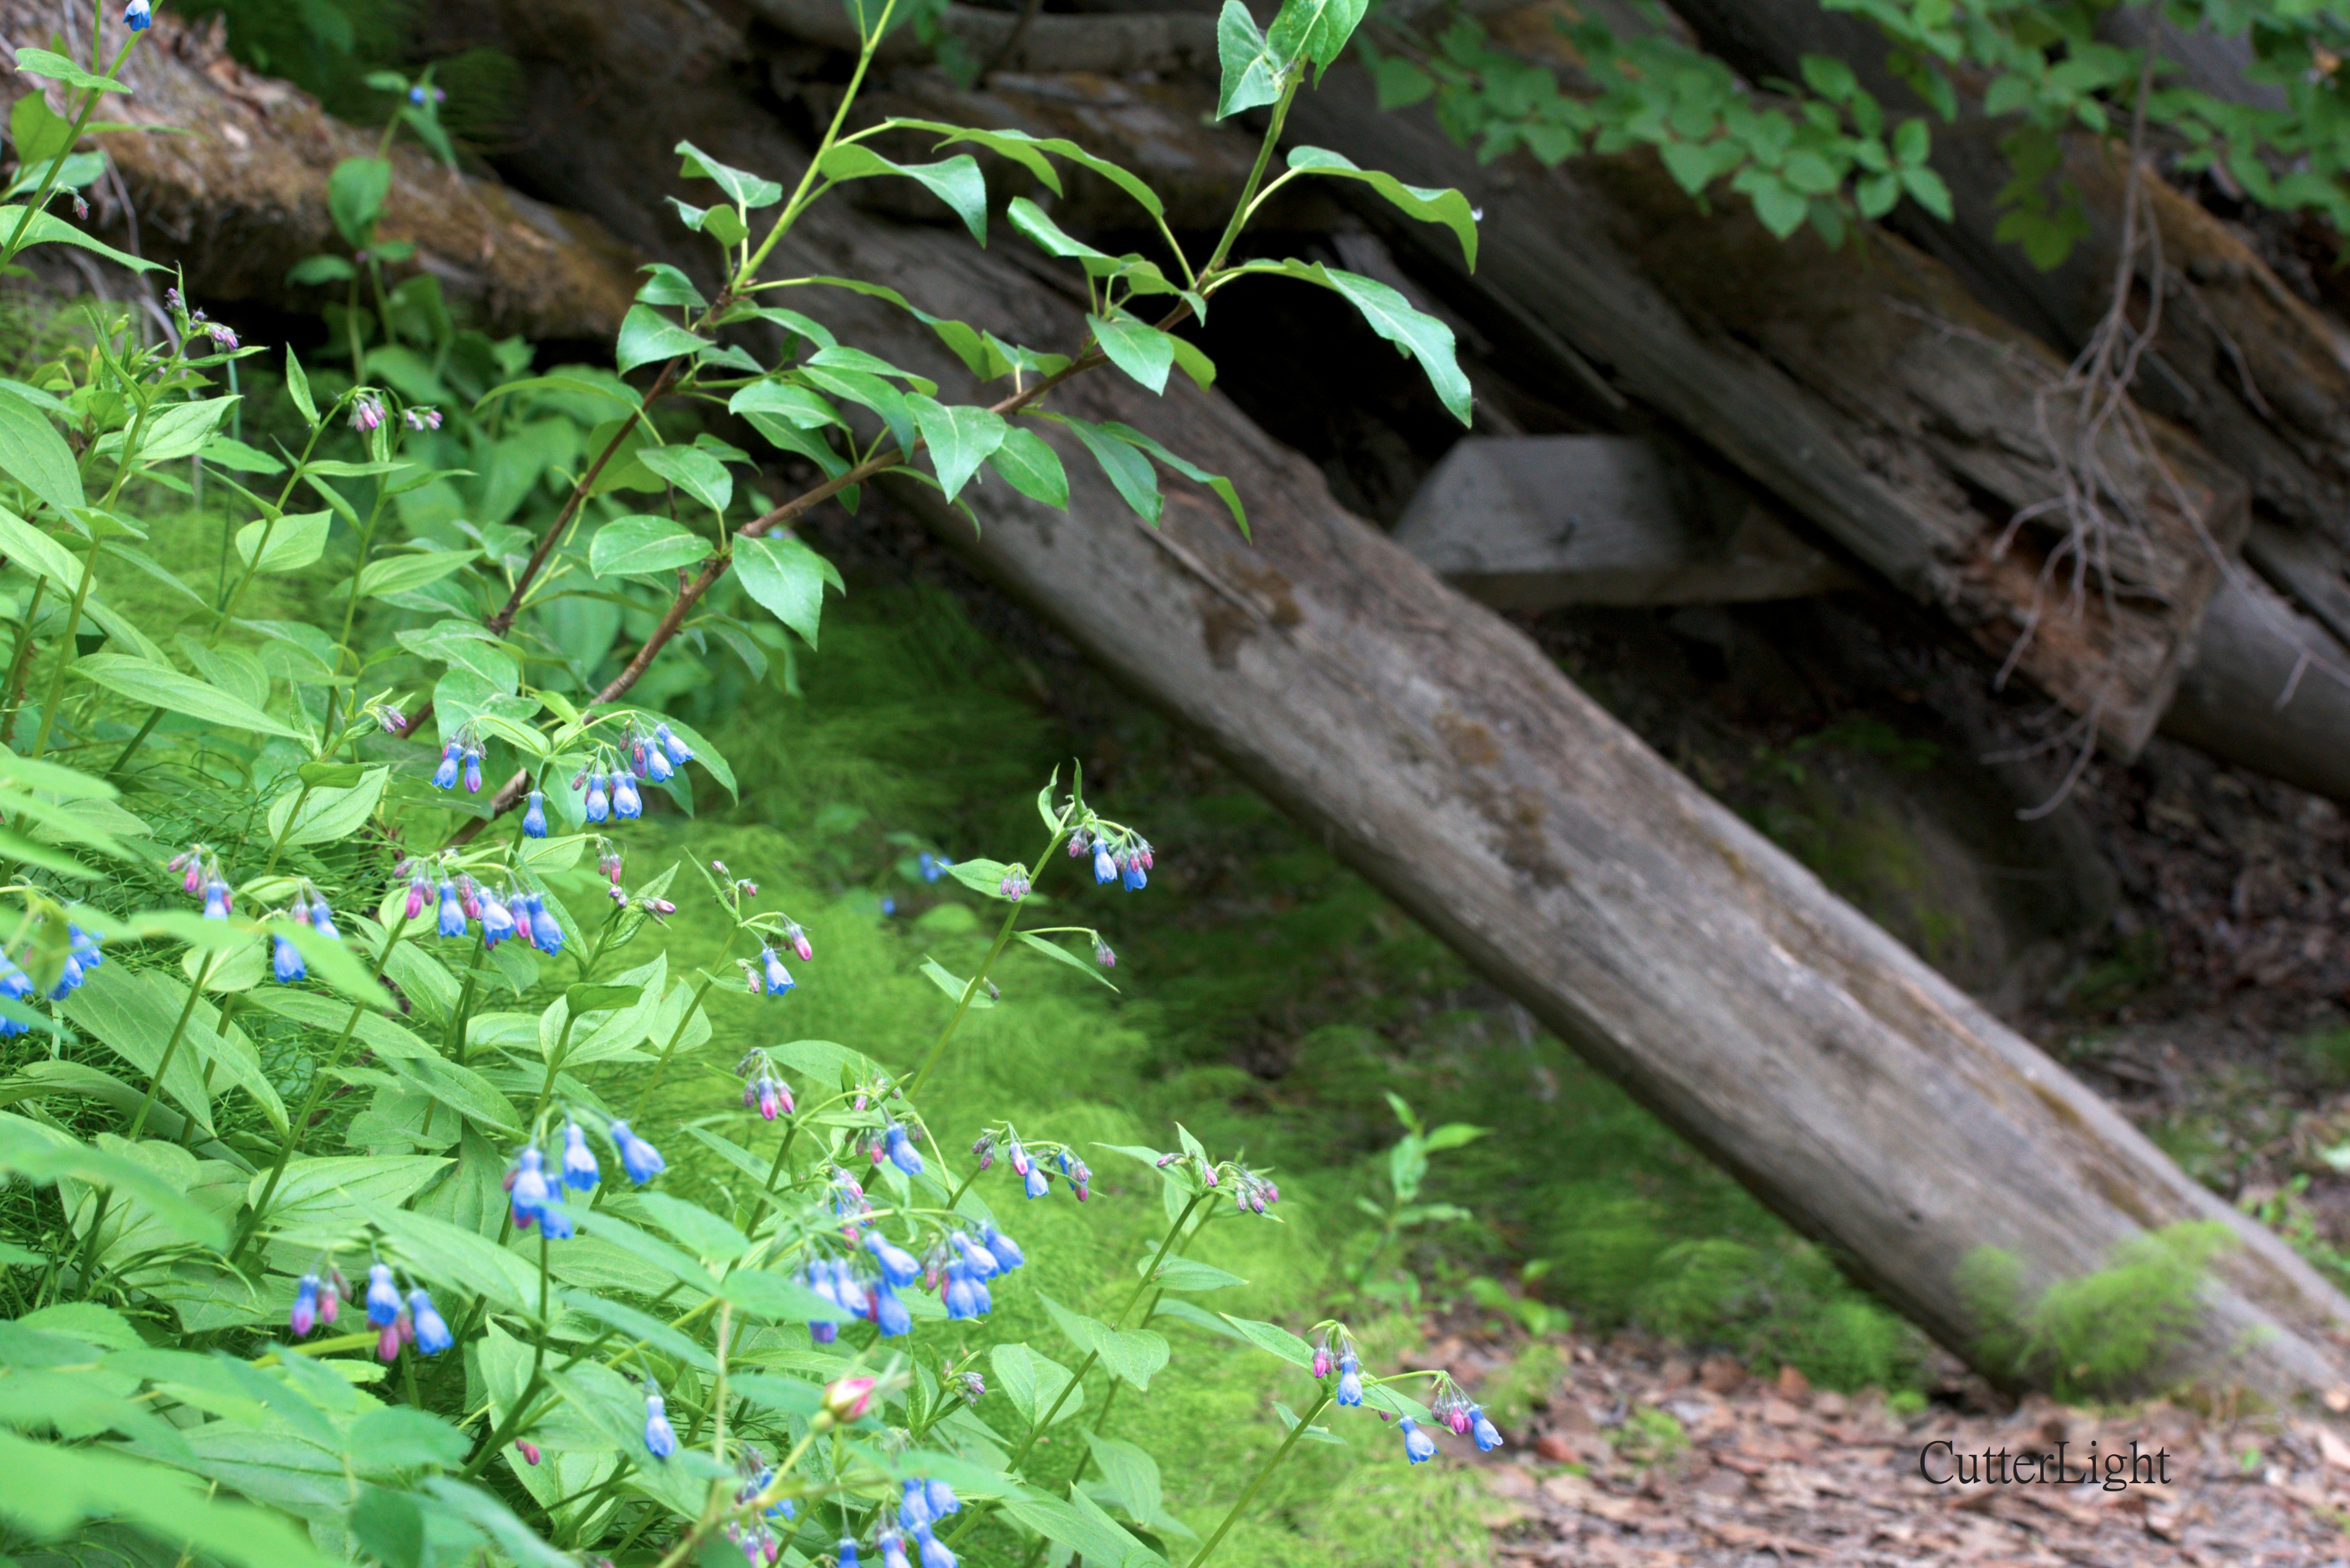
Above left: Bluebells, horsetail ferns and salmonberries take over the ruins of an old train trestle. Right: Dense patches of wild rose perfume the air along the trail. Below: We hiked out of the canyon at midnight, just as the Alaskan sun was setting.

copper river midnight sunset_n

For an excellent recipe for brining and smoking salmon, see: Smoked Salmon with Soy Sauce and Brown Sugar Brine

For an easy ikura curing method, see: Ikura: Curing Salmon Eggs

Eat Wild! Sautéed Fireweed Shoots and Fiddleheads with Freshly Caught Fish

fireweed and fiddleheads w rockfish_n

Lightly sautéed in olive oil with a pinch of salt, these tender fireweed shoots and fiddlehead ferns compliment fresh rockfish on a bed of pasta. 

With the beautiful warm weather we’ve been enjoying this summer in Seward, spring flew by before we knew it. So we had to do some climbing to harvest the purple-colored fireweed shoots and young fiddleheads we wanted for the rockfish dinner we had planned.

fireweed shoots_nEleven hundred feet up Mount Marathon, near the last patches of snow at the edge of the timberline where the cold had extended spring we found what we were looking for. We filled our stainless steel water bottle with a couple handful’s worth of these delicacies, added clear, icy water from a rivulet to keep the shoots cool and hiked back down the mountain.                                                             The perfect time to pick fireweed is when the young shoots are still purple. 

Mount Marathon mid June _n

                                                                              Right: The town of Seward is a nearly vertical drop below the timberline of Mount Marathon. The day was sunny and shorts-and-t-shirt warm and even with a bit of haze in the air the view of mountain-rimmed Resurrection Bay was spectacular.

Below: This well concealed nest added to the sense that we had turned back the clock a few weeks to earlier in spring.

fox sparrow nest mt marathon_nBack aboard Bandon that evening, we poured out a little bourbon into a couple of tumblers, seasoned a fillet from a rockfish we’d caught the day before, and panfried it along with the fiddleheads and fireweed.

There is something incredibly satisfying about harvesting one’s own dining fare – whether from sea or river, garden or mountainside. If you are lucky enough to live where you can gather wild plants, we hope you will. Keep your best spots secret, leave plenty to sustain regeneration and a healthy population, and maybe pick up a little bit of the litter less considerate people have left behind on your way out. Bon appétit!

yelloweye rockfish_n

Lemon Vanilla Biscotti (with Ports, Sherries, Muscat and Roasted Grouse)

fortified wine_n

Light, crunchy and mildly sweet, Lemon Vanilla Biscotti (see recipe below) was the perfect accompaniment to an evening of sampling Port Wines, Sherries, Madeira and Muscat.

Lesson 8 in the wine appreciation course we’ve been taking this summer focused on fortified wines – ruby Port, tawny Port, fino Sherry, Amontillado, Madeira and Muscat. We wanted something sweet but not overly so to finish an evening that began with roasted wild grouse, squash risotto, Brussels sprouts and the sweet wines.

biscotti_n

Baked three times, biscotti has a satisfying crunch. This lemon vanilla version could be drizzled with icing, but we enjoyed ours unadorned. 

Although served on a warm Alaskan June evening, the meal took us to visions of late fall evenings and Autumn-colored forests where wild grouse thrive. The grouse and the squash risotto (one of the best we’ve ever enjoyed) were courtesy of our friends Bix and Krystin at Alaskagraphy.

Lemon Vanilla Biscotti

Ingredients

  • 2 cups all purpose flour
  • 1 cup granulated sugar
  • 1 tsp baking powder
  • 3 large eggs
  • 1 tsp vanilla extract
  • 1  1/2 tsp lemon zest

Directions

  1. Preheat oven to 300 degrees F.
  2. Line a baking sheet with parchment paper. Set aside.
  3. Combine flour, sugar and baking powder in medium bowl. Set aside.
  4. Whisk eggs, vanilla and zest in a medium bowl.
  5. Add flour mixture to wet mixture and stir until combined.
  6. Scrape dough onto parchment-lined baking sheet.
  7. With floured hands, shape dough into a flat rectangle (about 10 in. x 5 in.).
  8. Bake for 50 minutes.
  9. Remove from oven and let cool for 10 minutes.
  10. Slice into 1/2 inch long pieces with a serrated knife.
  11. Lay the slices on their side and bake again for 15 minutes.
  12. Remove from oven and flip the biscotti to the opposite side and bake for 15 more minutes.
  13. Cookies should be lightly golden and crunchy on each side.

Grilled Halibut with Puréed Olive and Garlic Filling: s/v Bandon’s First Fish of 2013

halibut grilled w olive and tomato bell peppers_n

Finished with a roasted tomato and bell pepper sauce, freshly caught halibut charcoal-grilled atop Peruvian potatoes and lightly filled with a purée of olives and garlic provided the plat de résistance in a meal celebrating three days of terrific sailing and an evening tasting champagnes and sparkling wines.

The opportunity to grill and serve a halibut in the whole doesn’t come along every day, particularly in waters where 50-pound fish are more commonly caught than five-pounders. But I could feel the characteristic thumping of a halibut 130 feet below Bandon, and I knew the metal jig I was fishing might have found just the fish we were looking for. Barbra expertly netted the five-pound flatty and everyone aboard gave a little cheer as the first fish of the trip hit Bandon’s decks.

bandon racing 3 - Version 2_n

Earlier in the week we did a little casual (very casual) racing in Resurrection Bay. Crew from the sailing vessel Carpe Ventos shared this photo of our Island Packet 350 under sail.

We were on our way back to Resurrection Bay after a three-day sojourn around the cape with our friends Krystin and Bixler from Carpe Ventos. The weather had been beautiful and the sightseeing excellent as usual as we encountered seals, sea lions, otters, Dahl porpoises, whales, eagles, oyster catchers, puffins and a dozen other sea birds near Alaska’s mountainous, glacier-scarred shoreline.

halibut in foil on grill_n

Right: We grilled our halibut on a deck overlooking Resurrection Bay, but this dish could easily be prepared at anchor on a propane grill. 

Although we continued fishing (and came back with limits of rockfish as well as a second halibut), we knew we’d already scored the fish we wanted for the centerpiece of an evening in which we planned to sample six different champagnes and sparkling wines – Lesson 7 in the Everyday Guide to Wines course we are taking this summer.

halibut whole in foil_n

A bed of sliced heirloom Peruvian potatoes, herbs de provence, a little Chardonnay, butter, lemon juice and olive oil provided the liquid for steaming this fish. Kept whole, the halibut was essentially filleted without entirely removing the meat from the bones. A thin layer of paste made from puréed olives, olive oil and garlic was spread inside the openings created by the semi-fillet technique as well as in the stomach cavity. 

After about 40 minutes over fairly low heat on the grill, the halibut was came out flakey, moist and enhanced with a smokey, charcoal flavor. A nice-sized summer flounder from the East Coast or a Japanese hirame would serve equally well, and this dish could easily be prepared in the oven.

As to the champagne… After years of drinking what we all regarded as fairly good California sparkling wines, all four of us became instant méthode de champenoise fans. With finer bubbles creating an elegant mousse, lots of well-balanced fruit and a toasty, creamy finish, the bottle of Marie Weiss Brut was the perfect wine for this meal.

champagne toast a_n

Razors: The Perfect Fry

razor clams 30 a_n

These Pacific razor clams freshly dug from an Alaskan beach are ready to be cleaned for New England style clam chowder, a fry (see recipe below), fritters, or sautéed with garlic and served on pasta.

Two summers ago on our favorite clamming beach we couldn’t dig ’em fast enough. Each time we spotted a tell-tale dimple and sunk our shovel or clam gun into the wet sand, the disturbance would cause a half dozen other clams to show. The beds were dense and we sometimes dug up prized razors two at a time. It took us barely an hour to each fill our 60-clam limit – and a good bit of the afternoon that day to clean those 120 clams.

razor clam in hand_n

This year the digging was considerably slower. Heavy winter storms had wreaked havoc on the beaches, washing out beds and decimating populations. The Alaska Department of Fish and Wildlife lowered the limit from 60 clams to 25 per person, but few clammers are finding even those numbers. Still, with low tides exceeding -5 feet and a morning in late May filled with sunshine, there was no reason not to go. It was warm enough to dig in nothing more than sandals, shorts and a a short-sleeved shirt – clamming attire I hadn’t worn since the days when I used to dig in Oregon.

With king salmon fishing closed or limited on the Kenai Peninsula, our “secret” beach had a few more fellow clammers than we’d seen in the past but it still wasn’t at all crowded. And there were the usual assortment of bald eagles, sandpipers, gulls and a whimbrel with its long, beautifully curved bill prying the sand for worms and silvery little sand lances that had been left exposed by the neap tide.

There were clams, too, but we had to work for them. We arrived at our spot about two hours before dead low and dug till the tide turned and began coming back in. Thirty clams between the two of us. Thirty-one counting the stray butter clam we added. Barbra had the eye for the shows on this morning, allowing us to do considerably better than most of our fellow clammers. The state’s decision to reduce the razor clam limit to 25 seemed both wise and in a way unnecessary, as we suspect very few clammers found anywhere close to 25 clams.

clam chowder bowl_n

Overall, the size of the clams was good and the reward for our morning of digging was a feast of fried razors and New England Style Clam Chowder. We paired this meal with three different premium sakes, the first wines of this summer’s wine appreciation course we and another couple are taking.

You can follow this link to our Alaskan Clam Chowder Recipe. After years of making fried razors a number of different ways, following is the recipe that gets the most frequent requests. (Incidentally, this is also an excellent recipe for onion rings.)

Fried Razors (Serves four with two medium to large clams per person)

Ingredients: Have ready a cutting board or plate on which to position breaded clams, and another plate with paper towels to drain fried clams.

  • 8 medium to large razor clams, shucked, gilled and cleaned. It does not matter if the “foot” of the clam remains attached or is separated. (See note below.)
  • 1 or 2 packets Saltine crackers, crushed medium-fine
  • 1/2 cup all purpose flour
  • 4 eggs
  • 1/2 tbsp Cholula sauce or similar chili-pepper-based hot sauce
  • healthy pinch salt
  • 1/8 tsp freshly ground pepper
  • 1/2 tsp rub/seasoning such as a Southwest rub, mesquite rub, or other rub featuring chili peppers. Our own blend features smoked chipotles, smoked paprika, oregano, and arbol chilis.
  • 2 quarts light olive oil or other frying oil (This can be reused.)
  • lemon wedges and tarter sauce

Directions:

  1. In a Ziploc bag, mix flour, salt, pepper and seasoning to taste.
  2. Place crushed Saltines on a plate.
  3. Place eggs in a wide bowl. Add Cholula and thoroughly whisk together. Position in this order: cleaned clams, flour mixture, egg mixture, Saltines, plate or cutting board for breaded clams.
  4. In a deep fryer or on the stove in a deep pot, heat olive oil to 350 degrees F or slightly hotter.
  5. Use tongs to drop clams one-at-a-time into flour bag. Shake so that clam is thoroughly coated. Next, coat clam with egg mixture. Lift clam from mixture and let excess egg drip off, then roll in cracker crumbs. Set breaded clam on cutting board to rest. Repeat till all clams are breaded.
  6. Oil is ready when a few cracker crumbs bubble when placed in oil. Use tongs to place clams two-at-a-time in oil. Do not overload. Breaded clams should bubble fairly vigorously. Cook for one minute. Remember, clams will continue cooking even after they are removed from oil. Do not overcook. Place cooked clam on paper towels to drain. Repeat till all clams are cooked.
  7. Add a squirt of lemon and dip in tartar sauce. (Beaver tartar sauce is our favorite.)

Serve clams with a quality daigingo or junmai ginjo sake, a crisp Oregon Pinot Gris, or your favorite Alaskan craft beer.

Note about cleaning clams: Even if you crack a few shells when digging, the cleaning can go quickly and it should be possible to serve sand-free clams and clam chowder. Here’s how to do it.

  1. Rinse clams in very cold water.
  2. Have an ice bath ready for clams: salted ice water in a large pot
  3. Meanwhile, in a medium-sized pot, bring salted water to a boil.
  4. Use tongs to place clams one or two at a time into boiling water. The instant the shell pops open, remove the clam and plunge it into the ice bath. The shell and most of the sand will now easily come off. Additional rinsing after cleaning will remove residual sand.

Great Cameras and Joel Sartore’s Great Course

moose calf d4_n
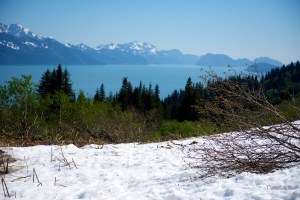
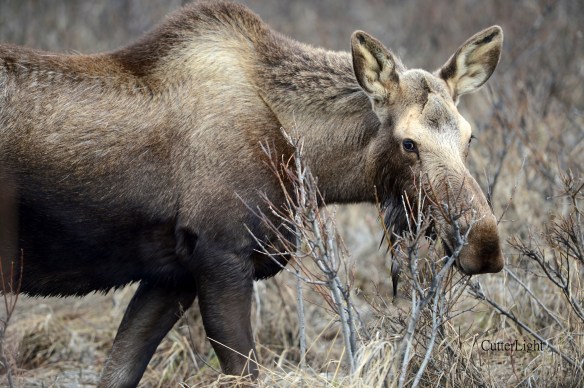
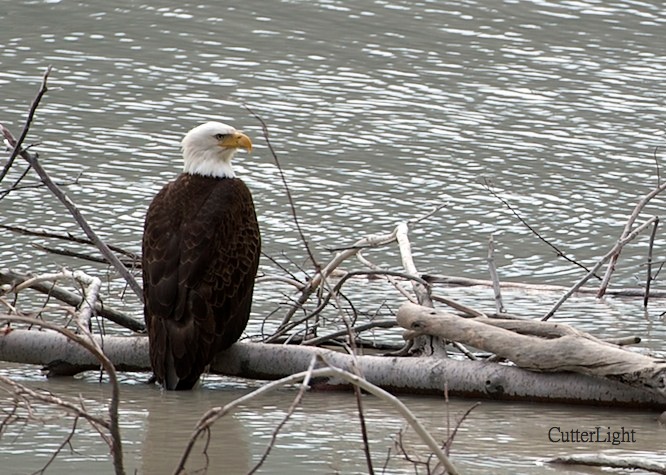
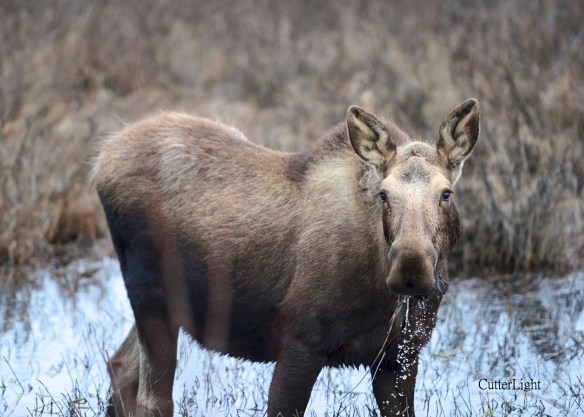
The drive from Anchorage to Seward can usually be counted on for wildlife viewing. Grizzly bears, black bears, Dall sheep and moose are all possiblities, and eagles are a given. On our first trip of 2013, we found a young moose grazing on pond weeds and willow buds. 

Last year at this time we were shooting with a Nikon D60 and a D90. Our three most frequently used lenses were a Tamaron landscape lens, a Nikon 60 mm prime and a Sigma 50-500. We got some really good photos with this gear, but we were eager to make some upgrades.

moose calf d800

Although it’s late May, Alaska’s Kenai Peninsula is still pretty brown and you don’t have to go very high in elevation to find everything covered in snow. But spring is definitely here. Today (May 24), temperatures in Seward broke 60 under cloudless blue skies.

After months of reading and research and lengthy discussions with a new friend who knows way more about this than we do, we purchased a D800, a D4 and several new lenses. Equally important was taking Joel Sartore’s 24-lecture course Fundamentals of Photography, a first-rate DVD course offered through The Great Courses. We had been reading all kinds of articles and books and we subscribe to Outdoor Photographer. We had also taken a few courses at Ritz Camera back when we were living in Sacramento, California. All of this was useful. But none if it provided the learning experience Fundamentals of Photography gave us. Armed with our new gear and committed to faithfully following Joel’s lessons, we could see our skills improving from week to week.

moose calf 2 d4_n

Our usual MO while driving Alaska’s highways and hiking the trails is to have either a landscape lens or a normal lens on one camera body and a larger wildlife lens on the other. We still talk about the time when, new to this part of the world, we saw two magnificent bull moose feeding near each other at a small lake. “I’m sure we’ll see lots of these now that we’re up here,” one of us said as the other kept driving. Needless to say, we’re still looking for another shot like that one. Lesson learned. 

Hopefully this summer will be another Alaskan safari – packed with birds, fish, mammals, wildflowers and the kind of scenery that causes one’s jaw to drop and hang.

Another Great Year in Point Hope: On to Seward!

uniak on ice waiting_n

An umiak with its recently sewn seal skin stretched tight sits on the Chukchi Sea ice, waiting for whaling season to begin in March. 

May 17, Point Hope, Alaska: Near-blizzard conditions forced a one-hour delay to the start of school yesterday, the day before the end of our school year. A little snow and high winds notwithstanding, all 30 of our 3rd, 4th and 5th grade  students eventually arrived. It’s much more calm today. Scattered snow flurries have been breaking up an otherwise sunny day, and at 19 degrees Fahrenheit, the McKay’s buntings and gulls that showed up a few weeks ago when the weather was warmer (in the low 30’s) are out again. Looks like clear weather for our flight out tomorrow.

hiking out on ice_n

Near shore, the going is easy across the frozen sea. But the ice ridge on the horizon hints at the arduous work involved in breaking the trails that will allow whaling crews to get their boats and gear out to the lead (open water).

This marks our third year in Arctic Alaska. We’ll be back for a fourth in August. We’re up here in Point Hope at a time in our lives when Time to study, Time to write, and Time to hone our skills as photographers, writers and chefs is especially valuable. Yes, it’s cold – brutally so at times-, and there is the entire month in mid-winter when we do not see the sun. But that’s part of the narrative. So are the dazzling displays of northern lights, the sublimely sweet cloudberries that grow only in these extreme latitudes, and the Arctic foxes, snowy owls, polar bears and whales that are part of the fabric of life up here. Learning to stock a gourmet kitchen in the bush nearly 1,000 roadless miles from stores in Anchorage has prompted us to master “from scratch” cooking to a level of expertise I doubt we would achieved had we remained in our comfortable bungalow back in California.

ice sculpture chukchi sea_n

A fresh dusting of snow powders  ice sculptures that were pushed up when shifting winds caused  massive plates of ice to collide. Anytime you’re out on the ice, you’re mindful that another shift in the wind could push the ice apart again, leaving you stranded. You learn to keep an eye on the cracks.

By this time next week, we’ll be in Seward living aboard our summer home, the sailing vessel Bandon. Among other things we’re looking forward to is an intensive wine appreciation course we’ll be taking with another couple. We’re also eager to do some serious shooting with our new Nikkor 200-400 mm telephoto lens- a tool that should help us get intimate photographs of the amazing wildlife in and around Resurrection Bay. Daughter Maia will come up in July for our annual visit centered around fishing, hiking, great meals (and great conversation) and general catching up. The puzzles of turning out excellent meals from our small galley, figuring out where the salmon are in the nearby sea, experimenting with our new tenkara fly rods on smaller streams and maybe finally getting good photos of wary tundra swans are among other things that will keep us happily occupied in the coming months.

jack and bar on chukchi_n

A whaling hook marks the trail out to the camps. This was a good year in Point Hope – five bowhead whales, lots of beluga whales, and everyone came back safe. Each whale represents tens of thousands of dollars worth of groceries that didn’t necessitate a river being drained for irrigation, fertilizer being spread (that ends up over-nutrifying nearby water systems), or a single drop of pesticide being sprayed. Nor were barrels of fossil fuel burned getting this food up here. 

An important part of our summer in Seward involves seeing to our own provisions. When we return to Point Hope in August, we’ll bring with us 200 pounds of salmon, halibut, rockfish and lingcod fillets – enough for us and for gifts for our friends up here. We’ll also be making shopping runs to Costco and other stores and ship up the usual bags of flour, rice, beans and sugar as well as everything from jars of Kalamata olives to tins of anchovies.

jack and bar on chukchi b_n

Wherever this summer finds you, we hope you’ll be following your dreams or taking steps to make those dreams come true. And we hope you’ll continue reading CutterLight.

Sincerely, Jack and Barbra

Nose Pressed to Glass

Sea Ice1_n

Sea ice fascinates us. Our village can be seen in the upper left of this photo. At the time of the photo, north winds had blown much of the ice away from the land. The “sticky ice,” the ice which clings to the shore, can usually be relied on to be safe to walk on. Even this sticky ice is subject to the whim of Mother Nature’s strong winds and current. 

Sea Ice2_n

Piles of ice form along pressure points of the frozen surface of the sea. There are many histories of boats navigating too late in the season and becoming stranded or crushed between these pressure points.

Sea Ice3_n

Recently, wind from the south has closed this lead – the open water to the right. The view from our village today is solid ice as far as the eye can see. The villagers are readying their seal skin boats to go whaling. Soon the bowhead migration will begin. When the north wind blows open a lead, the whaling crews of Tikigaq will patrol the open water in hopes of catching animals that are in their Spring migrations. These whales make up a critical part of the subsistence catch in this Inupiat village.

Project Chariot_n

I’ve recently been reading the book The Firecracker Boys. This true story is about a crazy post WWII idea some engineers and scientists had for using a nuclear bomb to blast a harbor between the peak in the center of this photo and the ridge on the left. This is about 25 miles east of Point Hope. The proposed  H-bomb  was to be 163 times the strength of the bomb that was dropped on Hiroshima. Scientists and engineers promised to sculpt the land based on human requirements. It was part marketing (using bombs for good) and part wild scientific experimentation. It’s a shocking and crazy true story!

PHO 1_n

Nose pressed to glass, I peered out from the bush plane window as we lifted straight up, like a helicopter, in the 40 m.p.h. north wind. It seemed scary on the ground. With gusts well above 40 m.p.h., the plane arrived, landed on the airstrip and never turned into the usual parking area. I fought my way toward the plane, slipping along the airstrip as if being pushed down by a strong arm. Once in the plane, I felt calm and safe with skilled bush pilots at the controls.

PHO 2_n

From the air, the village looks like a patchwork quilt as rooftops peak above a blanket of snow. If the snow and ice were sand, Point Hope could be any beachfront real estate in the world!

Yummy Homemade Cheddar Cheese Crackers

Cheddar Crackers_n

Warning: These crackers are highly addictive. 

Last year, I made graham crackers from scratch with excellent results. That success started a whole serious of “I-wonder-if-I-could-make…” questions. The graham crackers I made at home were far more delicious than any store-bought, boxed variety. Armed with the right recipe, it seemed anything made from scratch had to taste better. Time seemed to be the limiting factor. As wonderful as the graham crackers were, a batch of a dozen took quite a bit of time to create. Saltines? We use a lot of them for breading fried clams and fish, but it seemed like a waste to bake a batch only to smash them to bits for a single recipe. The next cracker I contemplated was Cheez-Its.

Cheddar cheese crackers are tiny, with lovely ridged edges and cute little holes. I researched several recipes and discovered that these tasty little snacks required only five ingredients and a couple of hours total, most of which is chilling time in the refrigerator.

We have noticed a huge difference in the flavor of our food when we use excellent ingredients. The addictive quality of these crackers came from the combination of high quality flour, cheese, and butter. The flour was Bob’s Red Mill unbleached all-purpose. Everything we’ve baked with this flour tastes noticeably better. The butter was Tillamook’s unsalted organic, and the cheese was Kerrygold Dubliner sharp cheddar cheese.

We’ve used these crackers as croutons on salads and can imagine they would be perfect alongside a homemade bowl of soup or chili. We may have to keep imagining this, as the crackers are disappearing by the handfuls!

Cheddar Cheese Crackers

Ingredients

  • 8 oz. shredded sharp cheddar cheese
  • 1/2 cup unsalted butter, melted
  • 1 tsp. kosher salt
  • 1 cup unbleached all-purpose flour
  • 2 tbsp ice cold water

Directions

  1. In a stand mixer (fitted with paddle attachment), mix cheese, butter, and salt on medium speed until well-incorporated.
  2. Add flour.
  3. Mix on low speed.
  4. Slowly add ice water. Dough should form into a ball.
  5. Wrap dough in plastic and refrigerate for an hour.
  6. Preheat oven to 375 degrees F. Line two baking sheets with parchment paper.
  7. Split dough in half.
  8. Roll one half into a rectangle, about 10 x 12 inches. Dough should be thin, about 1/8 inch.
  9. Use a fluted pastry cutter and cut dough into 1-inch strips. Cut strips into 1-inch squares.
  10. Place squares on baking sheets, they can be close together, but not touching.
  11. Prick center of each cracker with end of a pointed chopstick.
  12. Bake for 15 minutes, or until golden brown.
  13. Cool on wire rack.

Zaru Soba: Chilled Buckwheat Noodles with Seared Scallops and Ikura

Buckwheat soba w seared scallops & ikura_n

Chilled buckwheat noodles topped with whatever imagination and taste comes up with and served with tsuyu dipping sauce combines the terms “gourmet” with “healthful.” Recipes follow.

A favorite food memory from the days I spent in Japan is the combination of sultry summer afternoons and lunches of refreshingly chilled buckwheat noodles. The first time I was served zaru soba in a Japanese restaurant, I knew I’d begun a life-long love affair.

Soba refers to thin noodles made from buckwheat, which in Japan is mainly grown in Hokkaido. Zaru refers to a seive-like bambo tray the soba is often served on, although these days it is popular to drain the soba in a colander and to then place the noodles on a tray or dish. Often served plain or with thin strips of nori and perhaps toasted sesame seeds, the noodles are almost always served with tsuyu, dashi, mirin and sweetened soy sauce mixture. The mixture is typically refrigerated or chilled with ice, and just prior to serving wasabi and scallions can be mixed in. Chopsticks are used to gather up a portion of soba which is then dipped into the tsuyu and, at least in Japan, the noodles are eaten with loud, appreciative slurps.

Buckwheat soba w seared scallops & ikura close_n

In addition to being tasty and very simple to make, soba is an especially healthful food. Easy to digest and packed with energy, soba contains all eight essential amino acids as well as antioxidants and important nutrients such as thiamine.

Soba and tsuyu are available at Asian grocers and in the Asian sections of many grocery stores. Tsuyu can be fairly easily made from scratch, provided you have on hand the necessary kombu, katsuo (bonito) flakes, mirin and soy sauce. Cooking up a serving or two of zaru soba – or several – for lunch or a light dinner is a breeze.

Zaru Soba with Seared Scallops and Ikura (for 2 servings)

Soba Ingredients:

  1. Two serving’s worth of soba (It generally comes packages with ribbons used to tie off serving-sized bundles.)
  2. Water to boil the soba
  3. Salt

Prepare according to package instructions much as you would pasta. Drain cooked soba in a colander and rinse thoroughly with cold water, using your hand or tongs to toss. Place rinsed, drained soba on plates, top with seared scallops, ikura and strips of nori and serve.

Seared Scallop Medallions

Directions:

  1. Select 4 large sea scallops. Cut them into medallions (approximately 1/8 inch (o.3 cm) thick.
  2. Dust medallions with seasonings of your choice. (We like a mixture of sesame seeds, chili pepper, powdered garlic, cinnamon and nutmeg. Commercially prepared Thai seasoning blends work very well.)
  3. In a frying pan, heat a tablespoon or two of olive oil over medium heat till a drop of water placed in the pan sizzles. Sear medallions on each side for just a few seconds. Use tongs or chopsticks to flip.
  4. Immediately remove medallions to a cool plate. Cover and refrigerate if they are to be used later.

ikura cured salmon eggs_nTo create sushi grade ikura in your own kitchen, see our article Ikura: Curing Salmon Eggs

Readers might also be interested in:

Alaskan Shrimp Harumaki with Lime-Infused Ponzu Dipping Sauce

Arctic Anpan Two Ways: Sweet Azuki and Caribou Cha Sui