
Fueling up with fudge. These tasty snacks helped us through today’s 3½ hour bicycle training ride. Sixteen days till we arrive in Hokkaido!
We are beginning to wrap up the preparation for our 3-month bicycle adventure in Hokkaido, Japan. Our home looks like an outdoor store that has barely survived a tornado attack. Bicycles with halfway-packed panniers are leaned up against walls, an assortment of bags are strewn about having either passed or failed packing tests, and there are a number of items that have not quite yet found a home in our portable summer transportation scheme. If anyone were to peek into on our home, they would surely worry for us. Will we really be ready to start sending our gear on this Wednesday’s flight out of Chignik Lake? In reality, this light-at-the-end-of-the-tunnel mess is absolutely normal for us right before everything comes together.
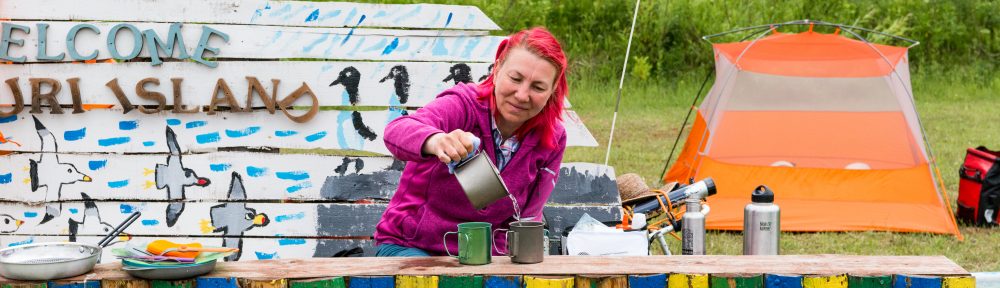
Along with the flurry of final packing, we still are relentlessly adhering to our fitness-training schedule. We both have a lot of experience with preparing for running events, but a bicycle adventure is new. It turns out that prepping is not as simple as setting up a beginner, intermediate or advanced program as we would for a running event. We’ve had to take into account that we need enough “seat time” to avoid sore rear ends. We also factored in our ages and an overall goal that emphasizes endurance over speed. Our Hokkaido schedule will be very flexible. Free from the pressure of reservations (we’ll be tent camping throughout the summer), we’ll be able to ride very short days if we want to stay in a particular location – but we also want to be in shape to put some serious mileage behind us when we want to get somewhere.
After doing quite a bit of research, we settled on a training program called “Sofa to 50k.” With an 8-week schedule culminating today with a 3½ ride, this program is set up similarly to a marathon running schedule. Yikes! Did I say 3½ hours? OK, saddle up!
We usually start our Sundays – the day of our long rides – with steel cut oatmeal. We like to add homemade yogurt and homemade jam for extra flavor and calories. As the long ride days grew longer, we’ve needed to add additional mid-ride calories. Trail mix, nuts, or Figgy-pops have been our go-to snacks. But with a 3½ hour ride looming, I wanted some kind of a nutrition-packed snack that we would look forward to. We couldn’t be more sick of Figgy-pops! With half a jar of tahini left over from a previous recipe, I had an idea for a fudge-like confection packed with protein and energy. After sharing an entire batch today on our longest ride, we both agreed these little treats were fantastic! One tip: You’ll want to keep these in the fridge till you’re ready to eat them. They get sticky at room temperature.
Coconut Chocolate Chip Tahini Fudge
Ingredients
- ½ cup tahini
- ½ cup unsweetened coconut flakes
- ¼ cup honey
- 2 tbsp coconut oil, melted
- ½ tsp cinnamon
- ½ tsp vanilla paste (or extract)
- ¼ cup semi sweet chocolate chips, chopped
- pinch salt
Directions
- Mix all ingredients thoroughly.
- Place tablespoon-sized scoops in a silicon ice cube tray.
- Freeze for at least 30 minutes.
- Pop frozen confections out of tray and store in an airtight container in the refrigerator.