
Alternate layers of moist, airy devil’s food cake and rich chocolate mousse are topped with chocolate ganache. This is the kind of cake that makes you want to skip straight to dessert!
The culminating task for The Great Courses baking classes, taught by Chef Stephen Durfee of the Culinary Institute of America, was a chocolate mousse cake. This “final exam” would test my cake, mousse and ganache making skills. After careful scrutiny and tasting, Jack gave this cake an A+. Being a bit of an overachiever, that’s the lowest grade I would accept. The recipes below did make extra mousse and ganache. Extra mousse keeps well in the refrigerator to be enjoyed later. We used the extra ganache on sundaes served in almond lace bowls.
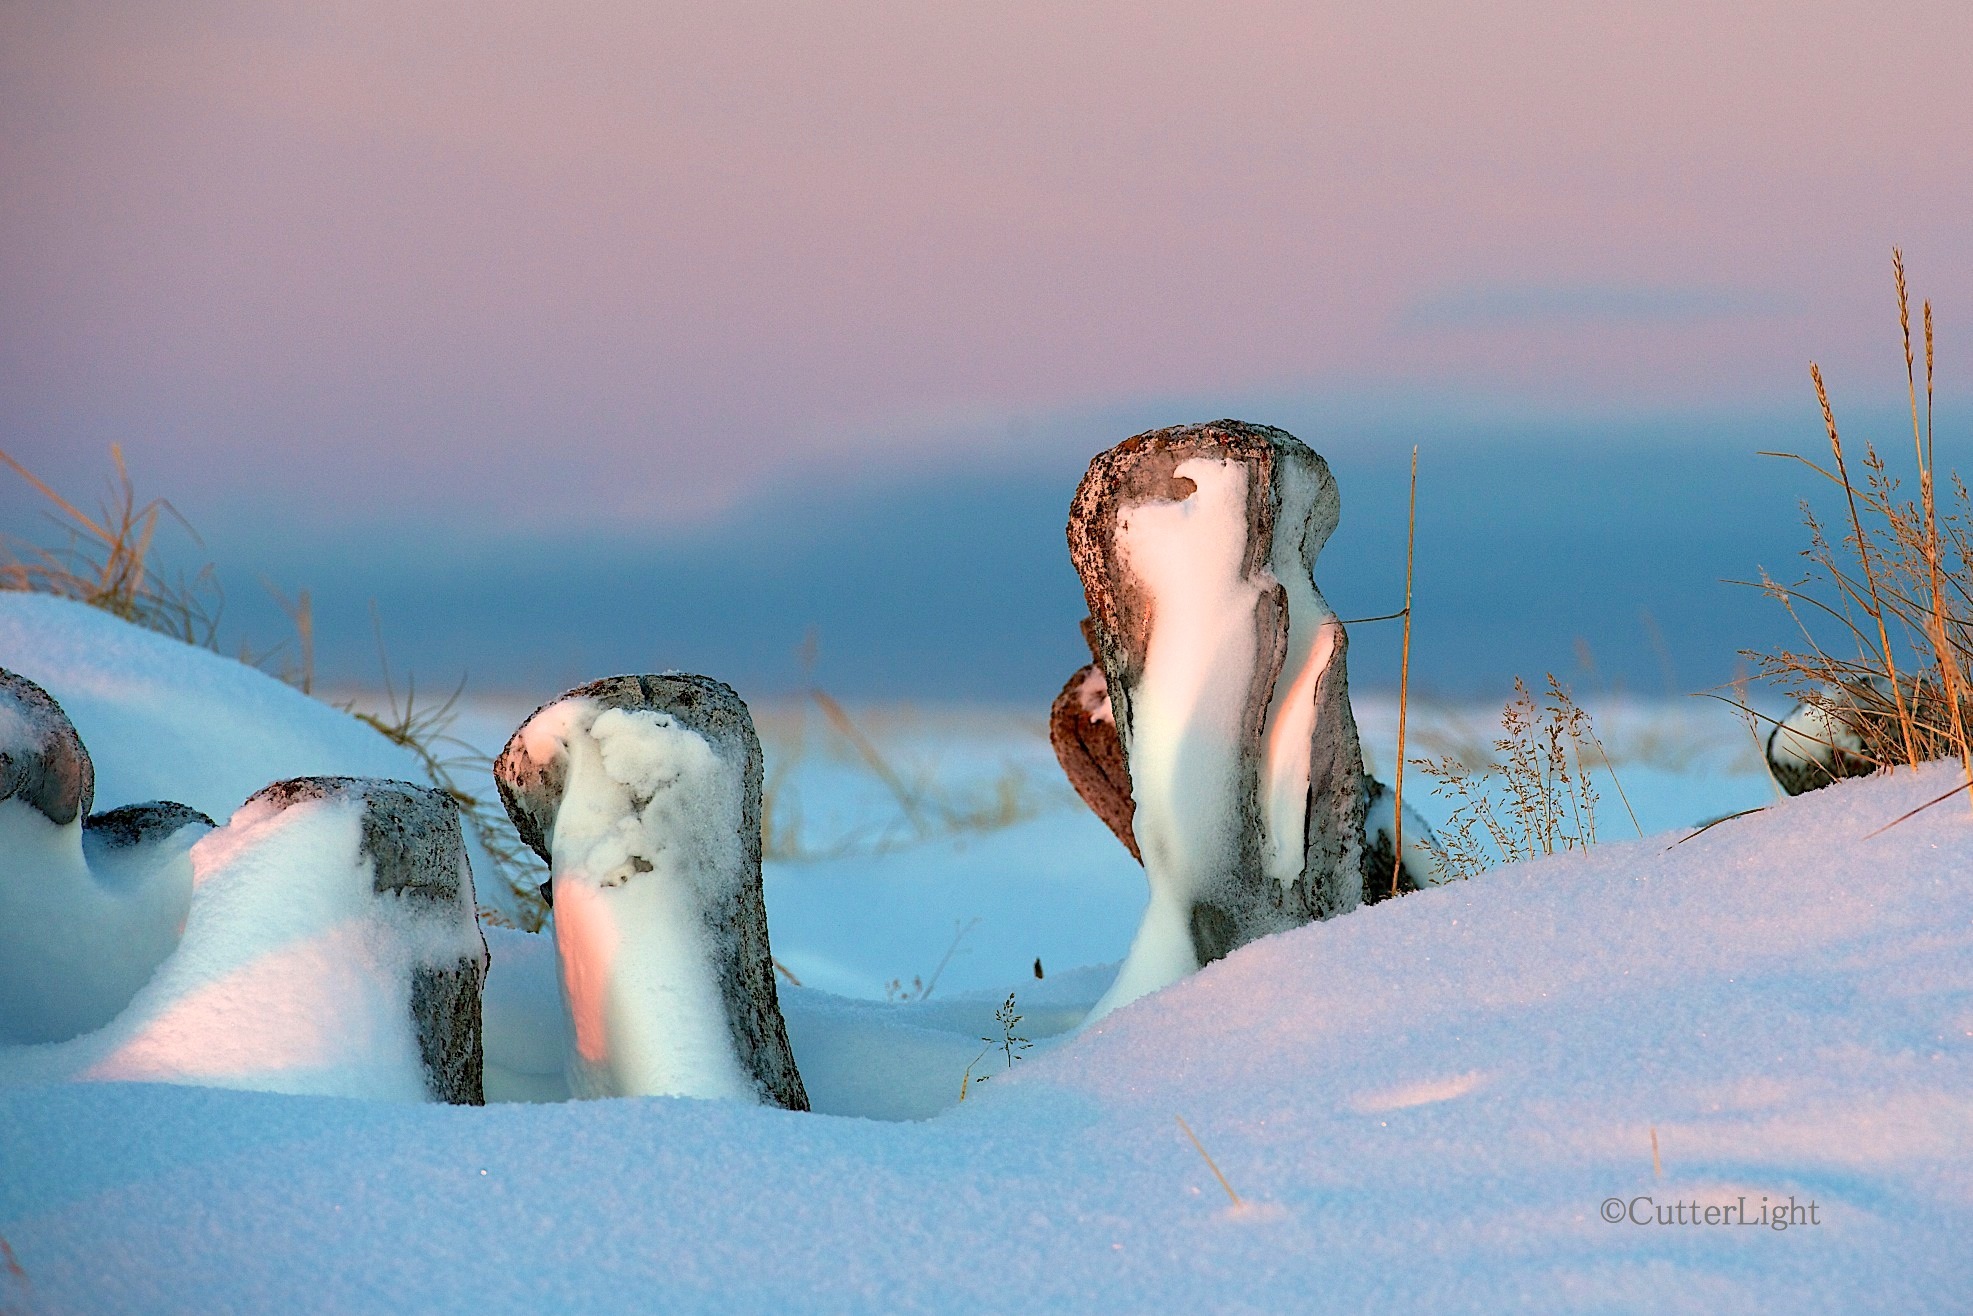
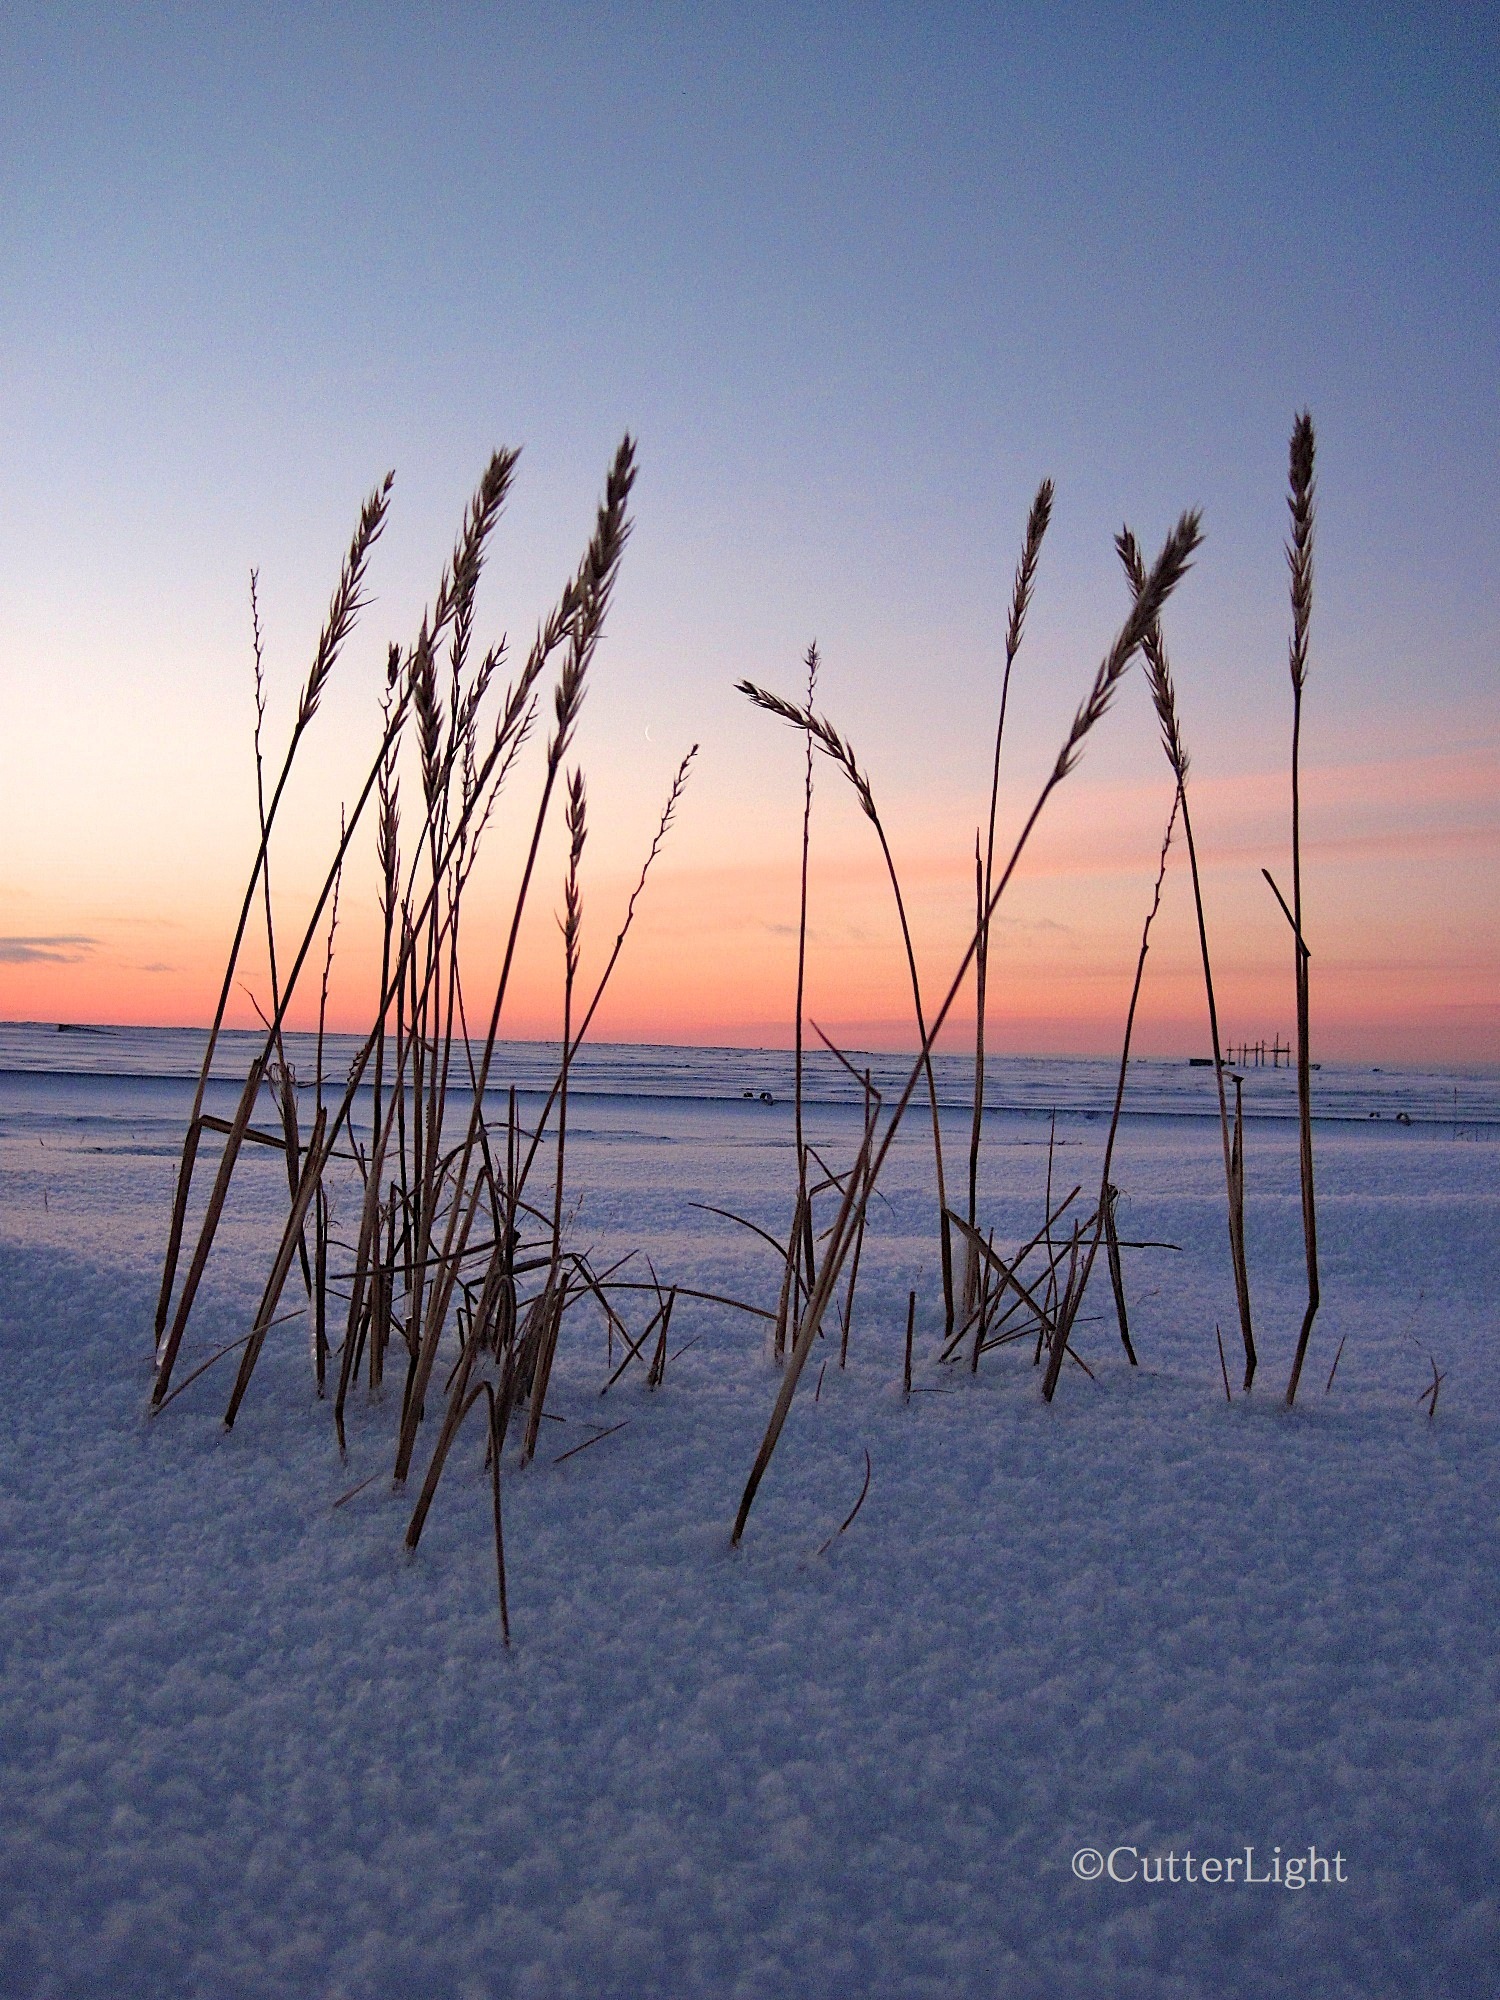
One of the benefits to living in the Arctic is our Arctic entry. This tiny room is like a decompression chamber when coming in from icy weather outside. There are two heavy metal doors, one leading outside and one leading inside, which keeps the icy weather at bay. This time of year the temperature in the Arctic entry is warmer than outside and cooler than the house – effectively making it a refrigerator. So, it is a perfect place to chill dough, store vegetables, and cool a chocolate mousse cake before serving to dinner guests.
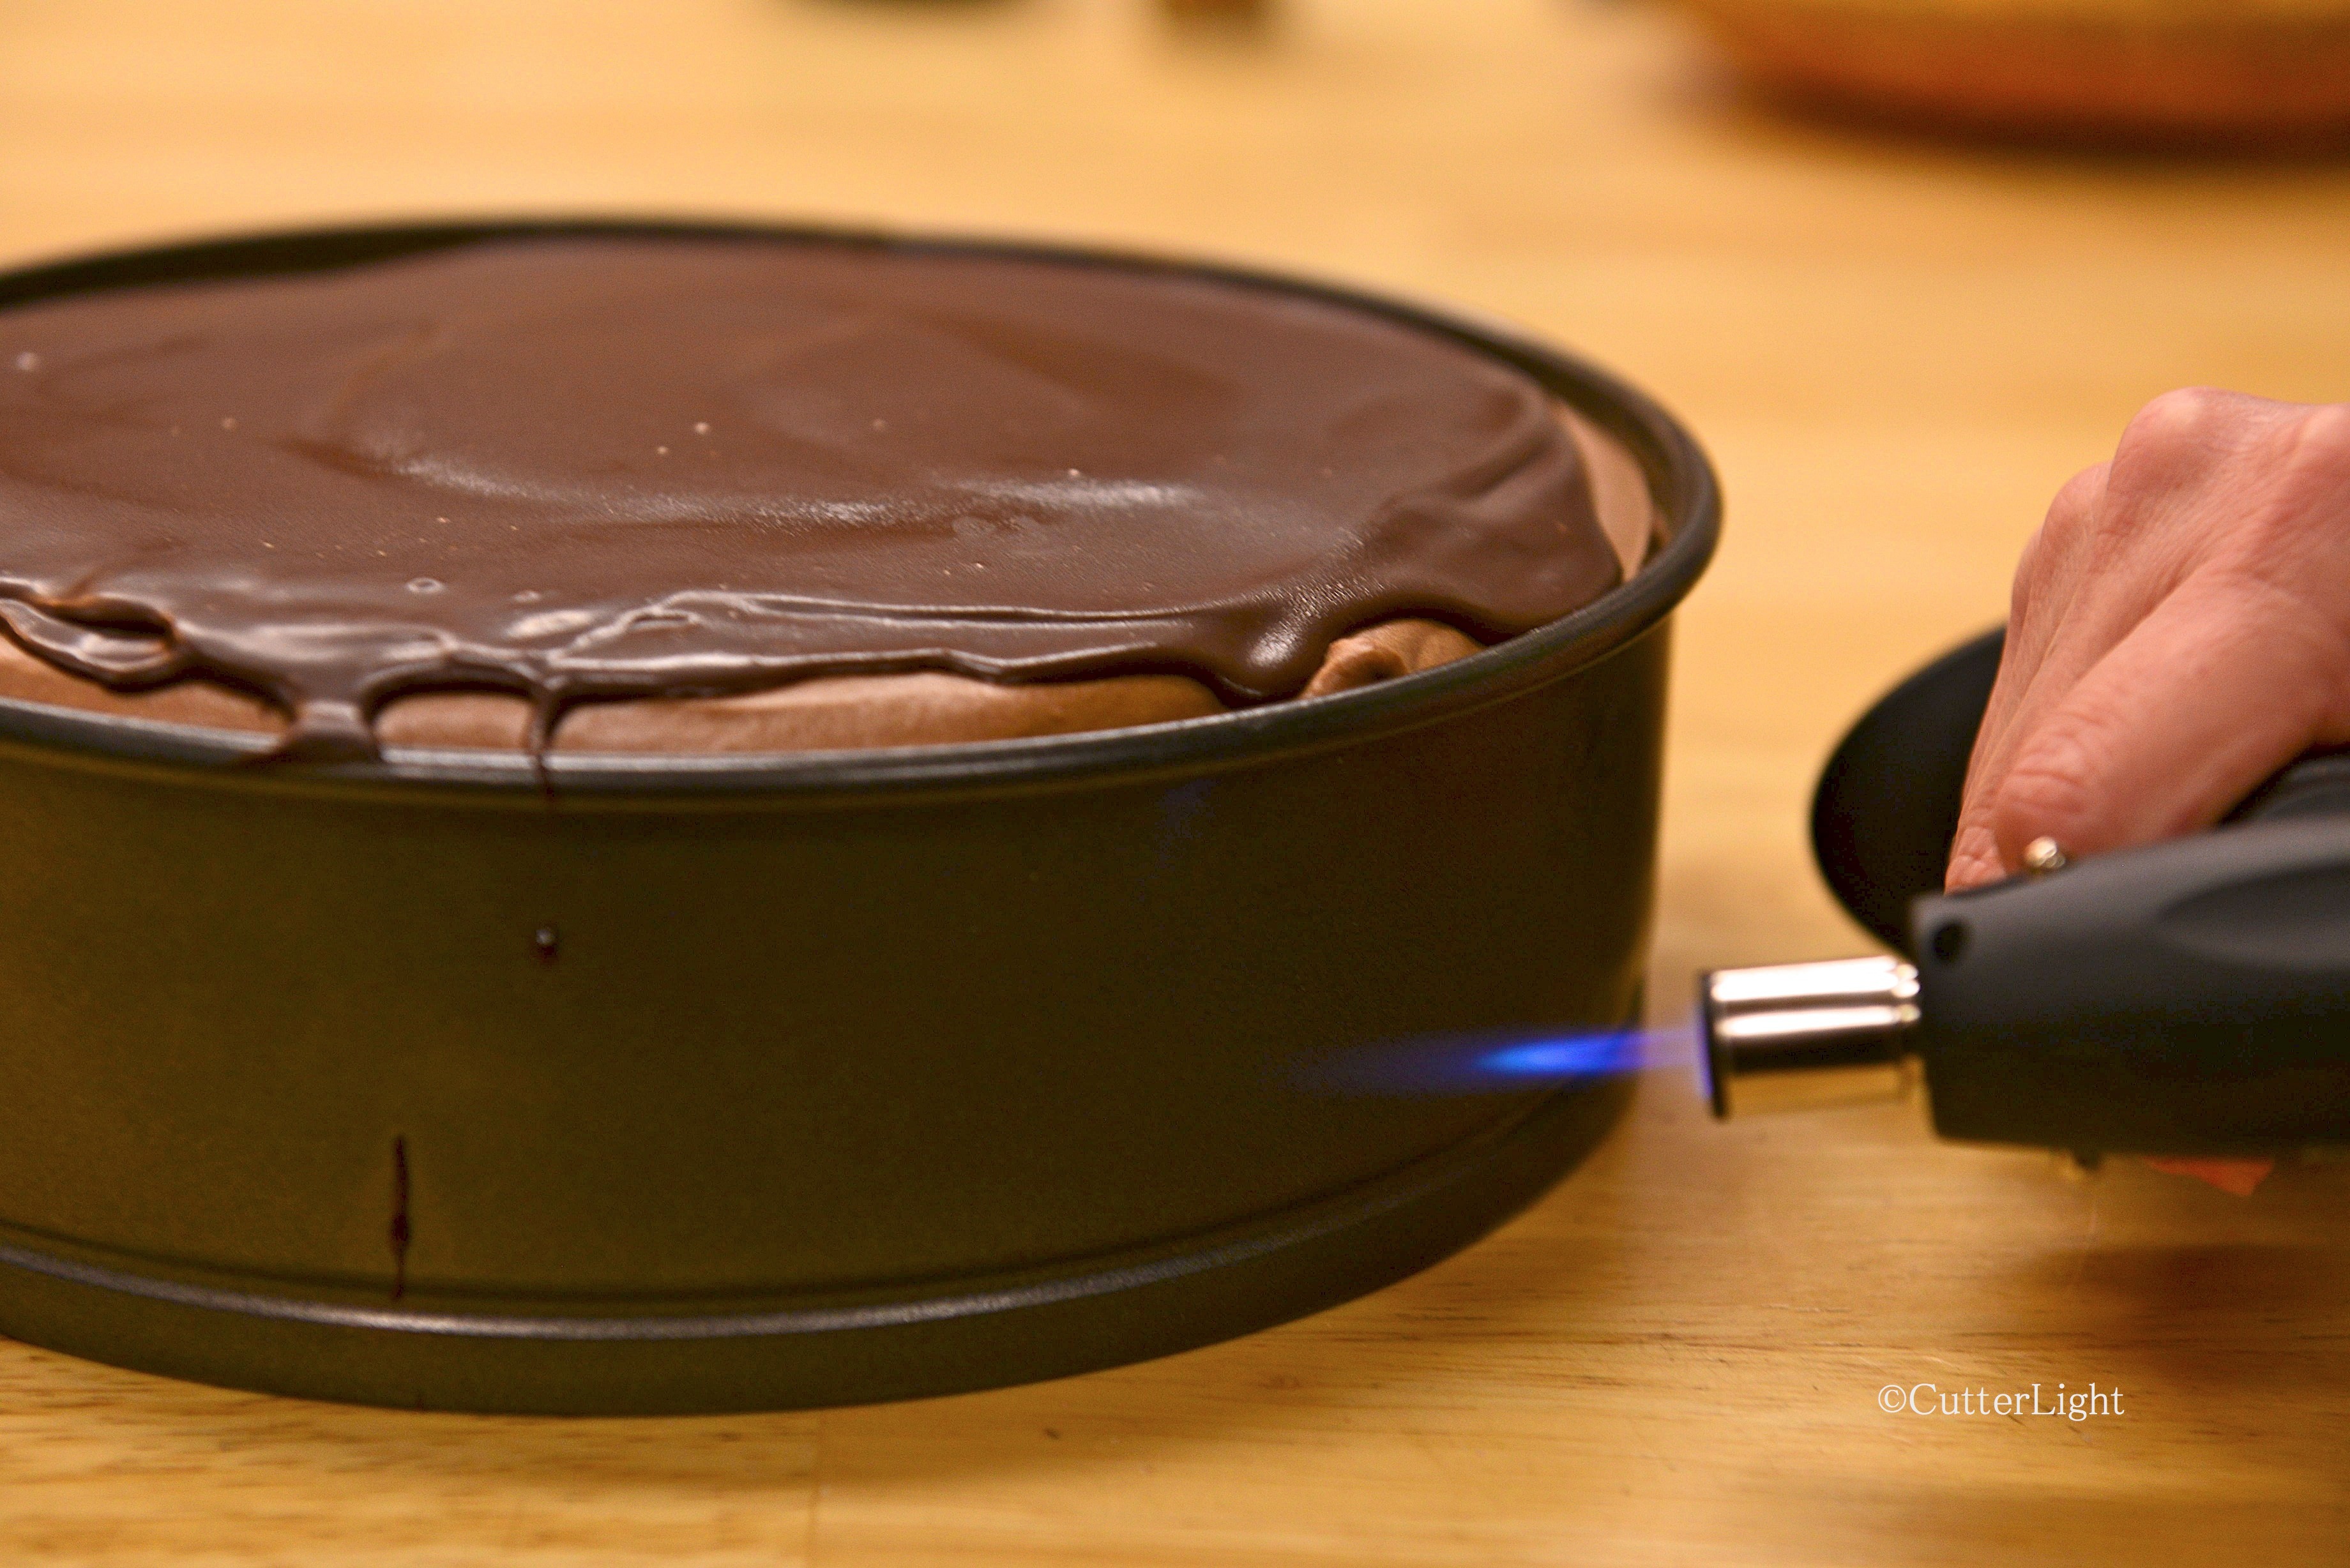
Chef Durfee instructed his class to give the outside of the pan a burst of torch heat in order to loosen the mousse without melting it. Good thing I have a handy kitchen torch.
Chocolate Mouse Cake
Devil’s Food Cake
Ingredients
- 2.5 oz. cocoa powder
- 14 oz granulated sugar
- 14 oz boiling water
- 5 oz canola oil
- 3 eggs
- 1 tsp vanilla extract
- 10 oz all-purpose flour
- 1.5 tsp baking soda
- pinch salt
Directions
- Preheat oven to 350 degrees F.
- Sift cocoa powder into a bowl.
- Add some of the boiling water to cocoa powder and whisk it together. Continue adding boiling water and whisking until mixture is smooth.
- Let cocoa mixture cool to body temperature before adding eggs.
- Blend sugar, salt, and baking soda in medium bowl.
- Sift flour into dry ingredients. Mix well.
- To the cooled cocoa mixture add oil, vanilla and eggs. Mix well.
- Stir wet mixture into dry and blend well.
- Divide batter into two pans and place in preheated oven.
- Cake is done when it has a glossy sheen on surface, about 30 minutes.
- Allow cake to cool completely.
Chocolate Mousse
Ingredients
- 16 oz heavy whipping cream
- 8 oz half and half
- 1 oz sugar
- 3 egg yolks
- 12 oz chocolate, chopped
- 1 oz espresso or liqueur (optional)
Directions
- Heat half and half and sugar in a pan over medium heat until it is steaming, not boiling.
- Place egg yolks in a medium mixing bowl. Whisk yolks.
- Slowly pour hot half and half mixture into yolks, whisking the whole time. This will temper the eggs.
- Pour the egg mixture back in the pan over medium heat until custard thickens enough to coat the back of a spoon.
- Place chocolate in a large mixing bowl. Pour hot egg mixture over chocolate. Allow to rest for a few minutes so chocolate will begin to melt.
- Whisk mixture until smooth.
- Stir in optional espresso or liqueur.
- Beat heavy whipping cream with mixer to soft peaks. The cream should still be pourable.
- Fold whipped cream into chocolate mixture. Keep blending until it’s thoroughly mixed.
Chocolate Ganache
Ingredients
- 5 oz heavy cream
- 1 oz corn syrup
- 8 ox finely chopped chocolate
Directions
- Bring heavy cream and corn syrup to a boil.
- Pour cream mixture over chopped chocolate in a bowl.
- Allow mixture to rest for about 30 seconds.
- Whisk mixture in the center of the bowl. Once the center is mixed, whisk in larger circles to incorporate more of the mixture.
- Ganache should be shiny and thick when it is finished.
Assembling the chocolate mousse cake
If you have a cake ring, retrieve it from your cupboards. If, like me, you don’t, then use a springform pan for a cake mold.
- Place one devil’s food cake at the bottom of your mold.
- Pour some of the chocolate mousse on top of the cake layer.
- Fit the next cake on top of the mousse layer.
- Pour the rest of the mousse on top of the cake, or as much as you can.
- Place the mousse cake into your Arctic entry (or your refrigerator) to set up.
- After the cake has set up, pour the ganache on the cake. Smooth with an offset spatula.
- Continue to chill cake until right before serving.
- It is helpful to give the mold short bursts of heat from a propane torch to unmold it. Otherwise, run a knife around the circumference of the cake to loosen mousse and cake from ring. Remove ring and enjoy!