Black-Veined White Butterfly

Black-veined white (Aporia crataegi), Ulaanbaatar, Mongolia.

For a few days in late June, maybe a week, these black-veined whites (that’s their name) were everywhere. In the air, in the bills of birds, sipping on purple flowers. And then they were gone. In that one week, they were beautiful…

Summertime Salad – Pennsylvania German Potato

Pennsylvania Potato Salad n

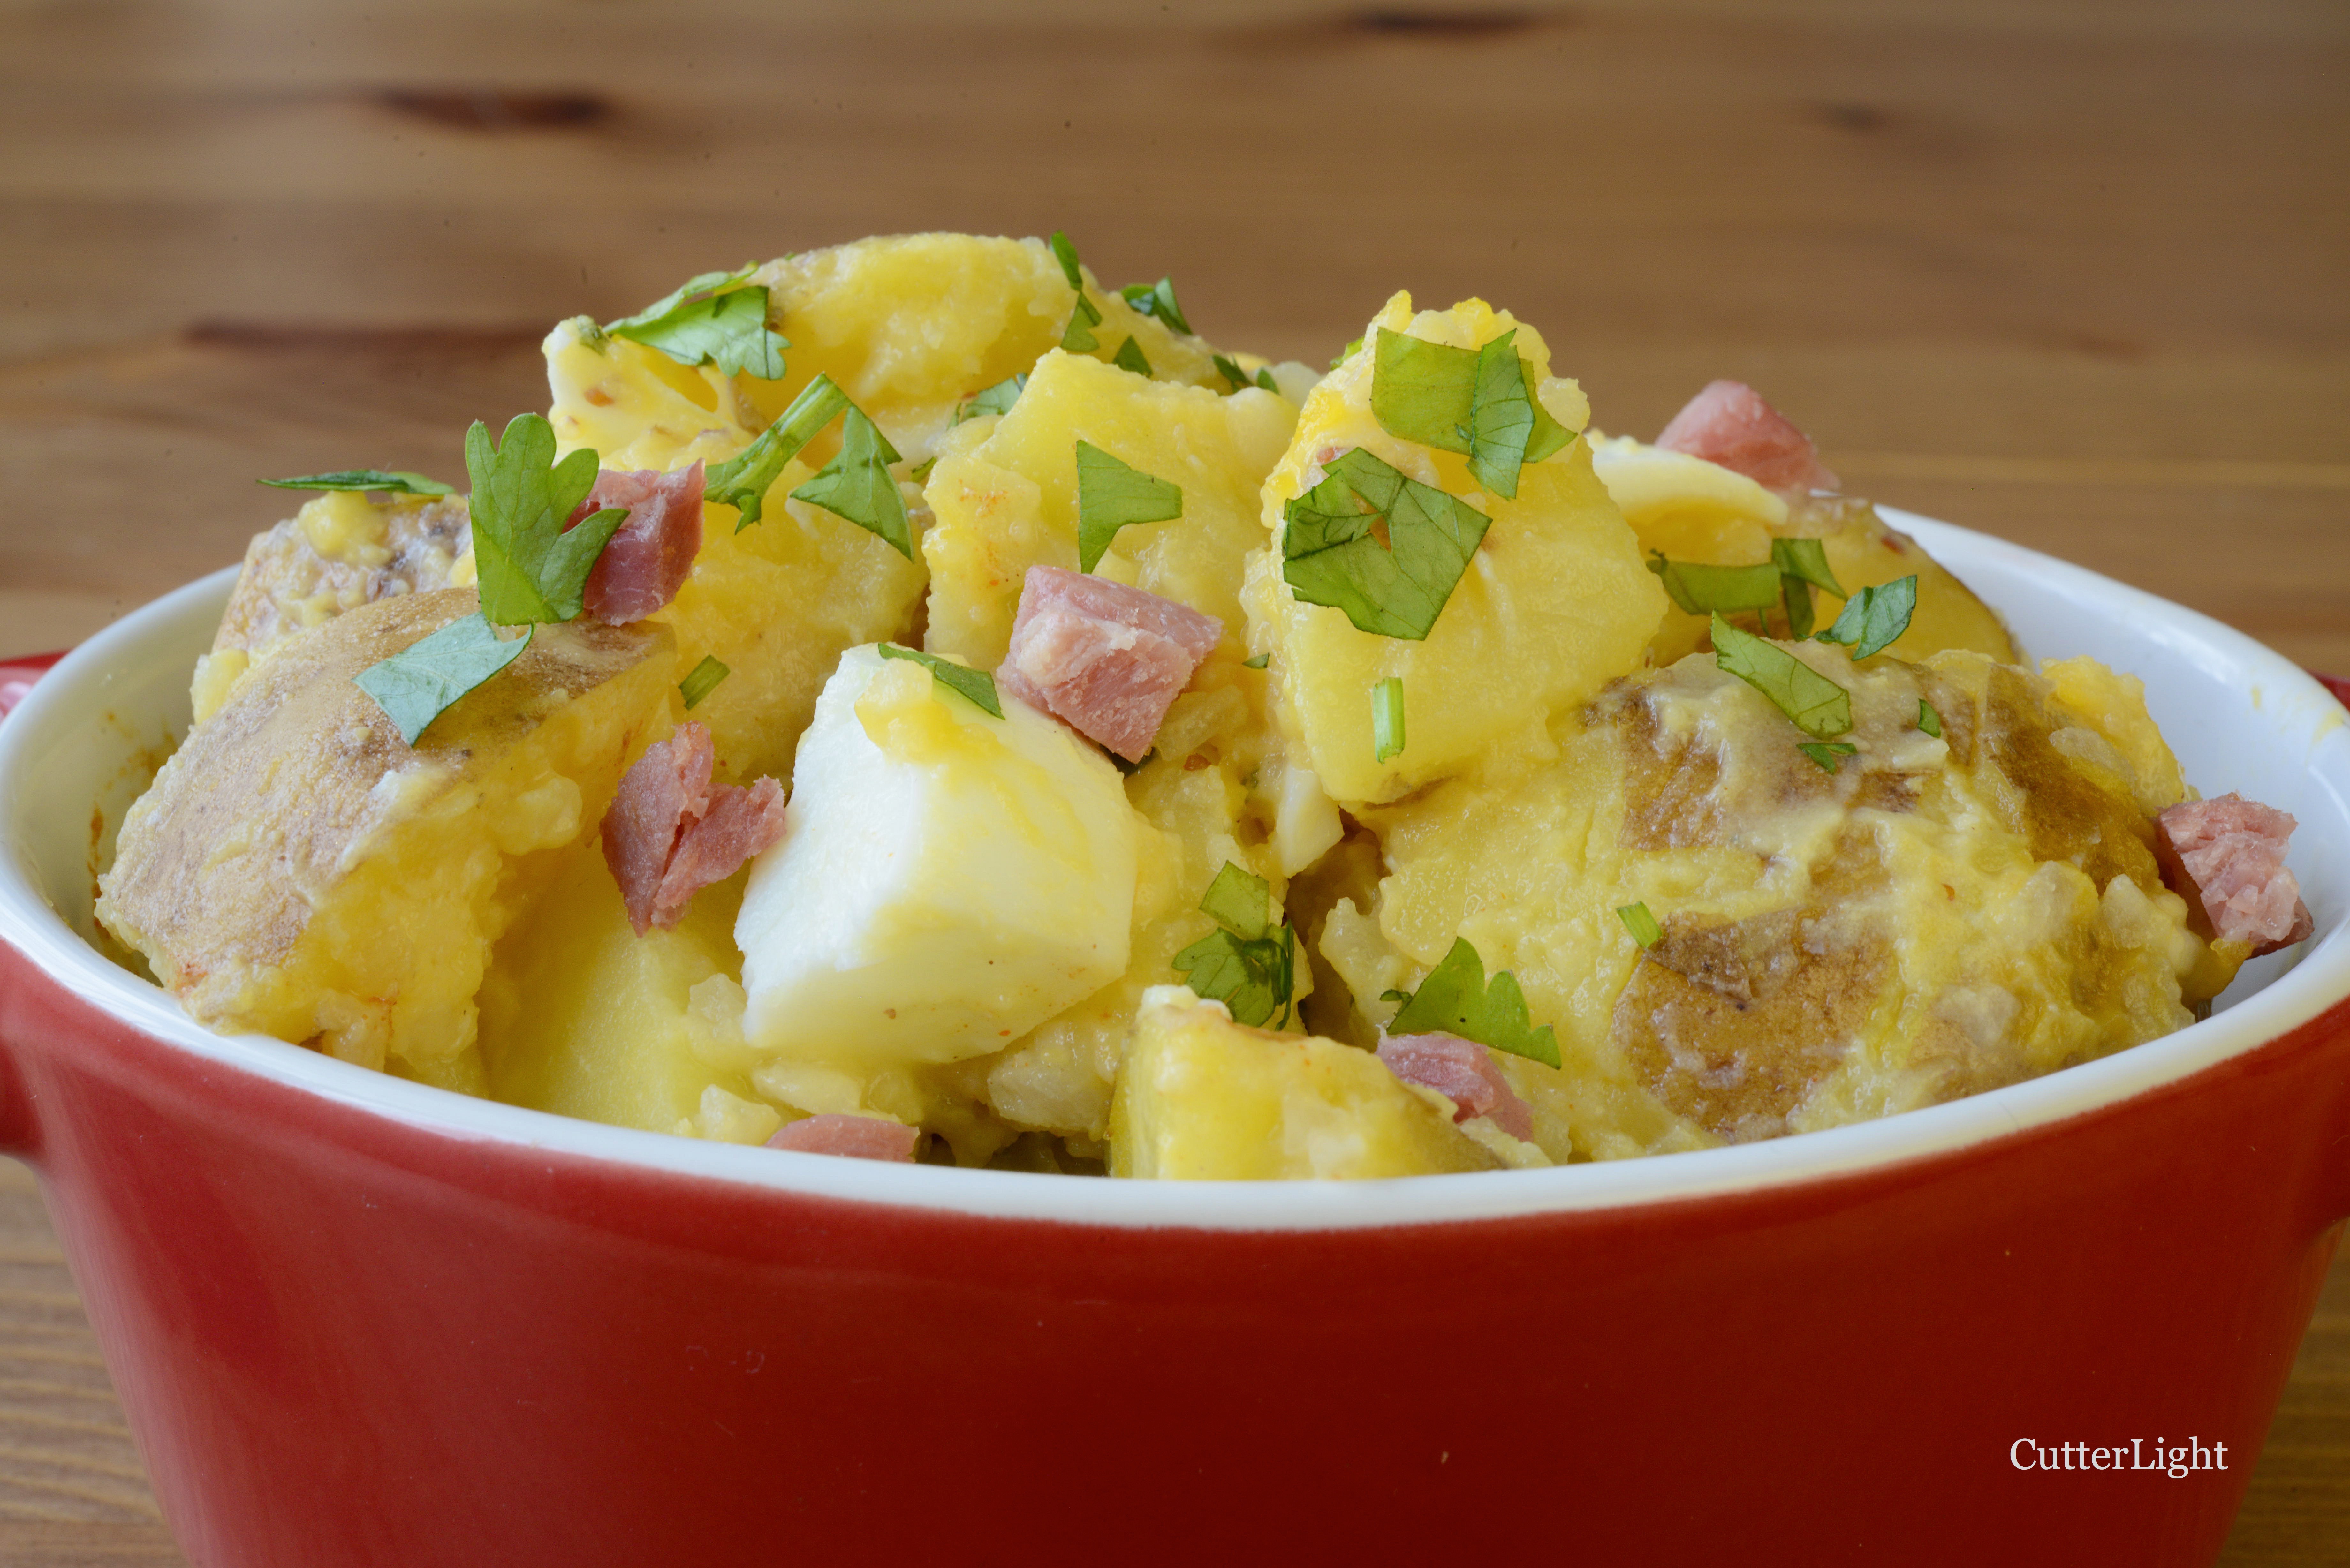
Sweet and sour, savory custard-like dressing sets this potato salad apart from the traditional.

Summer celebrations, potluck gatherings and warm weather inspire me to prepare delicious cold salads so we’re ready for anything. We enjoyed our roasted potato and caramelized onion salad so much, we wanted to try another potato salad. I thumbed through a 30-year old cookbook a friend gave me from her toss-before-I-move pile. It was one of those community collection recipe books. Many of the recipes were tried and true, but not particularly inspired. But in between a lima bean salad and a recipe for marinating mushrooms, there was a Pennsylvania German potato salad that sounded delicious. Seeing how Jack is the expert on all things Pennsylvania (compared to me, anyway), I asked him if he ever had this salad. He remembered many summertime meals featuring this style of potato salad when he was growing up in Pennsylvania.

Inspired by Janet Jokinen, author of the original recipe, I set out to create my own version of Pennsylvania German potato salad. I cut the sugar and upped the flavors by adding German-style stone-ground mustard, seasonings, and, of course, bacon. My favorite thing about the salad is the dressing. Cooking the egg-based dressing in a double boiler produces a rich, savory custard. We made a double batch of the dressing to keep in the refrigerator in anticipation of future potato salad cravings.

Pennsylvania German Potato Salad

Ingredients

  • 6 large potatoes, cooked and diced into bite-sized pieces
  • 1 cup chopped celery
  • 3 hard-boiled eggs, diced
  • chopped chives to taste
  • 4 slices thick cut bacon – diced, cooked, and drained
  • smoked paprika
  • chopped parsley

Dressing

  • 7 tbsp granulated sugar
  • 1 tbsp all purpose flour
  • 2 tsp German mustard
  • 1 tbsp salt
  • 2 tbsp dried minced onions
  • 2 eggs, beaten
  • 2/3 cup apple cider vinegar
  • 1 tbsp water

Directions

  1. Bring water to a simmer in bottom of double boiler.
  2. Mix dressing ingredients in top of double boiler.
  3. Stir dressing continuously over simmering water until thickened. Dressing will coat back of wooden spoon when done.
  4. In a large bowl, combine potatoes, celery, diced eggs, chives, and bacon.
  5. Toss potato mixture with dressing.
  6. Garnish with smoked paprika and chopped parsley.
  7. Serve warm or chilled.

Miniature Slider Buns: Perfect for Breakfast, Appetizers and Light Meals

Breakfast slider with bun recipe n

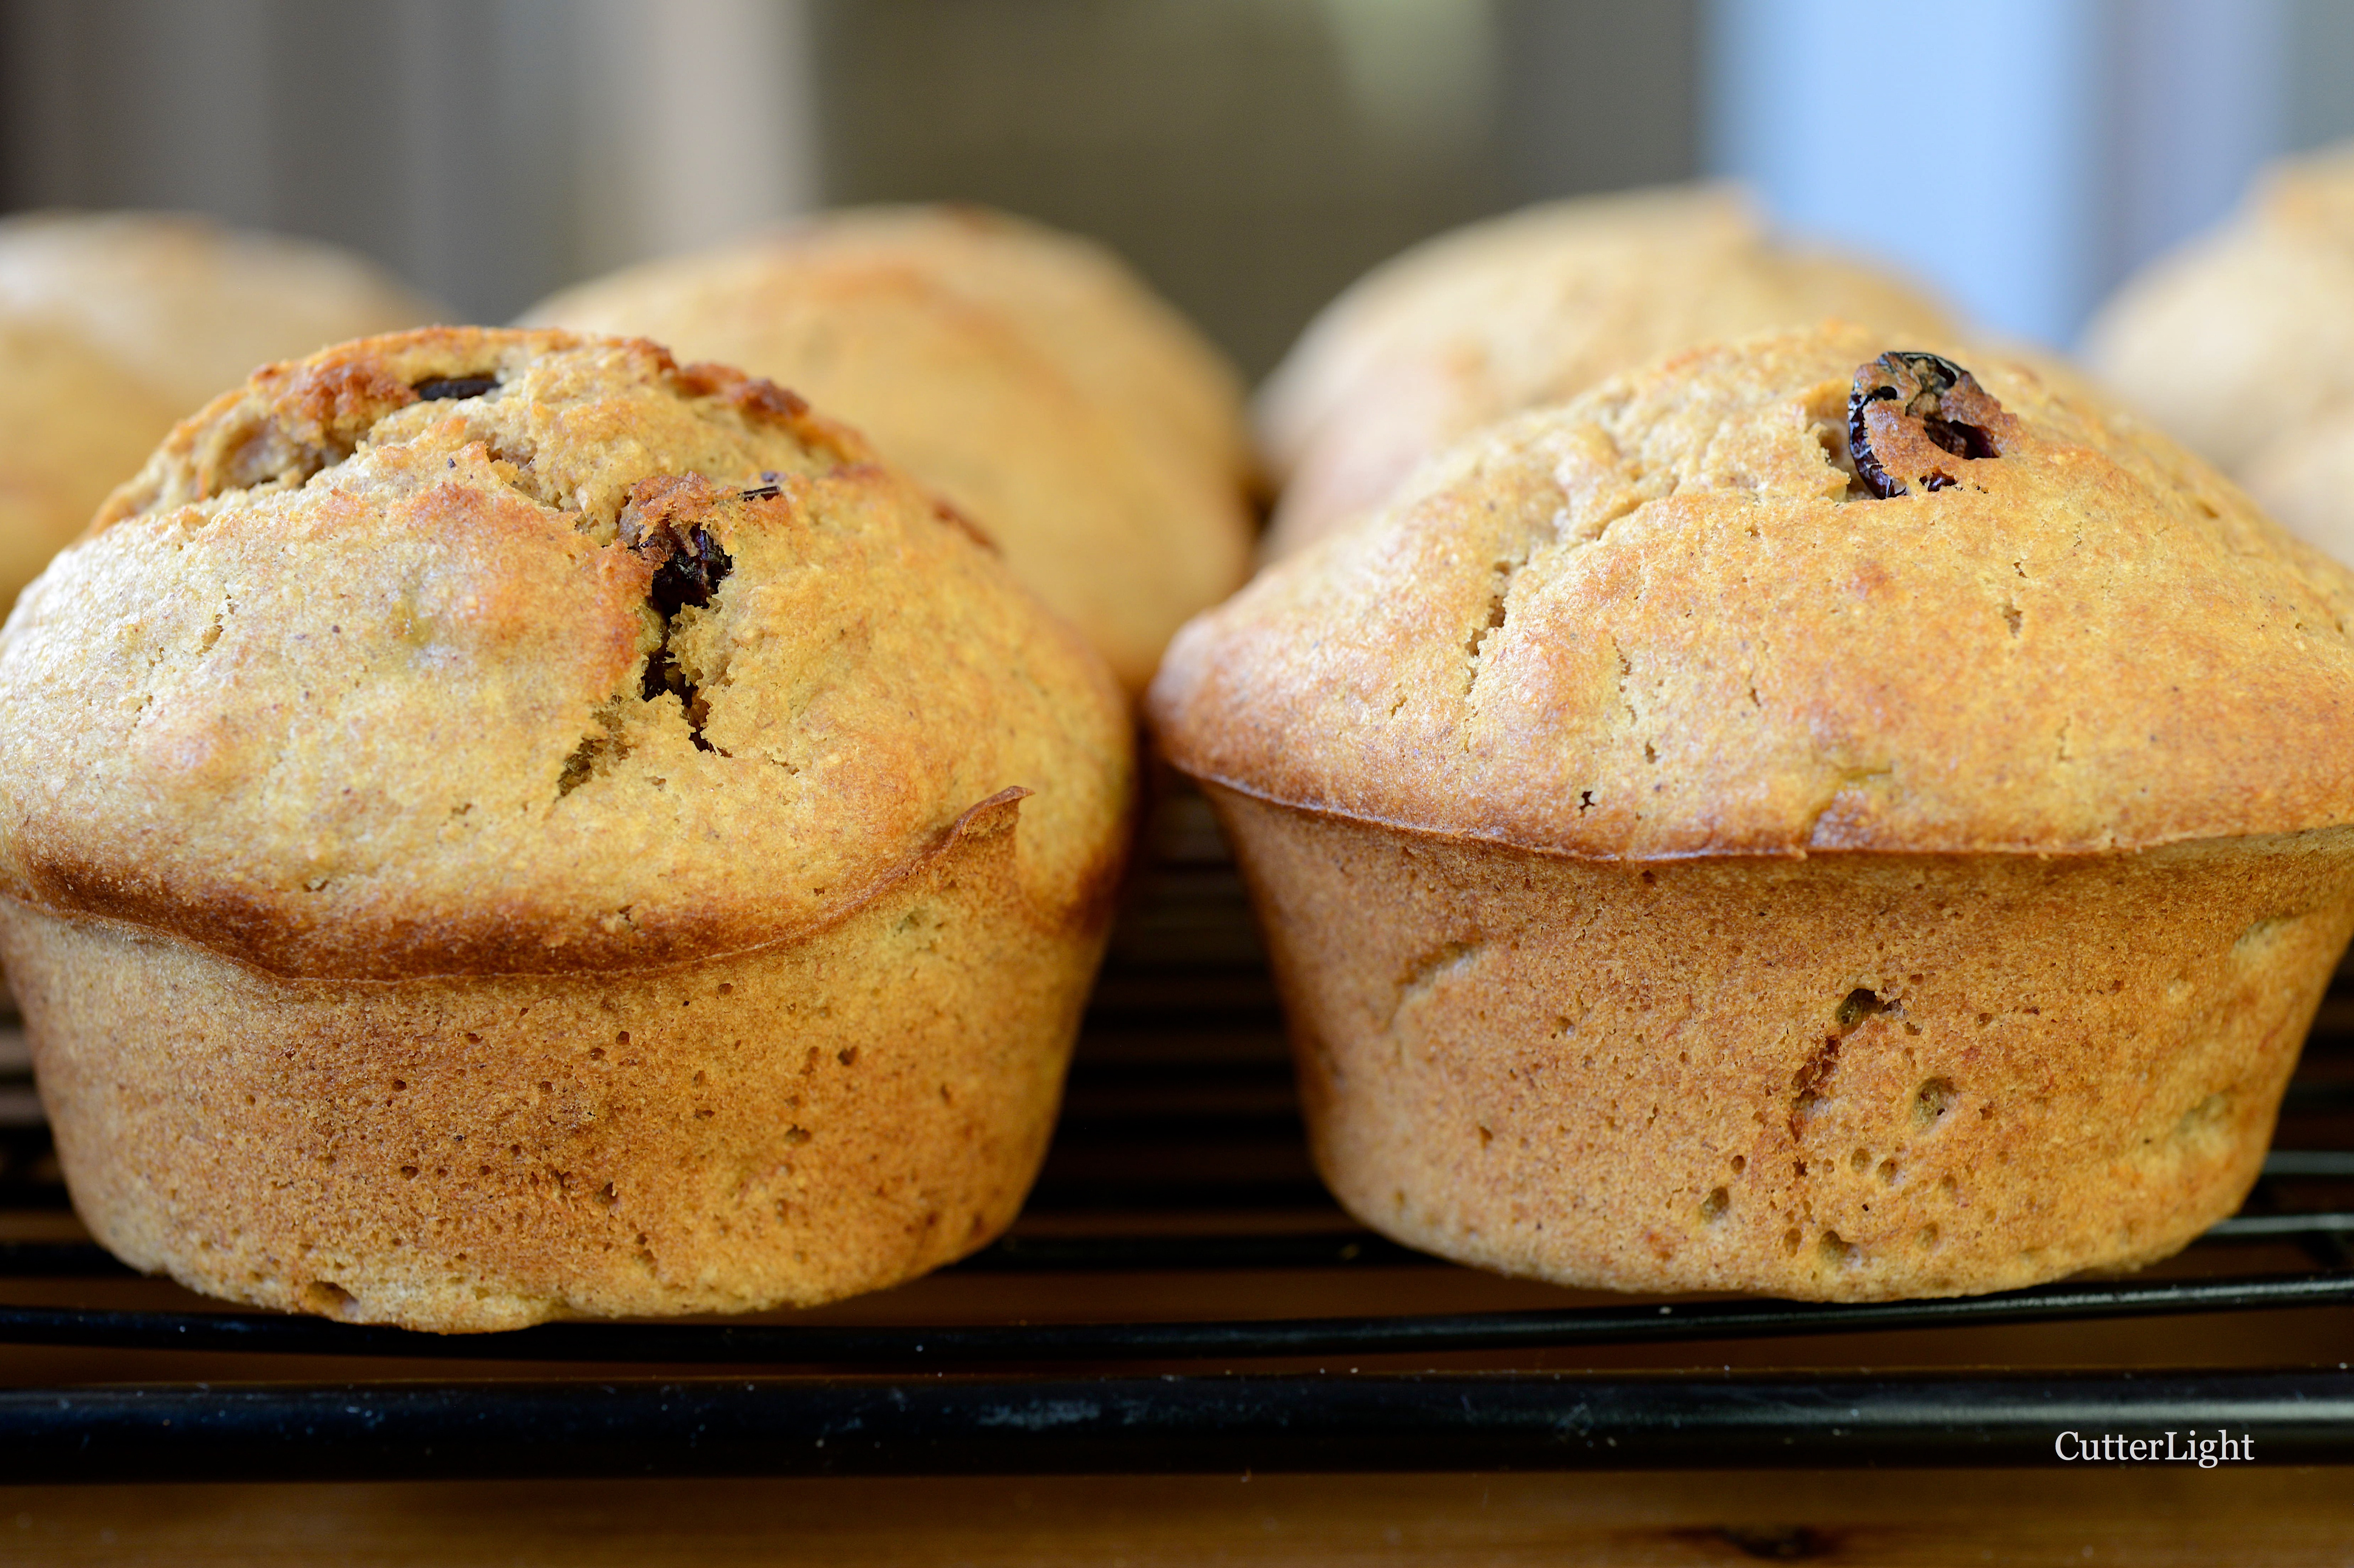
Irresistible, soft, fluffy darling buns perfect for sliders. Imagine all the tiny meals you could make. Sliders stuffed with eggs, roasted vegetables, burgers… Think you can eat just one? Good thing they are small!

Jack had that look in his eye as he placed his order for a dozen slider rolls. It’s the look he gets when he has something up his culinary sleeve. I will keep the anticipation going and only reveal that it was a delicious use of these little fluffy buns. Stay tuned for his upcoming recipe.

I use this recipe often for hamburger and sandwich rolls. I really like how the texture. They are soft but have enough structure to hold up to whatever we put on them without caving in. I have shaped the dough to accommodate sausage sandwiches as well. This time, I divided the dough into twelve equal pieces, which gave me perfect slider buns about 2¾ inches in diameter.

Fluffy Slider Buns

Ingredients

  • 1 cup warm water, about 110 degrees F (43 degrees C)
  • 1 tbsp granulated sugar
  • 2 1/4 tsp active dry yeast
  • 2 tbsp olive oil
  • 3 cups all-purpose flour
  • 3/4 tsp salt

Directions

  1. In a large bowl, stir together water, sugar and yeast. Let sit for 5 minutes.
  2. Stir in olive oil.
  3. Stir in one cup of flour and salt.
  4. Add in remainder of flour 1/2 cup at a time. The last half cup will need to be kneaded in by hand.
  5. Turn dough out onto a lightly floured surface and continue to knead until dough is smooth and elastic.
  6. Place dough in an oil-coated bowl and cover with plastic wrap. Let dough rise until doubled in size, about an hour.
  7. Line a baking sheet with parchment paper. Set aside.
  8. Knead dough for 2-3 minutes.
  9. Cut dough into 12 equal pieces.
  10. Roll dough into balls.
  11. Flatten balls slightly and place on parchment-lined baking sheet.
  12. Cover dough balls with damp towel and let rise for another 30 minutes.
  13. Preheat oven to 350 degrees F (175 degrees C).
  14. Bake rolls for about 12 minutes. Rolls should be lightly browned on top and on bottom.
  15. Let cool completely on wire rack before cutting.

Dorayaki – Japanese Pancakes Stuffed with Sweet Adzuki Bean

dorayaki n

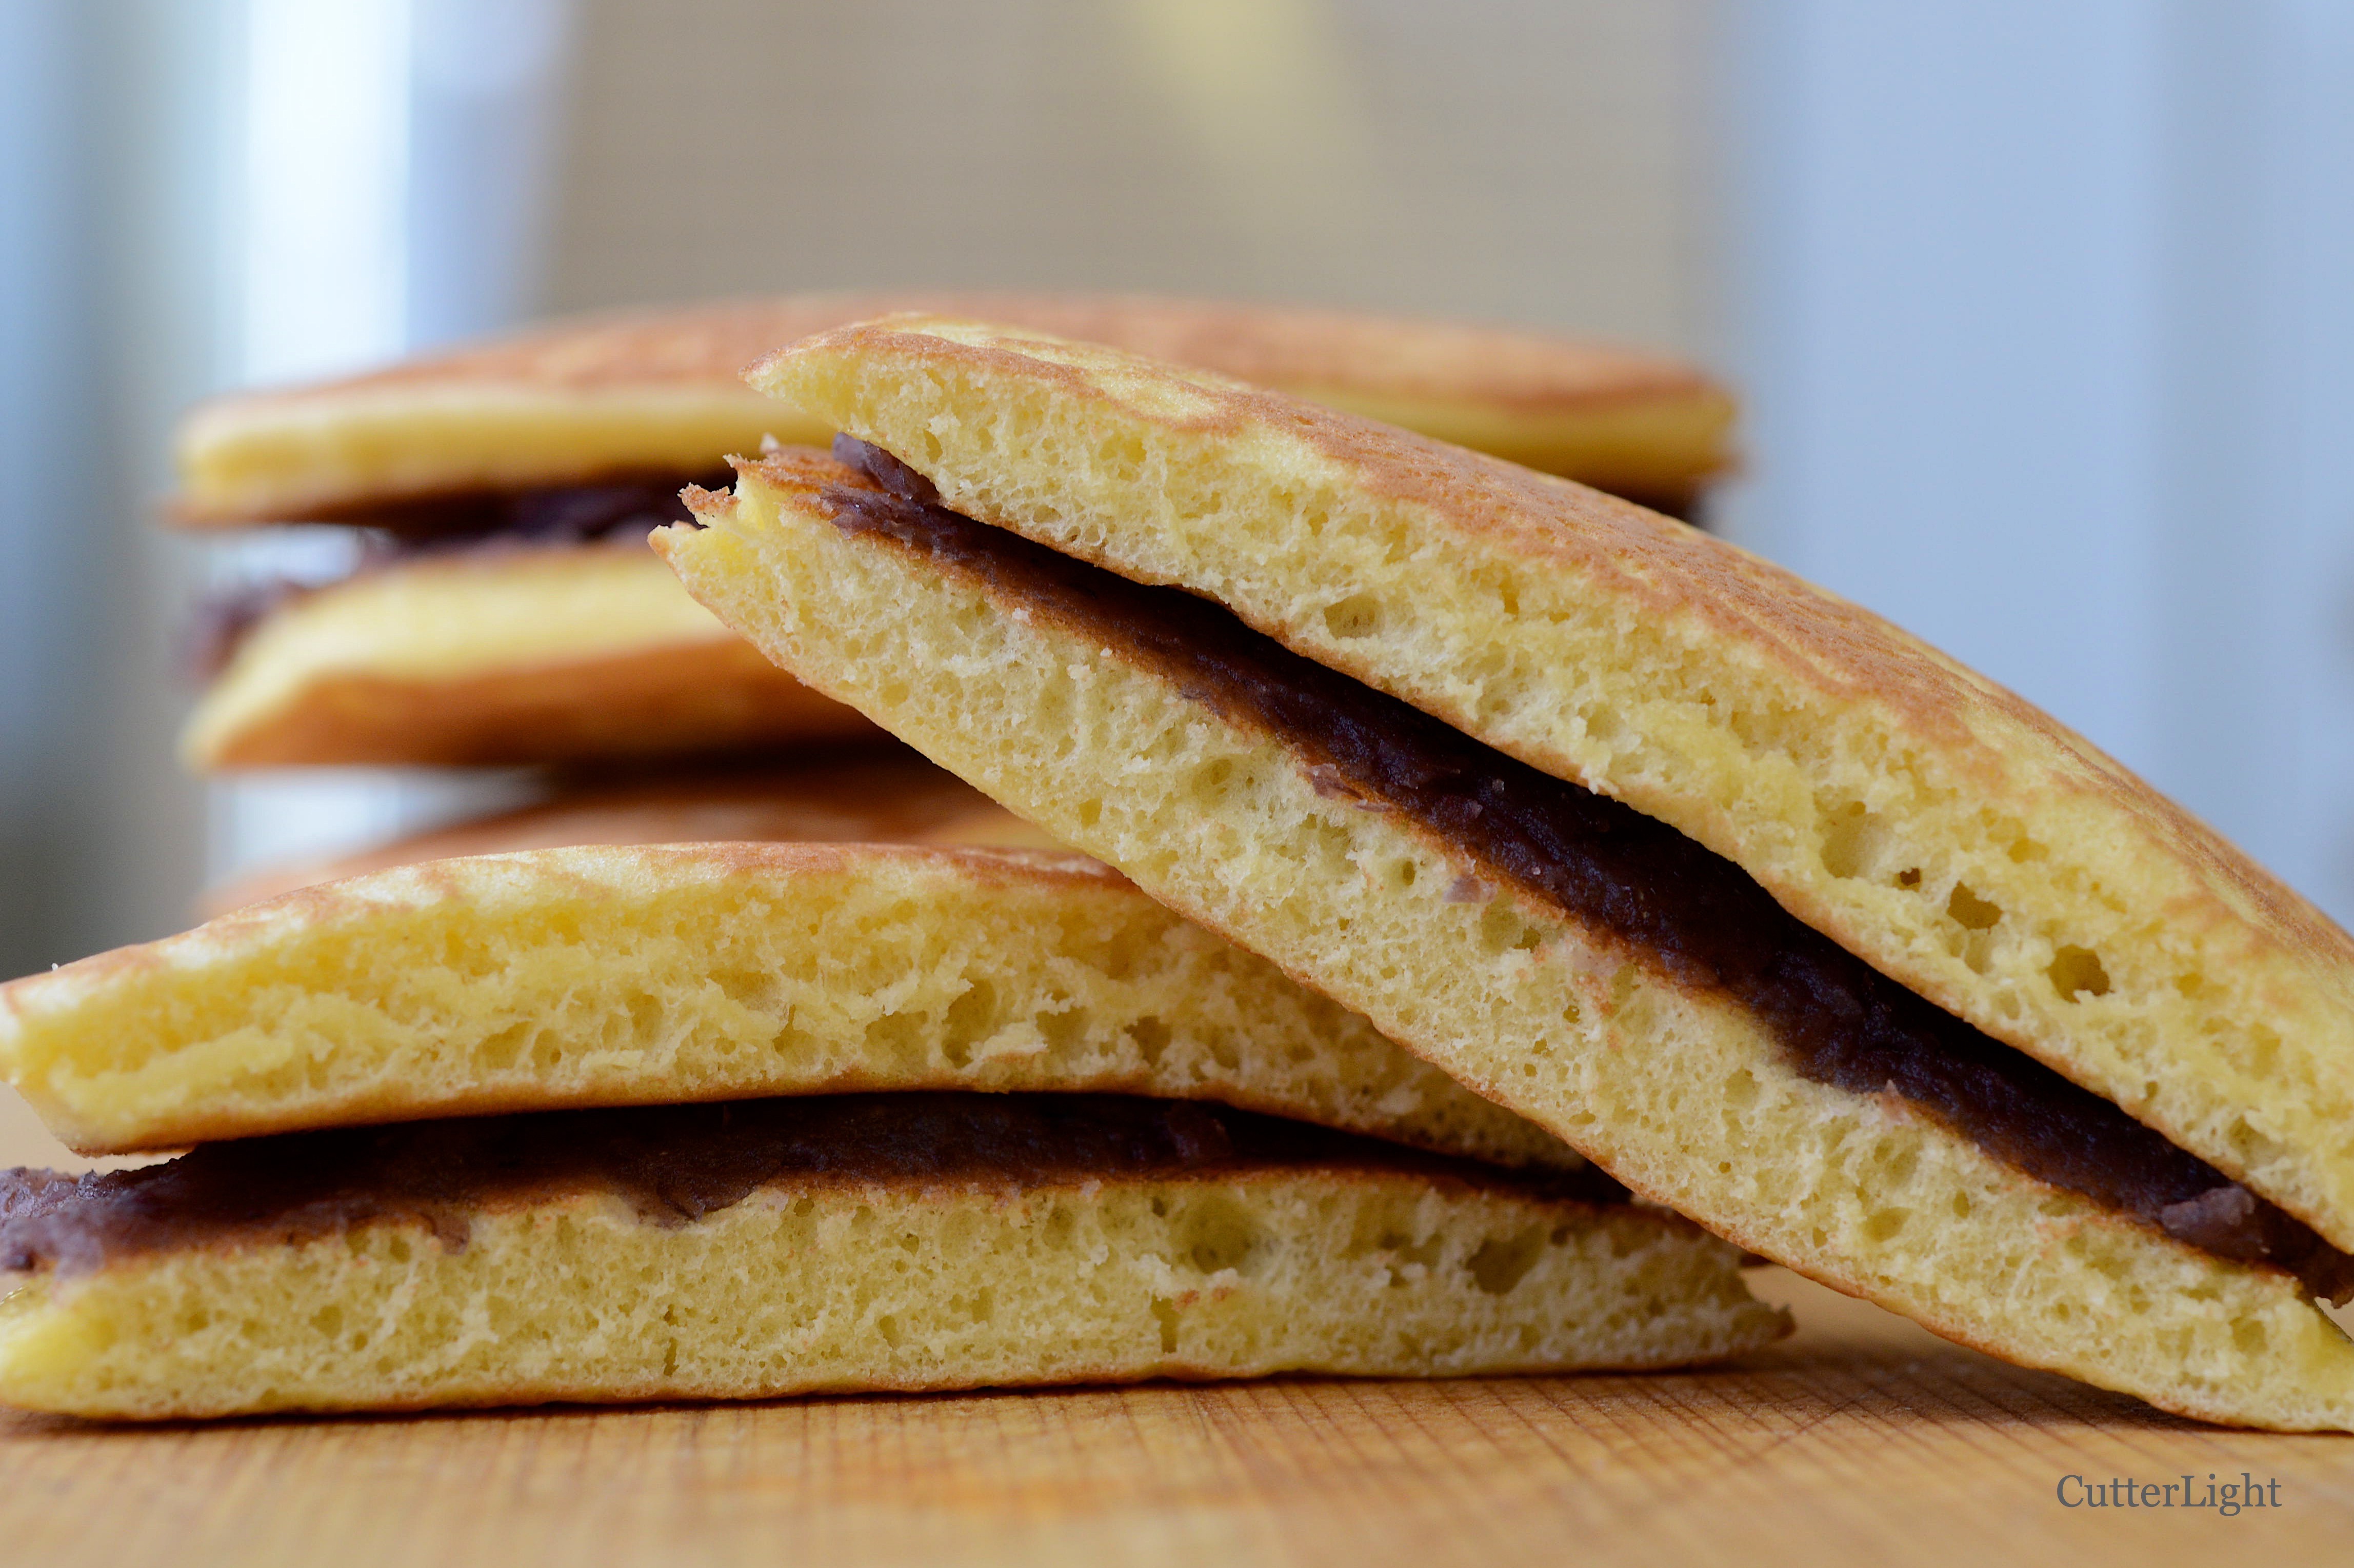
Fluffy pancakes sandwiching sweet adzuki bean paste reminded Jack of snacks grabbed on bike rides home from early mornings of fishing or birdwatching when he lived in Japan. Happy memories.

Taking stock of my freezer, I noticed I still had some sweet adzuki bean paste left from  my twisted adzuki bean rolls. We love the flavor of these sweetened beans. Eating beans makes you think you are eating something good for you. They are packed with fiber and protein… but, there is quite a bit of sugar in this confection. The batter for the pancakes is sweeter than the pancakes I usually make, but the portions are smaller which alleviates guilt. I scaled the original recipe down to make only seven dorayaki. The odd number will give you one to mess up or one to “test” your batch before you serve it to your guests.

Dorayaki – aka Japanese Pancakes Stuffed with Sweet Adzuki Bean Paste

Ingredients

  • 2 large eggs
  •  1/3 cup sugar
  •  1 tbsp honey
  •  ½ cup and 2 tbsp all-purpose flour
  •  ½ tsp baking powder
  •  ½ tbsp water
  •  ½ tsp vegetable oil
  •  6 oz homemade sweet red bean paste (see recipe below)

Directions

  1. In a medium bowl, whisk together eggs, sugar, and honey.
  2. Sift flour and baking powder into bowl with egg mixture and mix well.
  3. Let dough sit for 15 minutes.
  4. Stir in 1/2 tbsp water to dough in order to thin slightly.
  5. Heat a non-stick frying pan over medium heat.
  6. Take the vegetable oil and coat the frying pan. Wipe pan off to remove the oil. This will prepare surface to cook dorayaki evenly.
  7. Pour 3 tbsp of batter onto center of frying pan. In order to have pancakes come out the same size, I used a large cookie scoop to collect consistent amounts of dough to pour on the pan. The pancakes should be about 3 inches in diameter (8 cm).
  8. Cook pancake for about a minute. You will see bubbles appear on surface.
  9. Flip pancake and cook for another 30 seconds. Both sides should be golden brown.
  10. Pair up pancakes. Spread sweet adzuki bean paste on one pancake. Sandwich its pair on top of the adzuki covered pancake.
  11. Enjoy this delicious snack right away or pack it in plastic wrap to take on the road.

Sweet Adzuki Bean Paste

Ingredients

  • 1 cup dried adzuki beans
  • 1 1/2 cups granulated sugar
  • water

Directions

  1. Place beans in a medium pot and add 3 cups fresh water. Cover, bring to a boil, then lower heat and simmer for 1 1/2 to 2 hours. Add more water if needed. Beans should be covered by water during cooking.
  2. Beans are finished cooking when they are easily squashed between thumb and finger.
  3. Discard water but leave beans in pot.
  4. Add sugar to the pot.
  5. Cook beans and sugar on medium high heat, stirring constantly.
  6. In about 10 minutes beans will form a thick, glossy paste.
  7. Paste can be stored in the refrigerator for a few days or indefinitely in the freezer.


Hana Restaurant, Ulaanbaatar: a Trip to Japan Without the Passport

Sushi?… In Mongolia?! Heck yeah! Slightly crunchy in the best possible way, herring roe paired with mackerel is a sumptuous favorite at the Hana Japanese restaurant in Ulaanbaatar.

Jack’s birthday. What to get a man with a serious fish addition in a country where canned Alaskan salmon is pretty much the only palatable fish to be found? We’d heard a couple of good reports from a relative newcomer to Ulaanbaatar’s rapidly growing restaurant scene. Hana was said to have the best sushi – in fact the best fish of any description – in town.

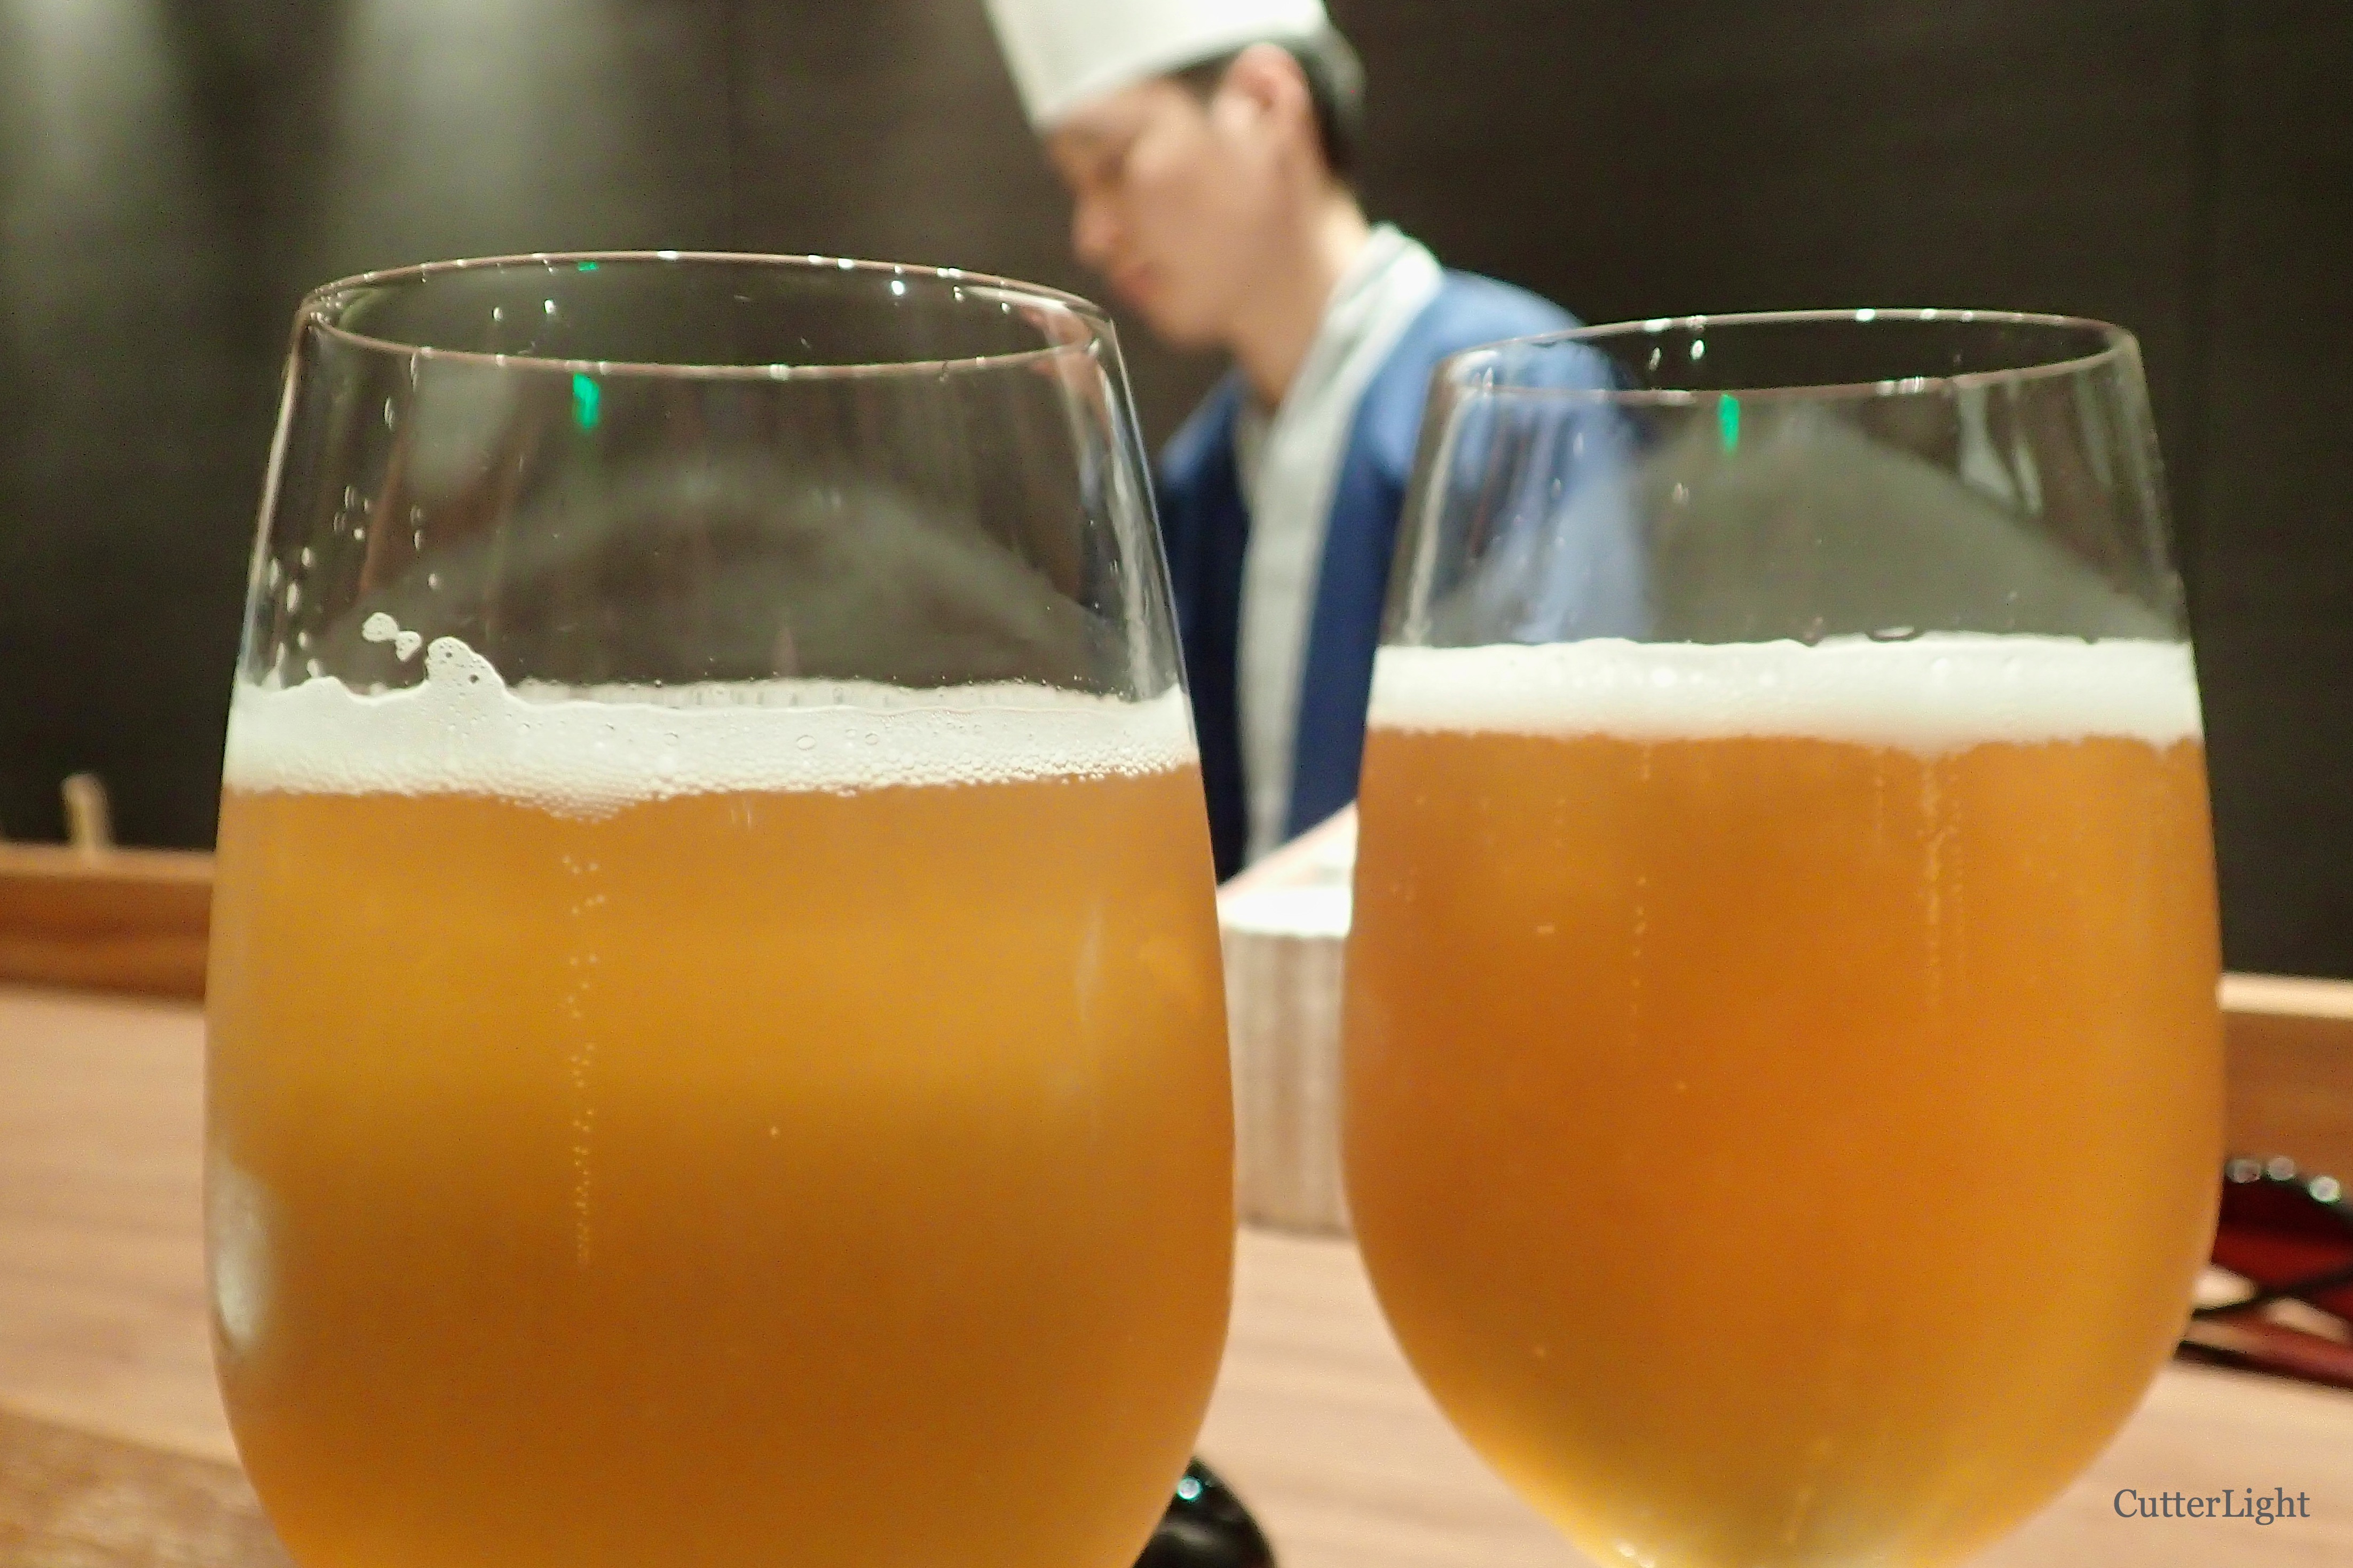
Crisp, light and slightly malty, when it comes to pairing a beverage with sushi, it’s tough to beat a traditional Japanese rice lager such as these frosty glasses of Sapporo. Hana also features a decent wine list as well as locally-brewed beers.

On a whim, we’d stopped in for lunch at Hana the previous day during a walk of the city. I thought we were just getting in out of the mid-day heat for a bite to eat. I know now that Jack was vetting the place for a possible birthday meal. We each ordered a set menu. My chirashi-zushi, an assortment of beautifully-sliced salmon, tuna, sea bass, prawn and mackerel on top of a bowl of sushi rice surprised with its fresh and delicate flavors. Jack went with a nigiri-zushi set (which should have tipped me off that he was up to something). Like my bowl of chirashi-zushi, Jack’s meal was beautifully presented and fresh. Our bowls of miso soup, too, were spot on. We’d tried the sushi at a couple of other Ulaanbaatar restaurants, and had found it to be OK. But our lunch experience at Hana was authentically good.

As bright and fresh as maguro in Japan, this tuna flank was amazing. 

Anytime we visit a good restaurant, we start by asking available waitstaff, chefs, managers and owners what they recommend. On the night we visited Hana, the consensus was that the tuna, recently flown in from Hana’s Japanese supplier, was superb. We began our meal with a plate of maguro sashimi and were not disappointed. The translucent-ruby slices were served with a traditional salad of shiso leaf and julienne daikon, radish and squash. It was absolutely delicious.

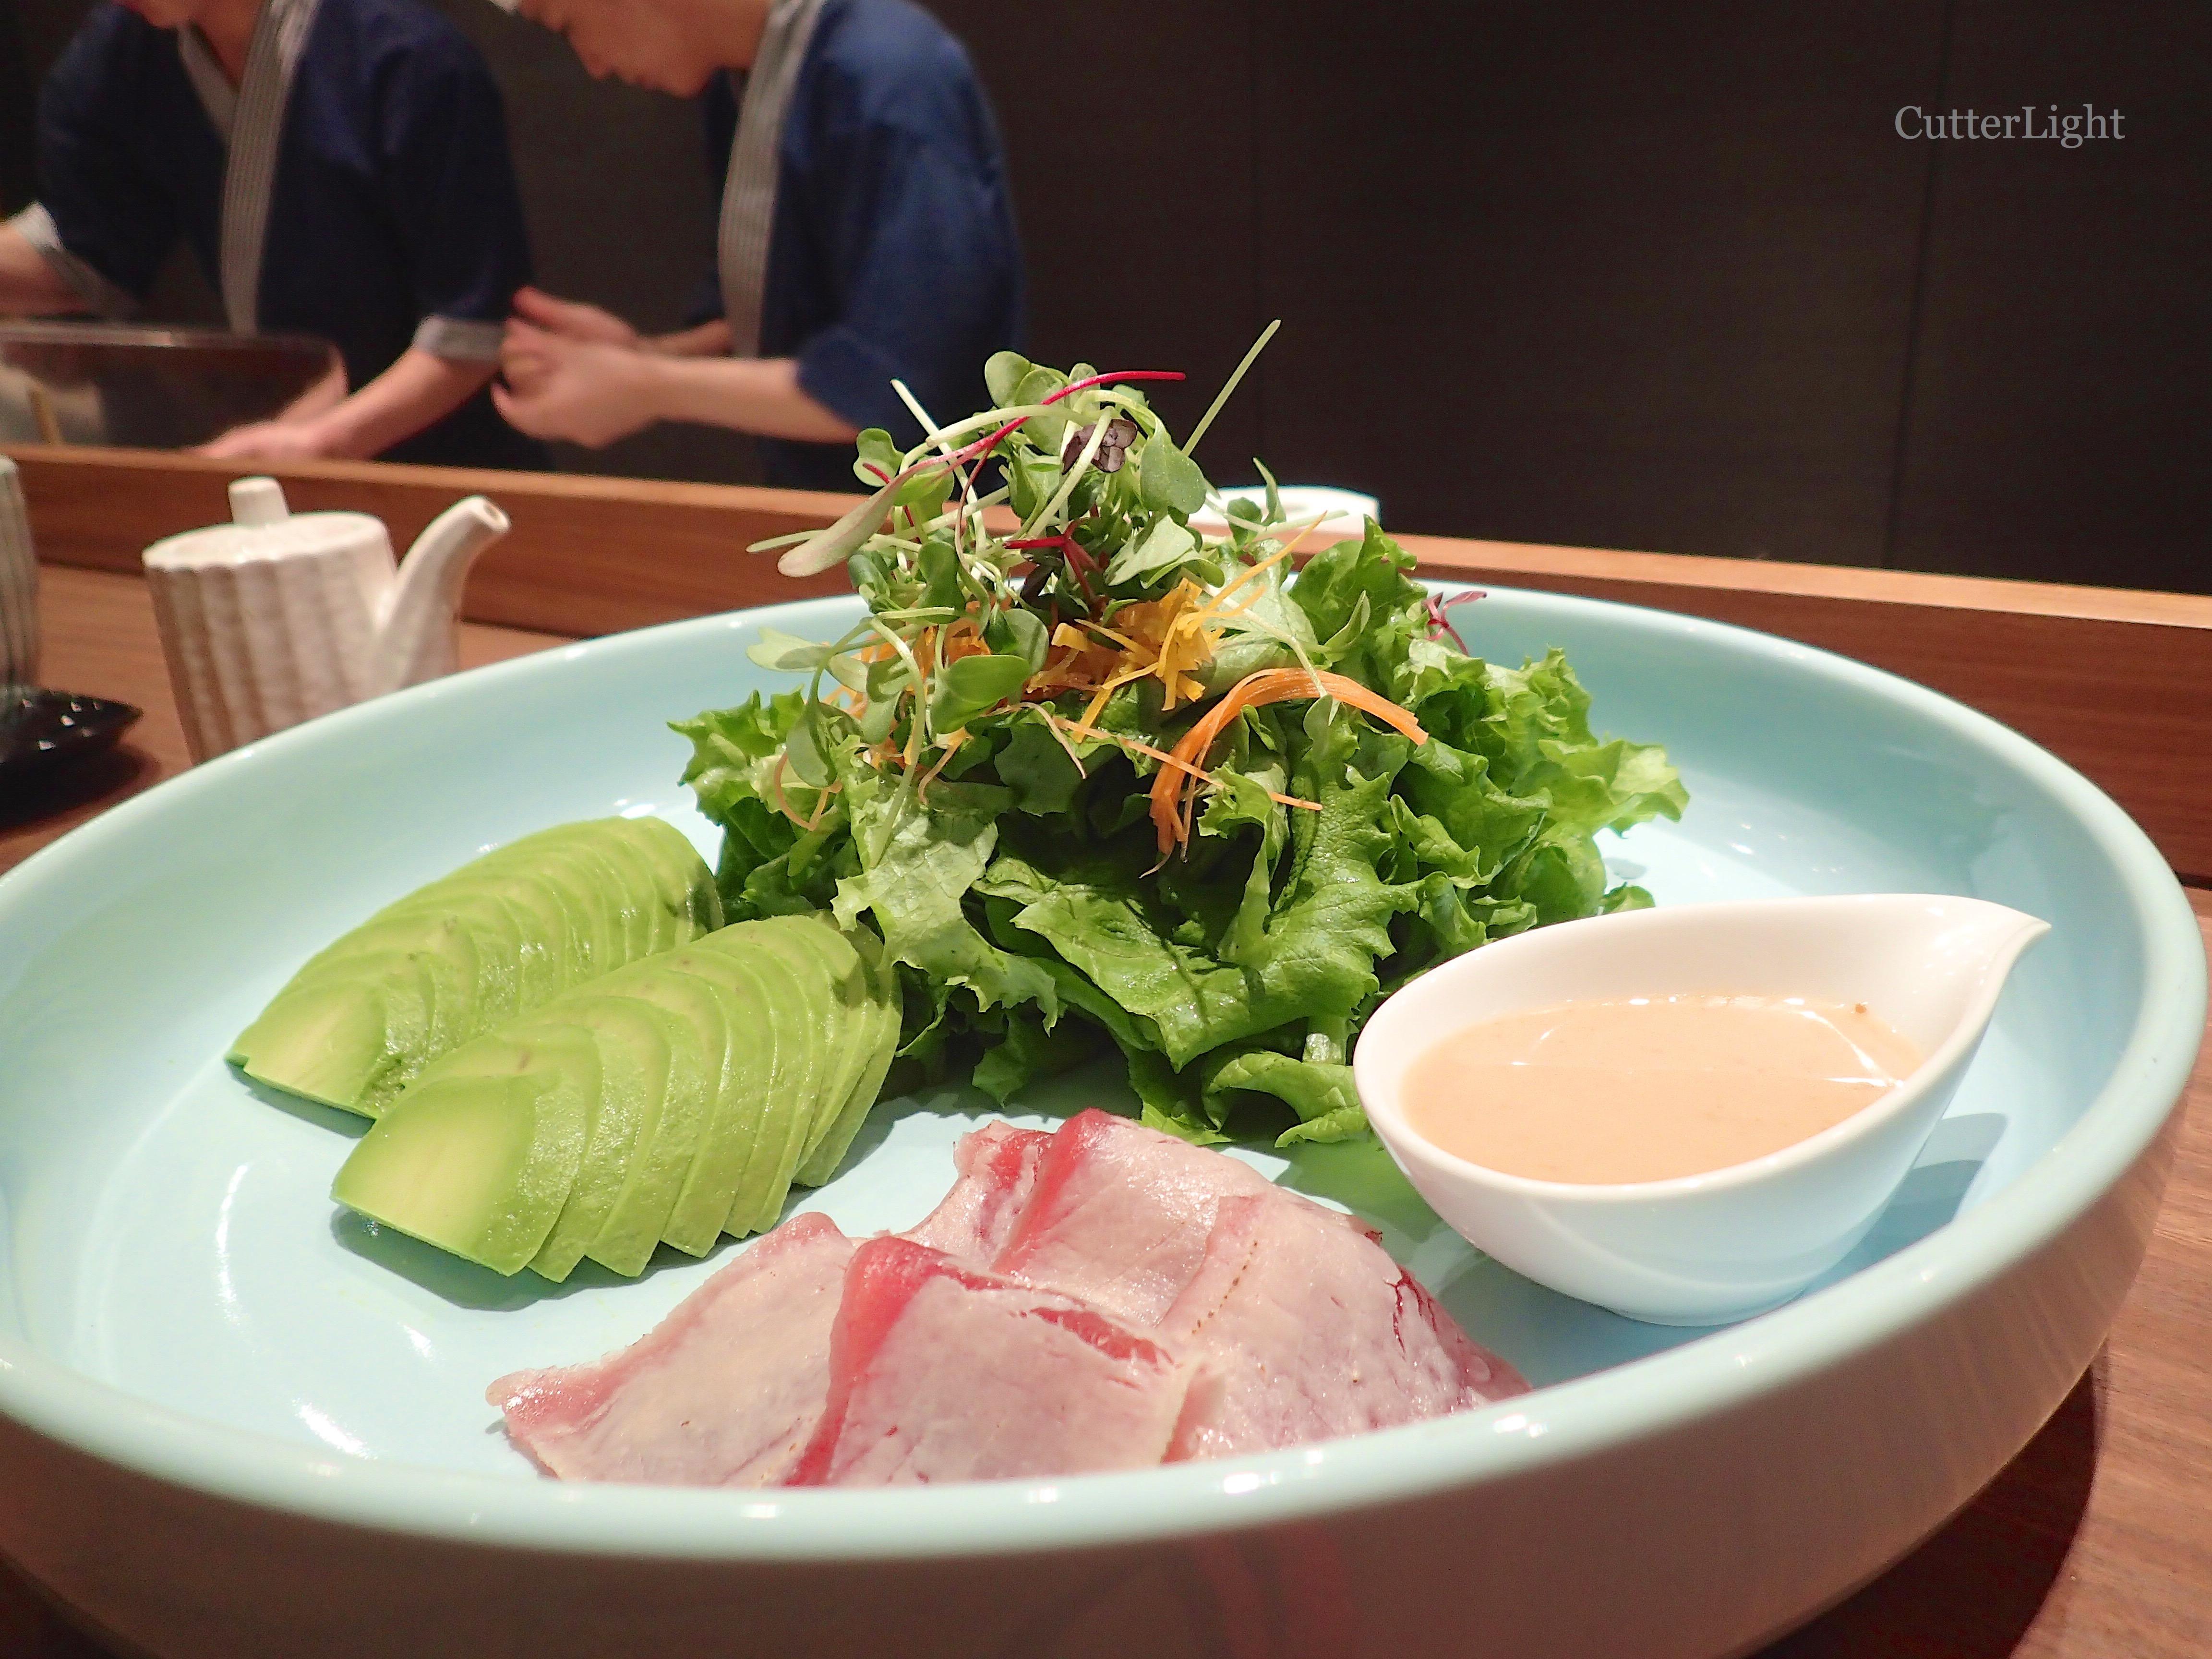
Perfectly ripe, creamy avocado, crisp garden salad, seared tuna flank and a house-made sesame dressing came together beautifully. In the background, our chef is shaping the nigiri-zushi that would follow. 

The next item that was recommended to us was an appetizer salad featuring a balance of impeccably ripe, thinly sliced avocado and lightly seared tuna. Searing the tuna gave it a sweetness which was deliciously complimented by a quick dip in soy sauce. The chef’s sesame sauce gave the avocado and garden salad a savory-sweet dimension. In California, restaurant goers take avocado as good as this for granted. Here in UB, this kind of quality is evidence of the effort and attention to detail that separates Hana from other establishments.

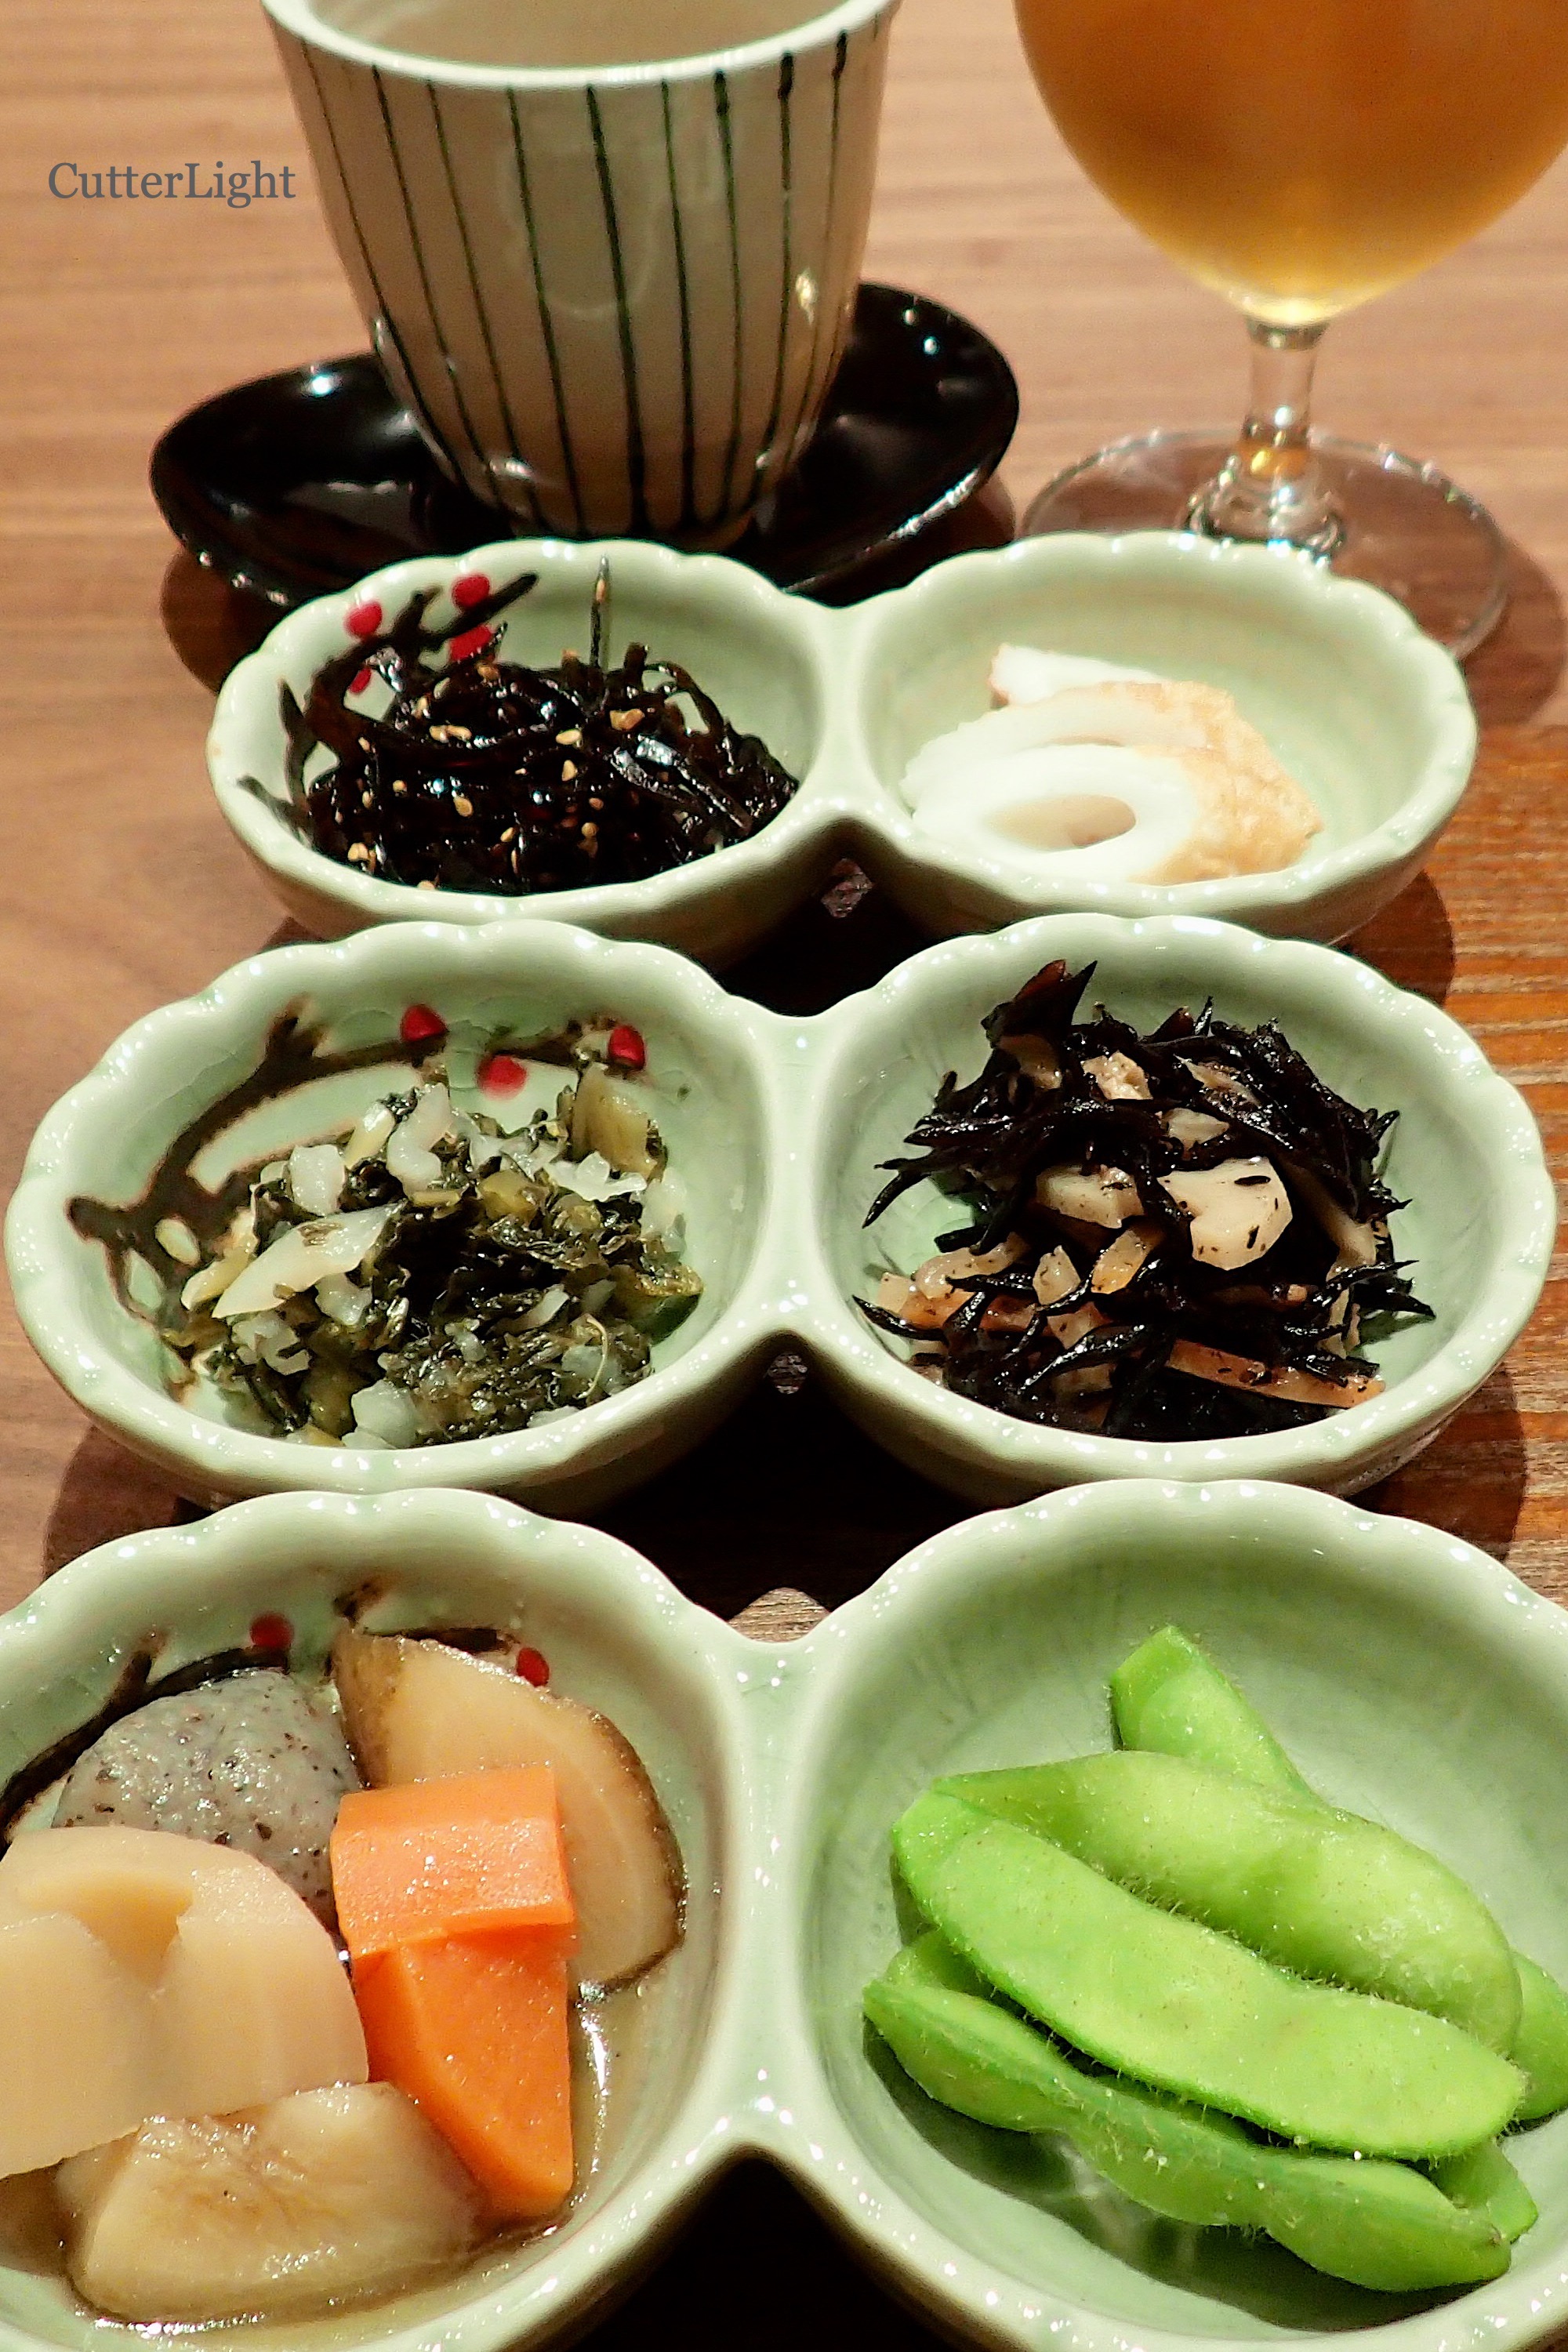
A delicious, authentic assortment of steamed vegetables, pickled seaweed and other appetizers appeared next. 

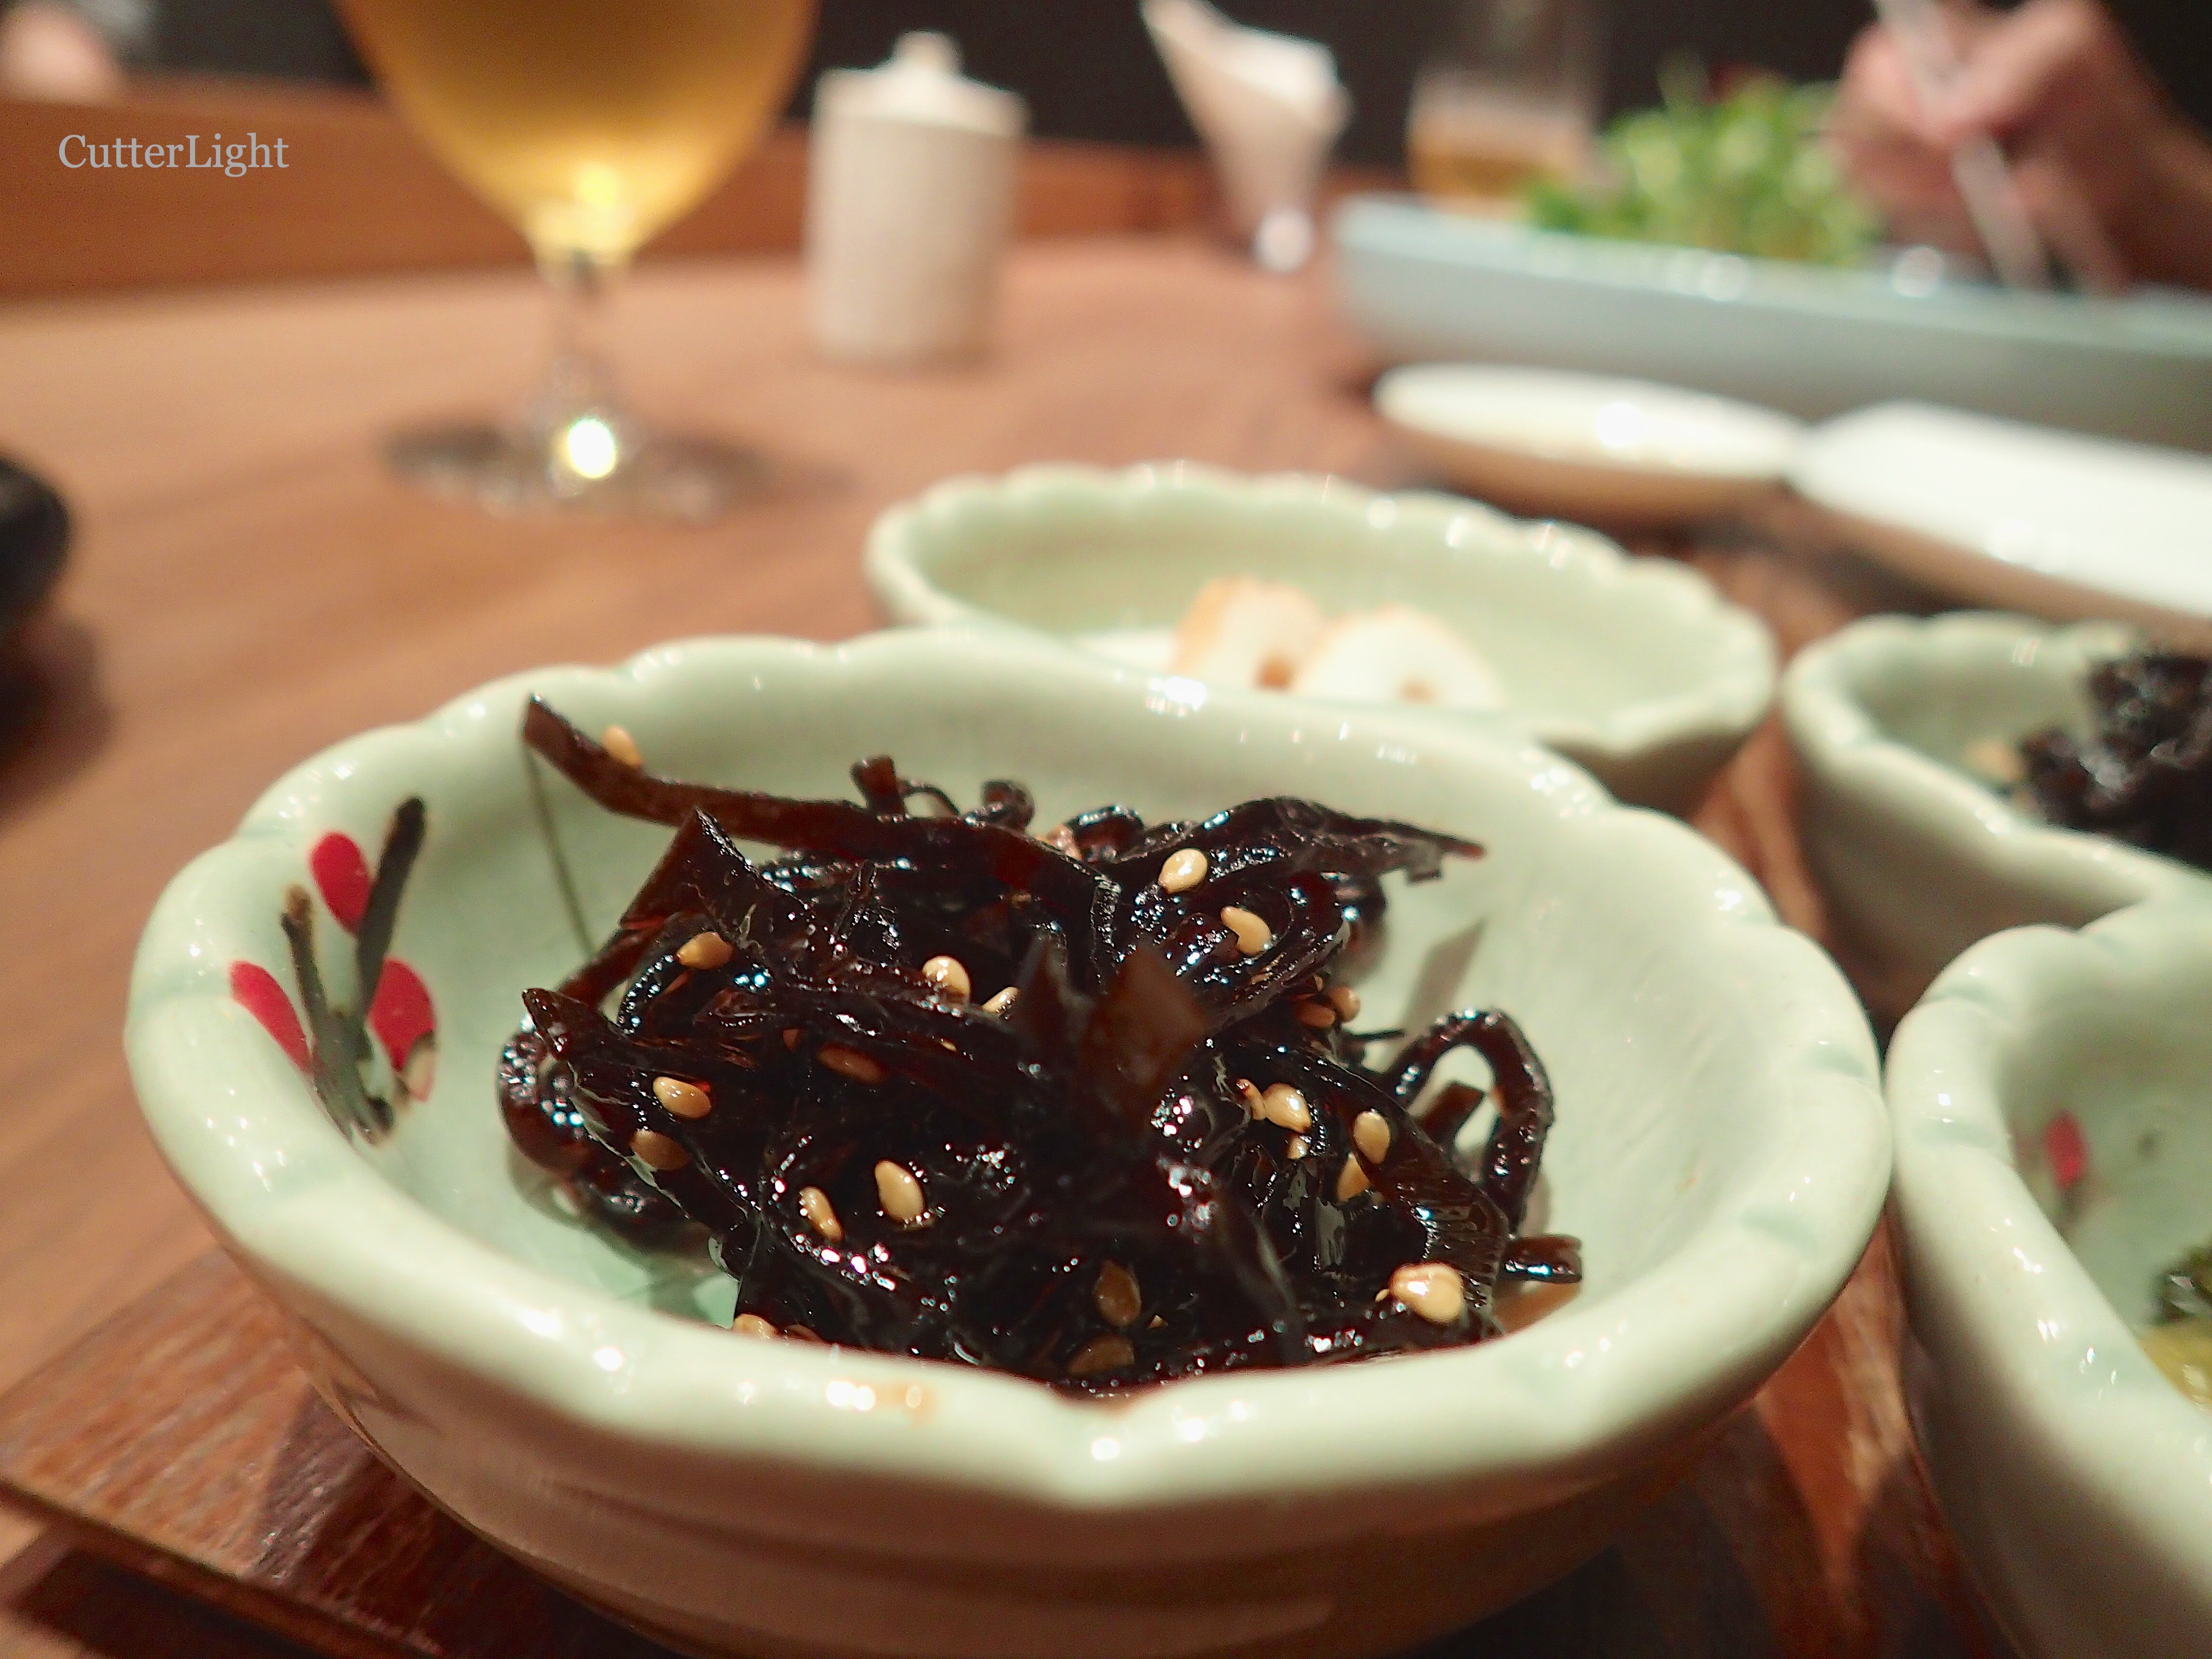
Among the appetizers, our favorite was this konbu tsukudani. This savory bite is made of kelp cut thin, cooked in soy sauce and mirin, and served with sesame seeds. Jack felt like he was back in Japan. 

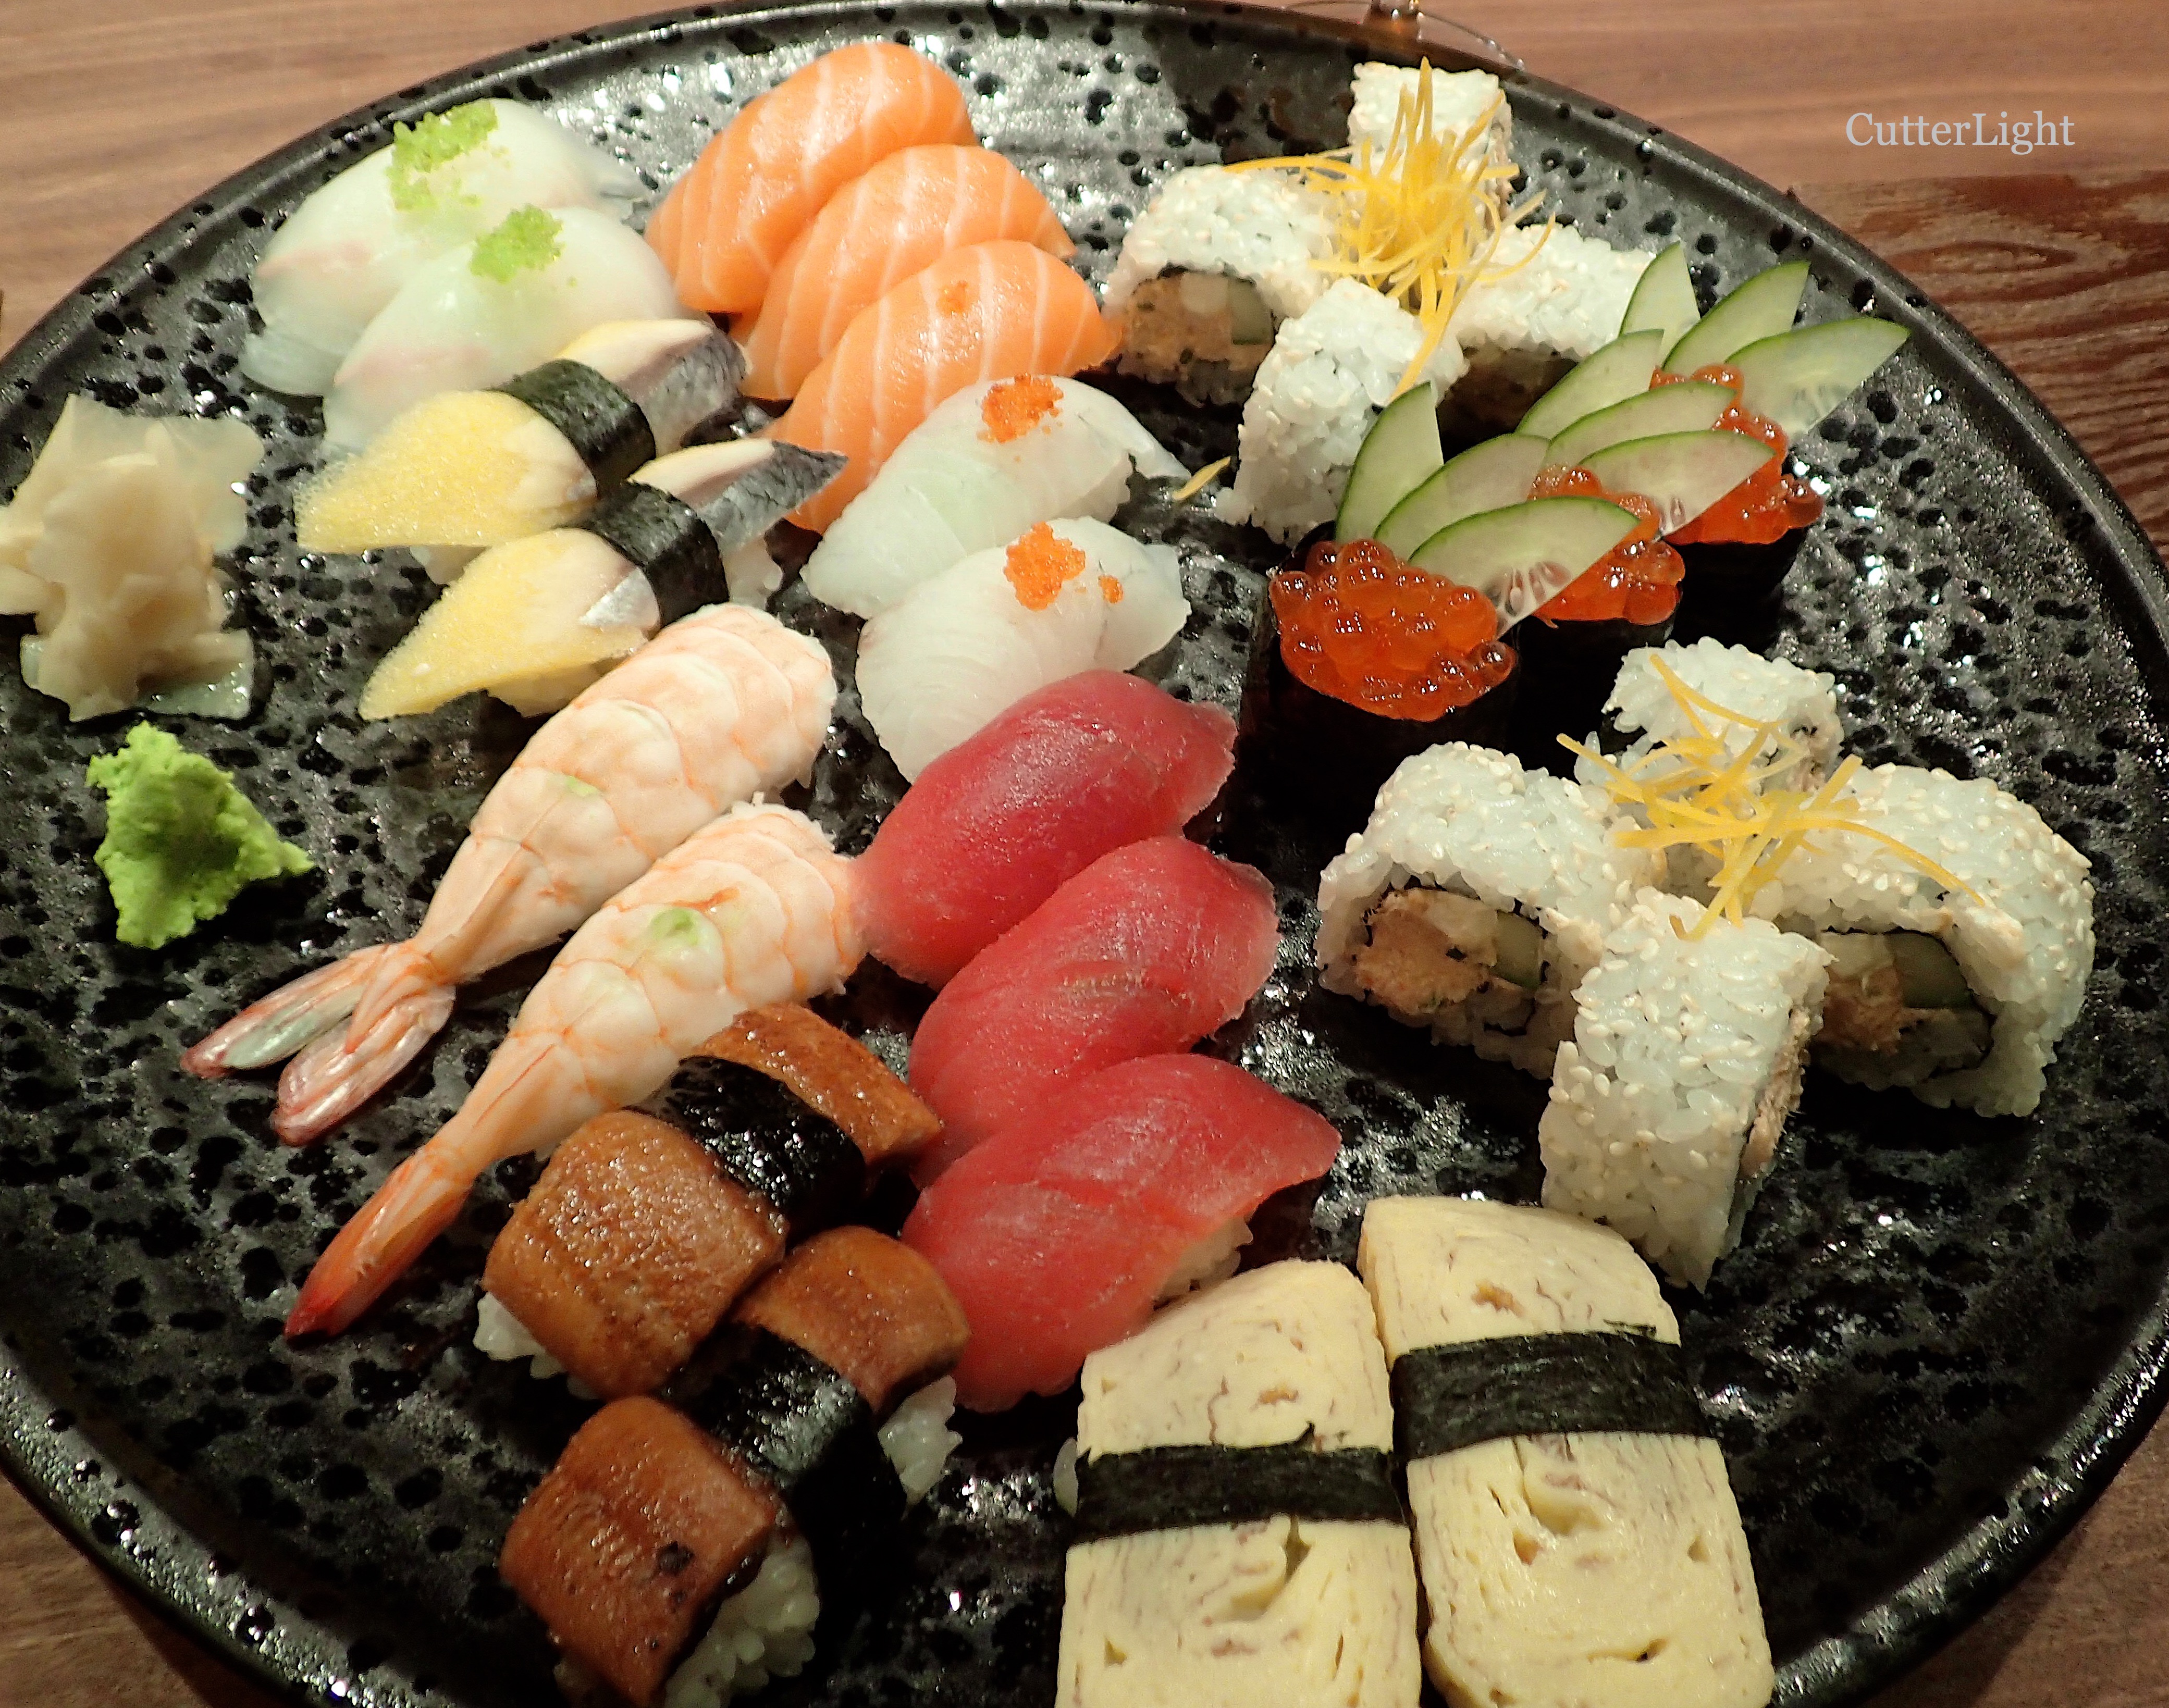
With enough food for two or three people, the sushi assortment platter is a good place to start if you’re visiting Hana. 

When it came to choosing our main entrée, we opted for the assorted nigiri-zushi for two.

The plate featured the obligatory cooked shrimp, tamago (egg), and a sushi roll that didn’t excite us. The tamago was quite good – but not something we typically would order á la carte. The remainder of our plate took us to Japan.

Although the hamachi lacked the butteriness we expect, it was impeccably fresh and beautifully presented with wasabi-cured flying fish roe. 

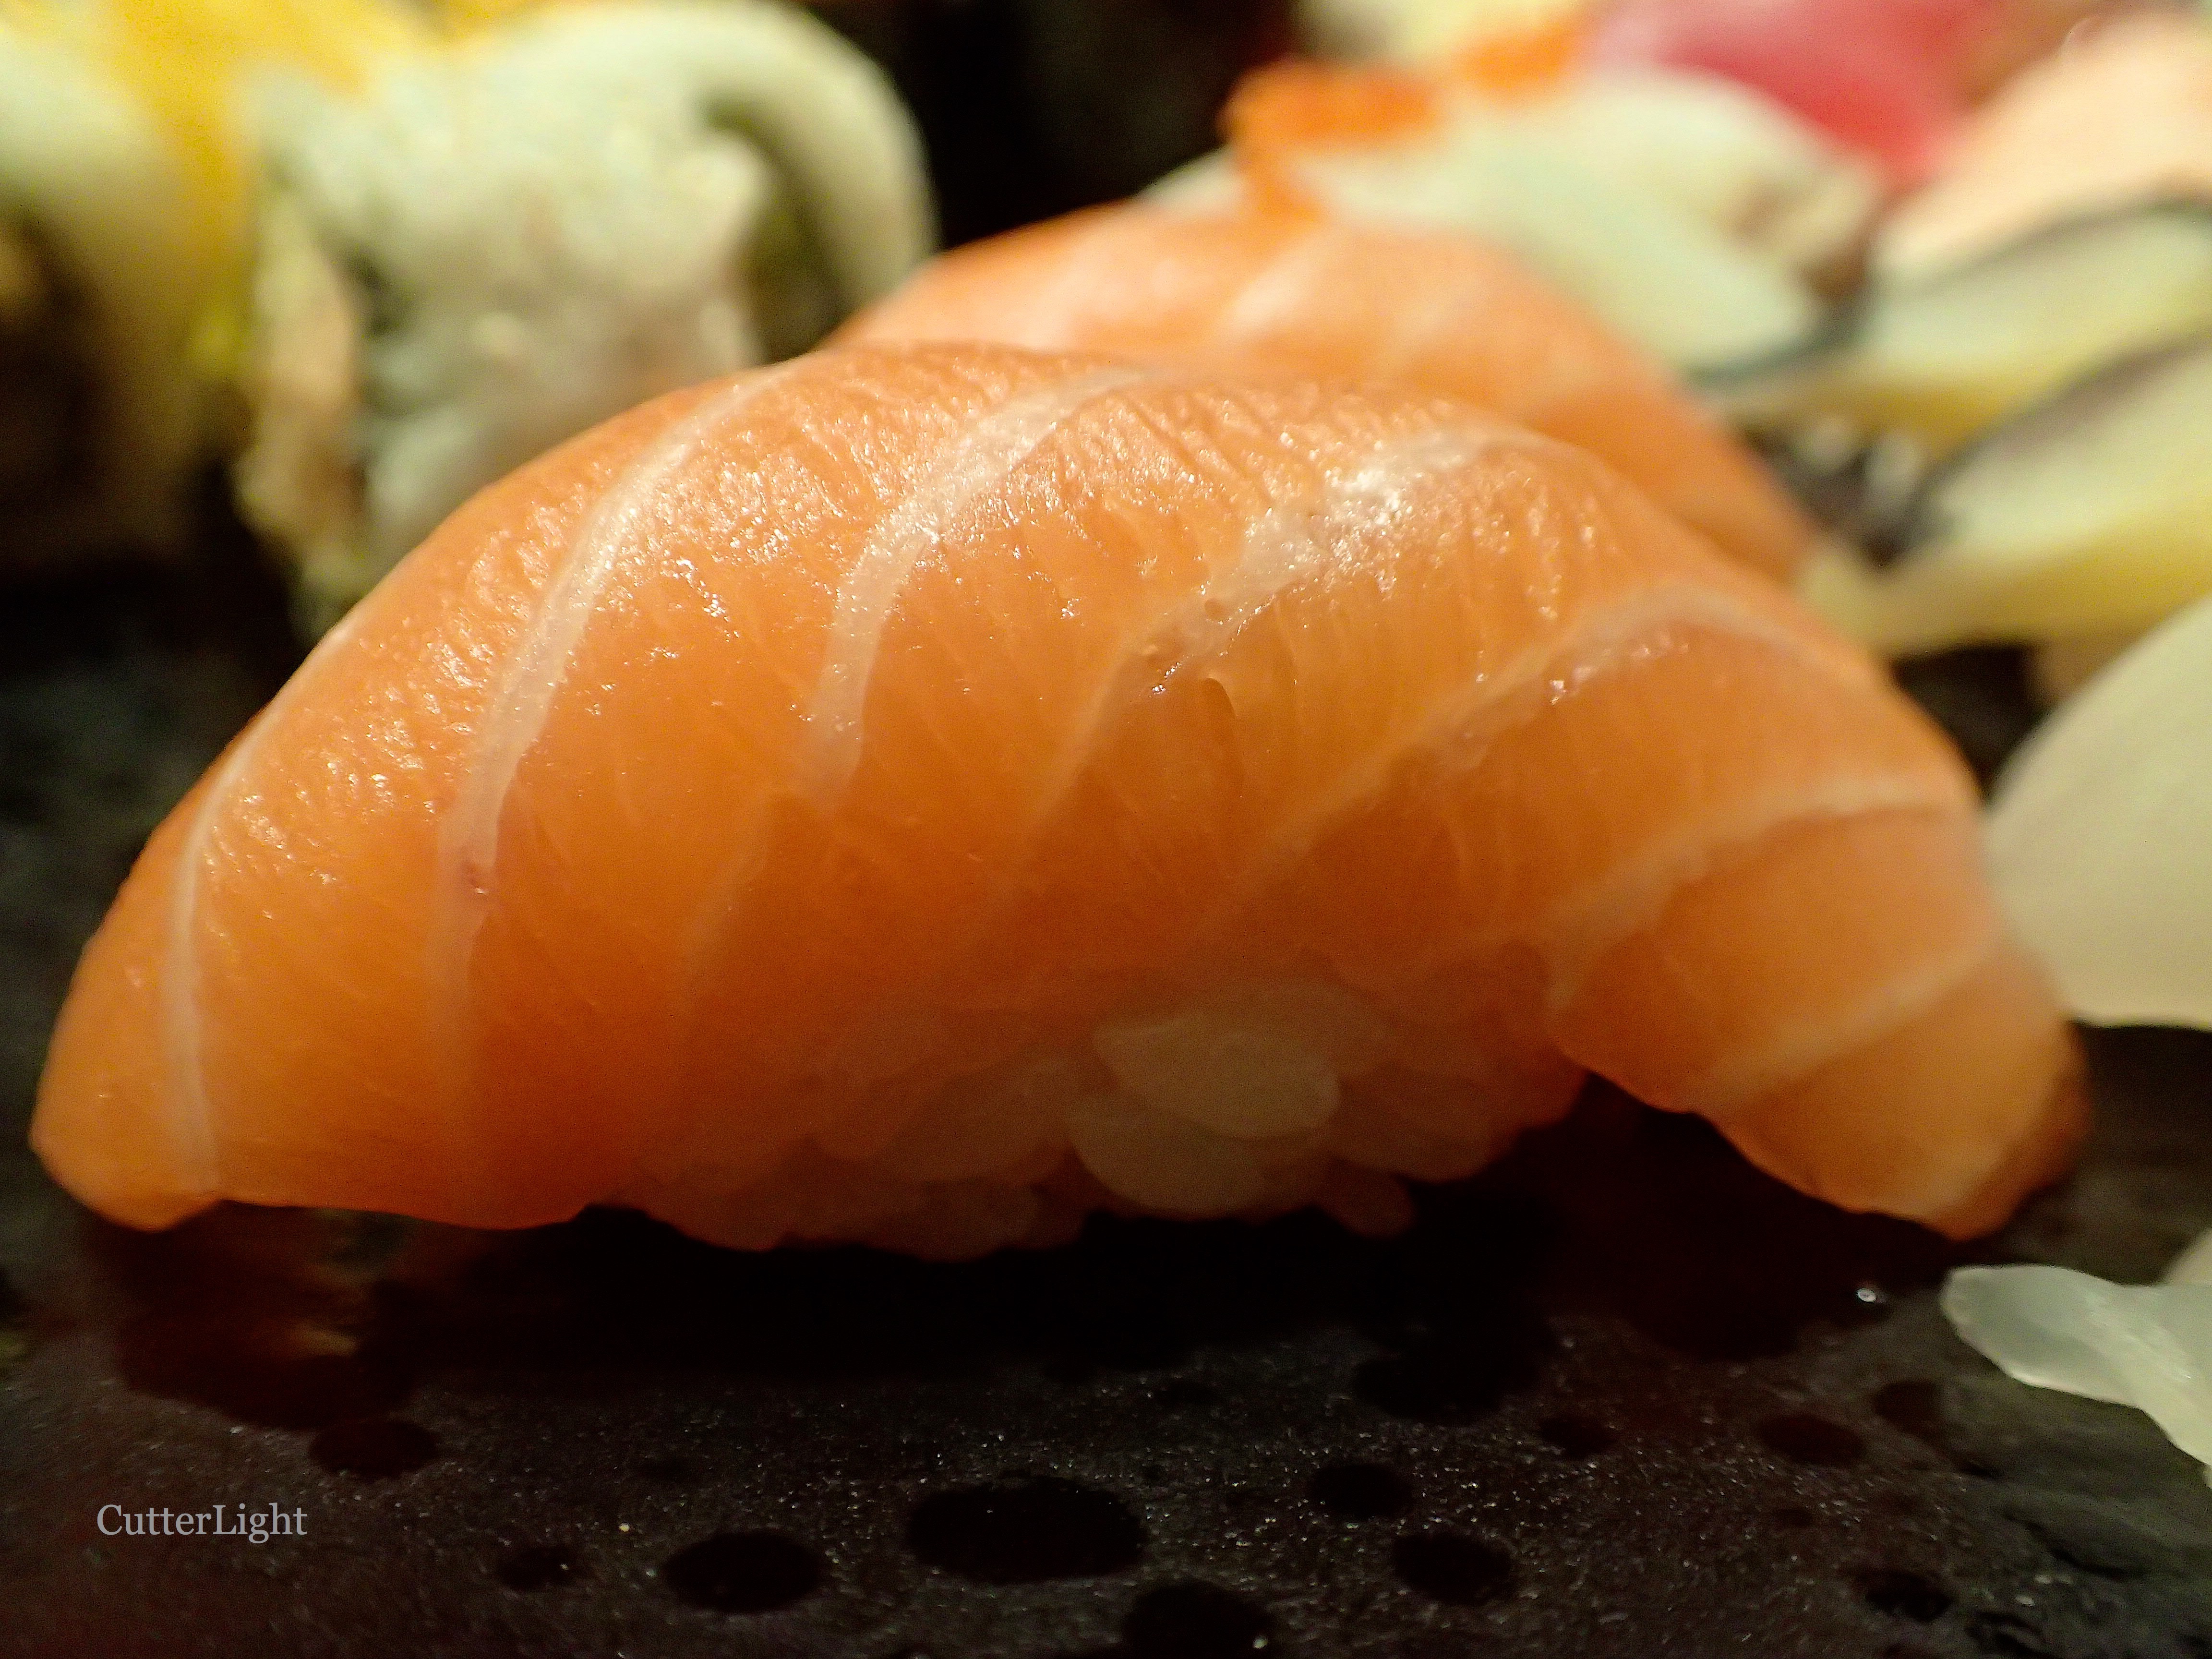
The sea bass, sliced translucently thin (you can see the wasabi beneath it) and dressed with a dollop of flying fish roe, was excellent. Given that the fish is fresh, what really makes and breaks sushi is the quality of the rice. Delicately flavored sea bass is unforgiving. At Hana, the sushi rice is excellent. Former Alaskans, we appreciate the difference between good, really good and excellent salmon. Fresh and melt-in-your-mouth buttery soft, the salmon sushi at Hana is perhaps the best fish available in Ulaanbaatar. 

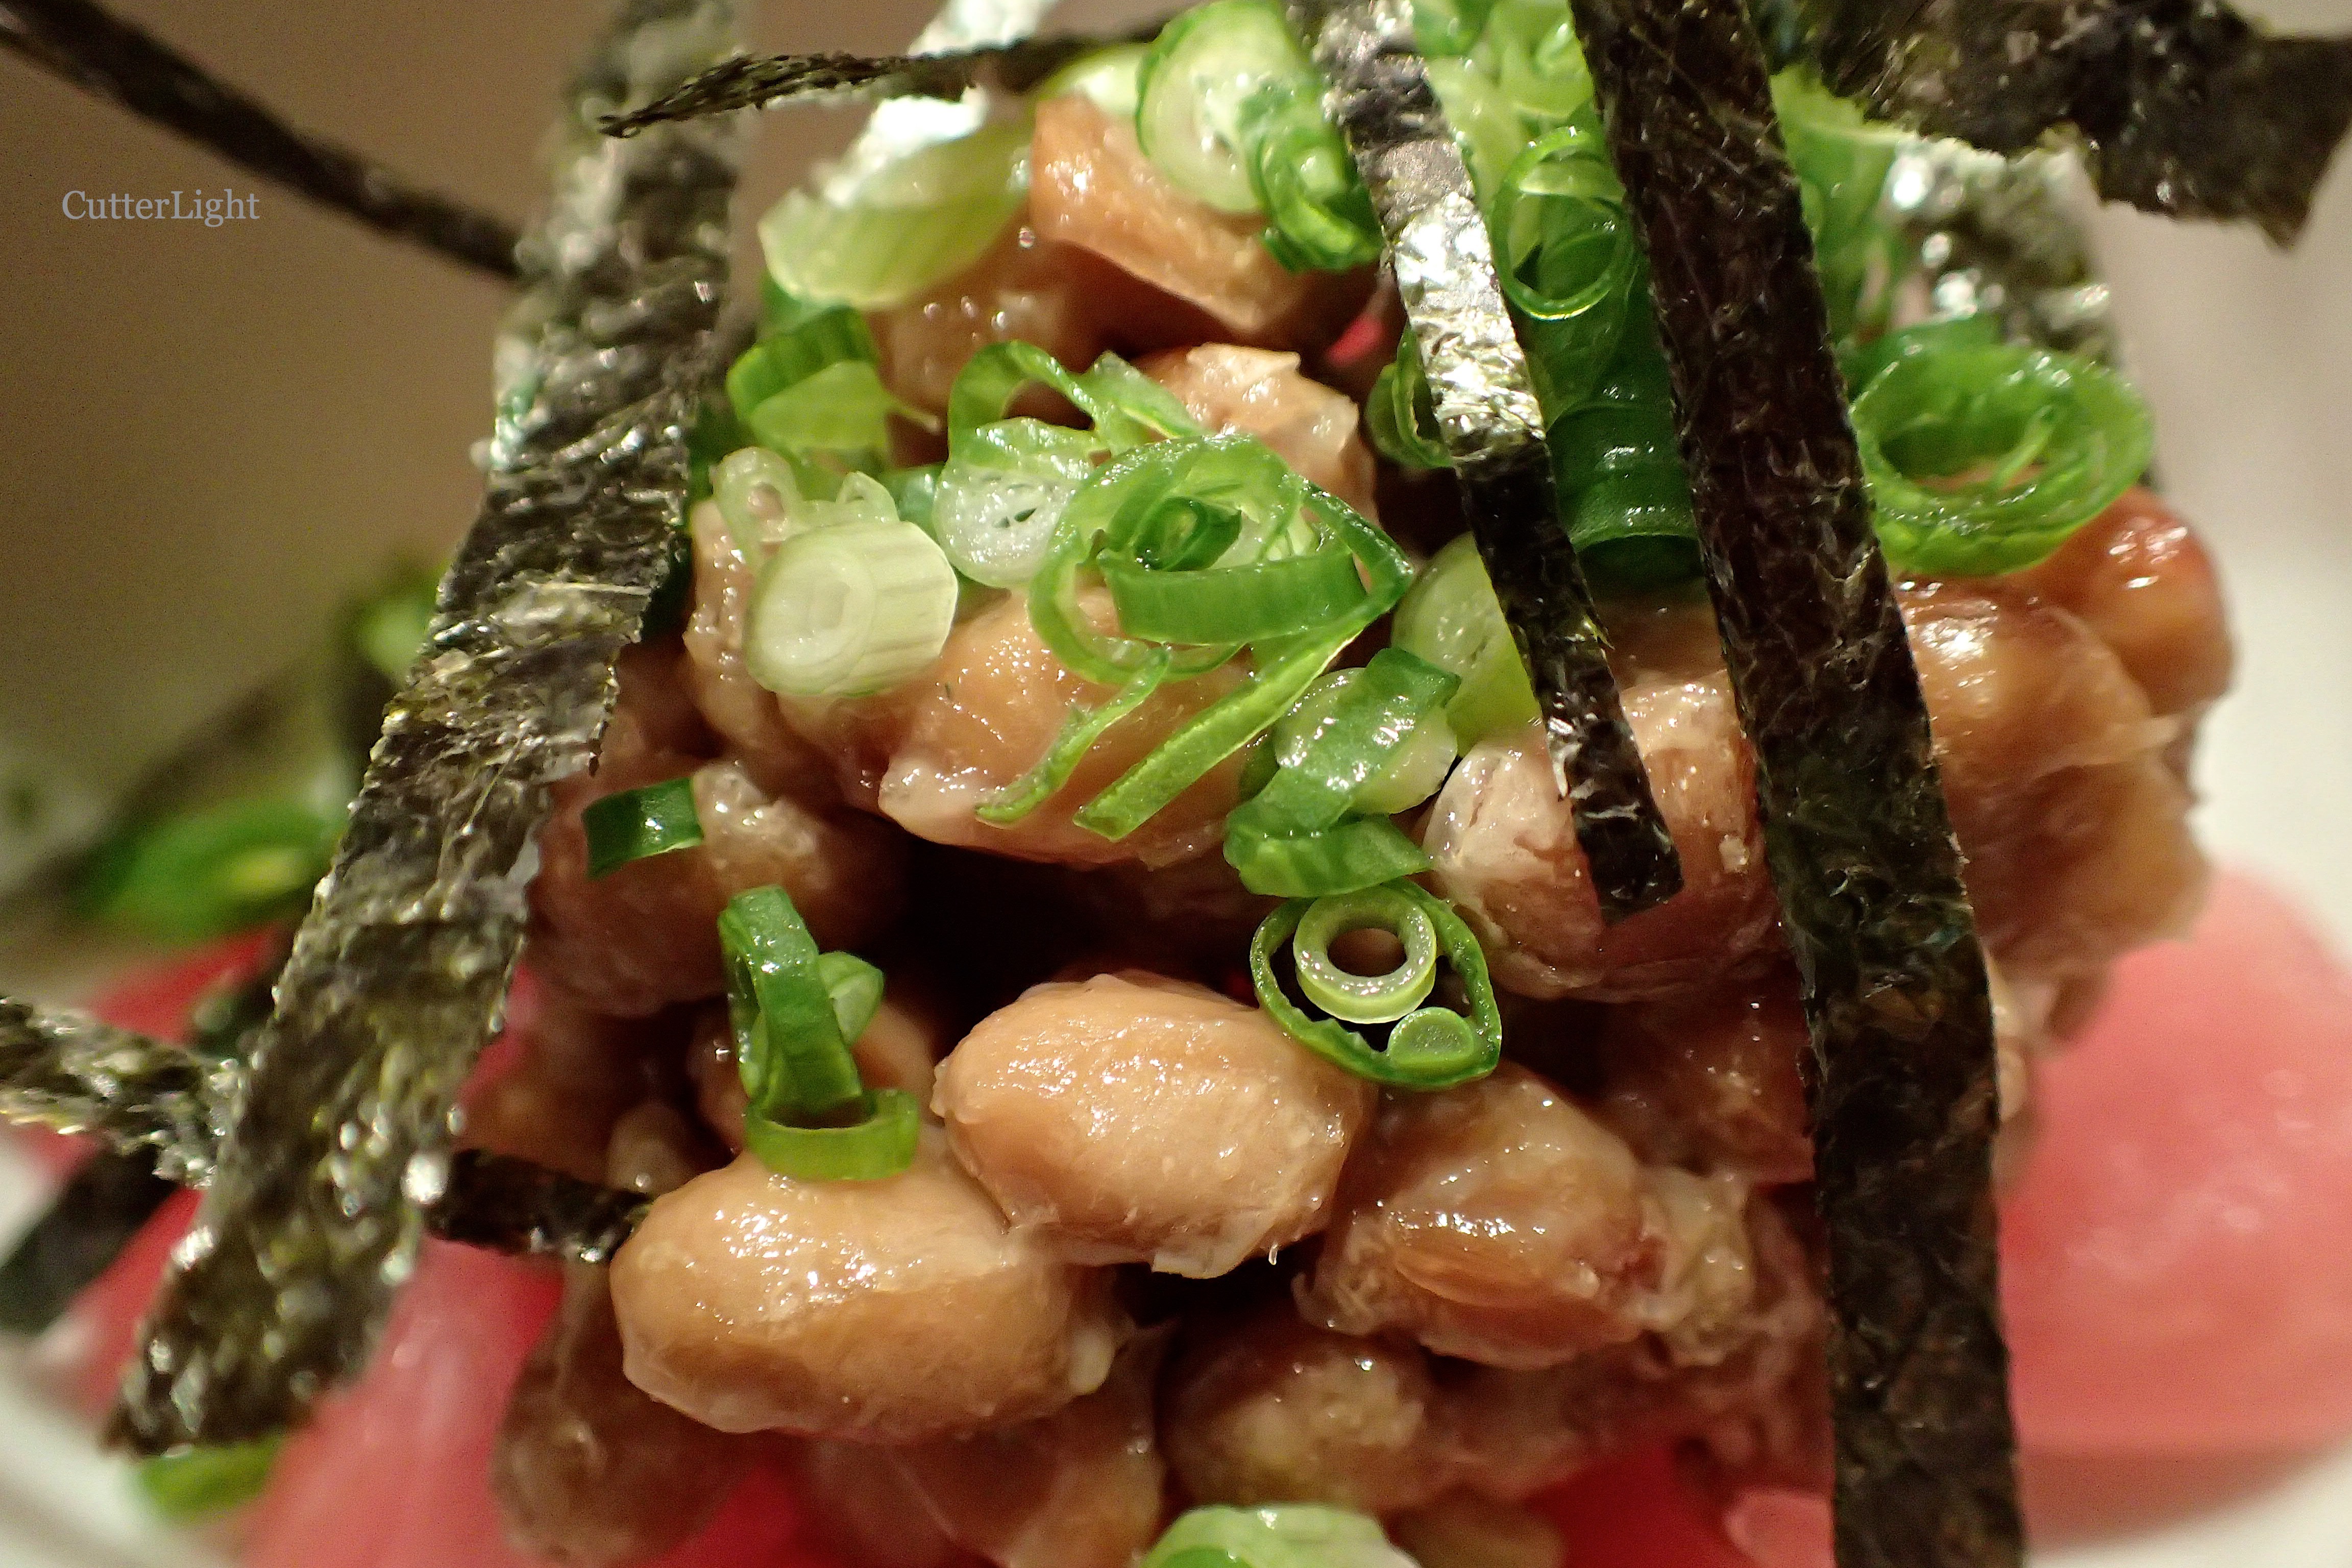
We were on the verge of leaving when the chef brought out a treat appreciated by true aficionados of Japanese cuisine and by few others. Natto. Sticky, gooey, fermented soy beans. In most restaurants, natto is served on rice, perhaps accompanied by a raw quail egg. On Jack’s birthday, the chef served it on a bed of tuna sashimi. I let him have the bowl to himself. The perfect end to the perfect birthday dinner. 

Ulaanbaatar is not a foodie mecca. But restaurants like Hana are working to change that.

Sweet Coconut Rice with Mango Purée

sticky rice w mango n

Rich coconut-cream-infused rice topped with scrummy mango purée. Take a bite, close your eyes, and imagine life in the Tropics.

When we are finished teaching in Mongolia, we plan to fully embrace the tiny house movement and live full time in our Lance truck camper traveling all around North America. We have spent several summers living in our camper, which gives us a clear understanding of exactly what 120 square feet of living space means. Primarily relying on electricity generated by driving and by our solar panel has a big influence what type of equipment we use inside our tiny home.

In preparation for living large in a tiny kitchen, we are using this time in our small Mongolian apartment to vet products in order to see if they will meet our needs in our future full time tiny kitchen. Limited electricity, size, durability and multi-function are the top criteria we use to vet products. An additional criterion is whether or not we use a given item on a regular basis. At the end of the day, with a small oven, a small three-burner cooking range and limited counter and storage space, we give a good deal of thought to what we can live without.

Many people all over the world make rice on the stovetop. To eliminate the rice cooker we have relied on for many years, we decided to learn to make rice this way, too. Oh dear. My rice came out consistently bad – mushy, overcooked or undercooked – no matter what I did. With one epic failure after another, I handed the rice-making baton to Jack. He was more successful, but we both agreed that our rice just wasn’t as fluffy as the rice from our rice cooker had been. So we broke down and decided to buy a rice cooker. Now we’re convinced that we need to figure out a way to add this tool to our tiny mobile kitchen.

Our main criterion for a rice cooker was simple – it had to be small. After all, there are only two of us. Standard-sized rice cookers take up too much space and use too much energy. Since we live in Asia, finding a rice cooker shouldn’t be difficult, right? And finding rice cookers was easy. But in shop after shop, most of what we saw were massive in size. The average “small” rice cooker had a 10-cup capacity. Finally, after nearly giving up, we found a dust-covered, last-one-in-stock no-long-in-production Zojirushi rice cooker with a 3-cup capacity. Score!

Zojirushi is a brand we’ve had great success with in the past, so we wasted no time grabbing this cooker. As is the custom here, the sales clerk plugged it in, showed us that it indeed was in working order, and pointed out the six-month store warrantee. Once home, I immediately made a batch of rice to test our new gadget. Hot, steamy, fluffy, perfect rice. Yum!

Remembering a delicious rice dessert Thai friends had turned me on to, I recreated it using the batch of rice “I” just cooked. It is a simple dessert which is not too sweet, is packed full of tropical flavors, and is quick to make.

Sweet Coconut Rice with Mango Purée

Ingredients

  • 1 cup Japanese style short-grained rice, cooked and hot
  • 2/3 cup unsweetened coconut cream (or substitute with coconut milk)
  • 2 tbsp granulated sugar
  • 1 cup cubed mango
  • honey, to taste
  • toasted sesame seeds and crystallized ginger to garnish

Directions

  1. Put hot, cooked rice in a medium-sized bowl.
  2. Heat coconut and sugar over medium heat until sugar is dissolved.
  3. Pour coconut mixture over rice and mix well.
  4. Let coconut mixture sit for 30 minutes, until coconut cream is absorbed into rice.
  5. Purée mango.
  6. Mix in honey to taste.
  7. Scoop coconut rice onto individual serving plates.
  8. Hollow out a bit of the top of the rice in order to make a well for the mango purée.
  9. Fill well will purée and garnish with toasted sesame seeds and crystallized ginger.


Roasted Potato and Caramelized Onion Salad – A New Picnic Favorite

potato salad warm roasted n

Roasted potatoes, caramelized onions and salty, smoky bacon tossed in a tangy sweet dressing make for a fantastic summer meal ready for a picnic. Or keep a stash in the refrigerator for a night when it is too hot to cook!

We’re not against mayonnaise, per se. As a matter of fact, we make our own mayo from scratch when recipes call for it – which, in our opinion, has a way better taste and texture than the store-bought variety. But picnic salads and mayonnaise are not a good combination, especially if the weather is hot. So skip the mayo and try this warm potato salad on your next hike or bike ride. It is perfectly portable and is perfectly tasty served at any temperature.

Cutting the potatoes into chunks and roasting them gives each bite a crispy exterior with a pillowy soft interior like a mashed potato. The caramelized onions take some time to make, but they add an essential sweet/savory layer to the salad.  The dressing pulls the whole thing together by covering every ingredient in the tangy and sweet flavors of mustard and vinegar. And the bacon? Well, needless to say, bacon just makes everything taste better. The rendered bacon fat is the dark horse in the dressing, adding a delicious flavor and texture… I never said this was a healthful recipe.

With temperatures consistently into the mid-80’s F (high 20’s C) in Ulaanbaatar, we’ve been enjoying meals featuring cool salads for dinner. Don’t scoff. Our blood is still Alaskan. These temperatures are really warm for us. This salad is a great way to keep our kitchen cool. We are on our second batch of this cool, summer salad and ready to make a third!

Roasted Potato and Caramelized Onion Salad

Ingredients

  • 1 1/2 lbs potatoes, use a waxy variety such as red or Yukon gold, cut into bite-sized cubes
  • extra virgin olive oil (have a tbsp measure handy)
  • 1 tsp smoked sea salt
  • 4 grinds of black pepper
  • 1 large onion, cut in half, then thinly sliced
  • 1 tbsp granulated sugar
  • 6 strips thick cut bacon, cut into small pieces
  • 2 tbsp flat leaf parsley, chopped

Dressing

  • 3 tbsp apple cider vinegar
  • generous tsp granulated sugar
  • 1/2 tsp mustard, dijon or brown
  • large pinch Italian seasoning
  • a few grinds of black pepper
  • generous pinch salt
  • bacon and rendered fat (from above)
  • 1 tbsp olive oil

Directions

  1. Cover baking sheet with aluminum foil. Preheat oven to 400 degrees F (200 degrees C).
  2. Toss cubed potatoes with about 4 tbsp extra virgin olive oil.
  3. Toss potatoes with sea salt and pepper.
  4. Evenly spread potatoes on prepared baking sheet.
  5. Roast potatoes for 35 minutes, until golden brown and tender. While potatoes are roasting, crisp bacon and caramelize onions.
  6. In a large, non-stick pan set over medium heat, add 2 tsp extra virgin olive oil.
  7. When oil is hot, add sliced onions and toss with granulated sugar.
  8. Caramelize onions by stirring them in pan for about 15 minutes, until they become soft and caramel-colored.
  9. While onions are caramelizing, cook bacon pieces in another pan.
  10. Prepare the dressing.
  11. In a large bowl, combine all dressing ingredients.
  12. Toss potatoes in dressing.
  13. Mix in caramelized onions.
  14. Toss in chopped parsley.
  15. Serve immediately, or refrigerate to keep longer.

Recipe adapted from the Cozy Apron.

A Continent Away From Brandade of Walleye: Delicious & Easy Fish Casserole

Brandade w cod n

Bread crumbs tossed in olive oil and baked to a crisp give a pleasant crunch to this classic Mediterranean dish which traditionally features salted cod and potatoes in a mousse-like entrée.

Full disclosure. Here in Ulaanbaatar, we are about as geographically removed from the nearest walleye as could be possible. In fact, as the crow flies we’re over 6,000 miles (10,000 kilometers) from the Walleye Capital of the World, Lake Erie, in my former stomping grounds of western Pennsylvania. So I used cod in this classic brandade-inspired dish. In fact, this dish originated in regions around the Mediterranean Sea such as Italy and France where at certain times of the year the only fish readily available was preserved salted cod. The steps in preparing this dish do a nice job of masking the strong flavor of preserved fish, something you won’t have to worry about if you have access to fresh walleye, rockfish, striped bass, crappie or similar fish.

And it’s delicious – the kind of fish dish even people not particularly crazy about fish enjoy. Experiment with seasonings to give it some heat, herbiness or lemon flavors. Brandade can be baked in an oven-safe frying pan, a casserole dish, or, perhaps best of all, in individual ramekins such as the one we used in the above photo. Dress it up with a little chopped parsley and a dollop of lumpfish roe, pair with a Riesling, and dinner is served.

Brandade of Walleye (or virtually any white-meated fish)

Ingredients (serves two)

  • 1/2 pound of skinless walleye fillet, rinsed and patted dry
  • 1/2 pound of potatoes, boiled till they’re soft, and sliced into cubes (Skin removed or not, chef’s choice. We prefer skin on.)
  • 1 tin (2 oz/60 g) anchovies, chopped fine. Or use anchovy paste.
  • 1 cup milk (approximately)
  • 1 tsp Penzeys Chesapeake Bay Seafood Seasoning (or use 1 tsp dry tarragon and a dash of sea salt)
  • 2 cloves garlic, minced
  • 1 oz shallots, minced
  • 2 tbsp lemon juice
  • 1/2 tsp smoked chipotle powder (or use espelette pepper or whatever you prefer)
  • 1/2 tsp smoked paprika
  • extra virgin olive oil
  • 1 tsp white truffle oil (optional)
  • 1 cup bread crumbs
  • chopped parsley
  • lumpfish or salmon roe (optional)

Directions

  1. Preheat oven to 350 degrees F (190 degrees C).
  2. In a skillet over medium-high heat, add fillet, enough milk to cover, and Penzeys Chesapeake Bay Seafood Seasoning or tarragon and salt. Poach just until fillet easily comes apart with a fork. Remove fillet and use a fork to go through fish to make sure there is no skin or bones remaining.
  3. Using a food processor or stick blender, briefly pulse the fish. Don’t over process. Meat should look somewhat fibrous. Scrape into a bowl and set aside.
  4. Heat a tablespoon of olive oil in a small skillet over medium heat. Add garlic, shallots, smoked chipotle powder and paprika and cook just till garlic and shallots turn translucent and become aromatic. Scrape mixture into bowl with fish.
  5. Use a food processor or stick blender attachment to purée the potatoes. Don’t over process or potatoes will become sticky.
  6. Add puréed potatoes to fish. Add anchovies, heavy cream (or sour cream thinned with milk), lemon juice and truffle oil. Mix everything together thoroughly. Use a food processor or stick blender to again briefly process. You want a consistency that is somewhat mousse-like. Give it a taste and add salt and seasonings as desired.
  7. Use a spatula to place mixture in ramekins, casserole dish or oven-safe frying pan. Mixture will rise slightly during baking.
  8. Toss bread crumbs in extra-virgin olive oil. Use just enough oil to allow the crumbs to soak it up without becoming overly saturated.  Spoon onto top of potato and fish mixture.
  9. Bake uncovered for 10 minutes. Bread crumbs will be golden brown and crisp when done.
  10. Garnish with chopped parsley and fish roe. Serve hot.

Magical All Fruit Ice Cream with a Quick Hot Fudge Topping

All Fruit Ice Creams n

A tropical triple sundae created with all-fruit coconut, mango, and banana ice creams topped with homemade hot fudge and crystallized ginger. Happy Summer Solstice everyone! 

Recently, I came across a recipe for one-ingredient ice cream. As big fan of homemade ice cream, I was curious, so I clicked. Bananas! We used to freeze bananas and dip them in carob when I was a kid (the carob thing is a whole other story). I loved that refreshing summertime treat. This memory brought about other childhood memories of eating all-fruit popsicles. In all of my custard and milk based ice cream making adventures, I don’t know why it never occurred to me to try making an all-fruit “ice cream.” It certainly is more healthful to eat a banana than a cream-based, sweet frozen custard concoction, not that I’m planning to give those up!

I had bananas in my kitchen that were just past the perfect-to-eat stage, which made the banana flavor stronger and sweeter. I sliced the bananas into coins, laid them out on a baking sheet and froze them. After an hour, I popped the frozen pieces into the tall cup that came with my stick blender. It did take some work for the stick blender to smooth out the frozen bananas. But after a couple of rounds of stirring and puréeing with the stick blender, I scooped pure magic into bowls. The consistency of the banana ice cream was creamy and the flavor was sweet and rich.  One ingredient ice cream is delicious!

My culinary sense of adventure and curiosity got the best of me while eating this creamy frozen snack. A banana is a snack, after all. By adding one more ingredient to this creamy base, I could create chocolate banana or peanut butter banana ice cream. From here, my thoughts took off, adding many more ingredients. And toppings. This recipe is versatile!

I thought that since bananas worked so well, other fruits might prove equally appropriate. Here in Ulaanbaatar, we don’t get a huge variety of fruit. But I happened to see frozen mangos at the store. I work with what I can get. The frozen mango worked as well as the banana. The batch of frozen mangos I purchased was on the sour side, so I did add some honey and crystallized ginger to sweeten up the ice cream and give it some pizzazz. This was no longer a one-ingredient recipe, but I was experimenting. It was delicious and tropical.

A proper sundae needs three different flavors, in my opinion. I froze small cubes of coconut milk and processed the frozen cubes just as I had processed the fruit. The coconut milk came out icy, so I added a bit of regular milk to smooth the texture. And since coconut milk doesn’t have much natural sweetness, I added two tablespoons of powdered sugar. The resulting ice cream was tasty and perfectly complemented the mango and banana ice creams.

In order to create the ultimate all-fruit sundae, I whipped up some hot fudge (there goes the healthful dessert), sprinkled some crystallized ginger to finish it off and voilà, a cool, beautiful, tropical summertime dinner… I mean dessert. (Well, in all honesty, we did eat it for dinner.)

Frozen Fruit Ice Cream

Ingredients

  • small chunks of fruit of your choosing, frozen
  • (optional) other flavorings to enhance the fruit like vanilla, ginger, cocoa powder
  • sweetener, to taste (if needed add honey, maple syrup, sugar, etc.)

Directions

  1. Place frozen fruit in food processor or cup of a stick blender and process scraping down sides occasionally until fruit is thick and creamy and there are no chunks remaining.
  2. Mix in optional ingredients.
  3. Serve immediately.

Quick Hot Fudge Sauce

Ingredients

  • 1/3 cup boiling water
  • 4 tbsp unsalted butter
  • 3/4 cup sugar
  • 1/2 tsp vanilla extract
  • 1 cup powdered milk

(or substitute the above with 14 oz sweetened condensed milk)

  • 1/2 cup unsalted butter
  • 1 cup chocolate chips

Directions

  1. Place first 5 ingredients in the metal cup that came with your stick blender to make sweetened condensed milk.
  2. Blend until well mixed and thickened. Set aside.
  3. In medium pan, with medium heat, melt 1/2 cup butter.
  4. Stir in chocolate chips.
  5. Add milk mixture and stir until smooth and silky.
  6. Store leftovers in covered container in the refrigerator.


Urban Birding: First Flight – Isabelline Wheatear Chicks Feeding and Fledging

Isabelline wheatear juv 1st flight n

Tired of waiting for mom, this isabelline wheatear chick (Oenanthe isabellina) faced the morning sun and achieved its first airborne moments. (11 additional photos.)

Many species of animals are highly adaptable – if given half a chance. Until recently, this construction site in Ulaanbaatar, Mongolia, was steppe grasslands. Chock full of the abandoned rodent holes isabelline wheatears seek out to make their nests, it was perfect habitat for these passerines.

Isabelline wheatear mom feed 2 juv grub 1 n

But as Mongolia’s population continues to grow, the grasslands which once seemed limitless are shrinking. This fortunate adult and her mate successfully reared a pair of chicks in a cavity beneath an old truck tire. Here, safe from the stray dogs that plague this city, and unnoticed in a lot that has yet to be developed, the chicks’ parents have been able to forage the steady supply of grubs and insects their offspring thrive on.

Isabelline wheatear feeding grub 2 n

Unfortunately, these will likely be the last wheatears to brood on this lot. On our morning run today, we noticed that the bulldozers have arrived. Yet another apartment building and adjoining parking lot will replace the last remnants of suitable habitat.

Isabelline wheater mom n juv feeding n

We had been observing the adult wheatears in this area for some time. But only on this, the final day the birds were here, did we realize a nest and chicks were in such close proximity. We shot these photos through a locked gate, at a far enough distance that it was a challenge to get clear captures.

At one point we observed an interesting behavior. The chicks were pecking at a piece of plastic. The mother, observing this and perhaps understanding, somehow, that ingesting the plastic could be fatal to her offspring, picked up the rubbish and flew off several meters from the nest before dropping it and returning.

Isabelline wheater feeding looking for more 3 n

There seemed to be no sating the young birds’ appetites…Isabelline wheatear mom feeding chicks 1 nThe adults returned again and again…

Isabelline wheater chicks waiting for mom n

With much anticipation…

Isabelline wheatear chick stretching wings n

Their stubby wings and chubby bodies hardly seemed to bode well for flight. Was it out of boredom or hunger – or something even more primal – that prompted one of the birds to begin vigorously stretching its wings?

isabelline wheaters flight attempt n

Suddenly it occurred to us. These little guys are going to fledge, right now!

Isabelline wheatear juv 1st flight n

And just like that…Isabelline wheater mom last look around nest n

The female returned for a final look at her empty nest, then caught up with the chicks. They hid behind a a pile of rusted junk, and that was the last we saw of them.

Isabelline wheatear empty nest n

Who would suspect that a a nest of birds was once here, hidden safe and well-fed beneath this rotting tire?

Isabelline wheateater juv on ledge n

A while later, we encountered this juvenile perched on the ledge of an apartment near ours. Where will they go next year? It’s a question with no easy answer in a world that continues to fill up with people.