A couple of weeks ago, Jack and I took our biannual trip to the big city – Anchorage. Since we’ve been brewing our own beer this year, we felt it was our moral and professional obligation to sample different types of beers in order to best serve our customers. All right, morals and professions have nothing to do with this tasting quest. And we happen to be our own best customers, but whatever. Tasting beer is fun and actually educational! We met up with a guy at the 49th State Brewing Company who told us he is studying to be a Cicerone (think beer sommelier). He will become a trained and certified beer professional! After talking through the beer menu with him, we diligently read descriptions and critically tasted several beers in order to get a handle on what we really liked and what food pairings we could imagine with 49th State’s brews. By the way, they have a diverse selection with beers featuring imaginative and complex flavors. We highly recommend making 49th State Brewing a stop on your tour of Anchorage. We came back home with a new appreciation of the levels of complexity we are producing in our little home brewery.
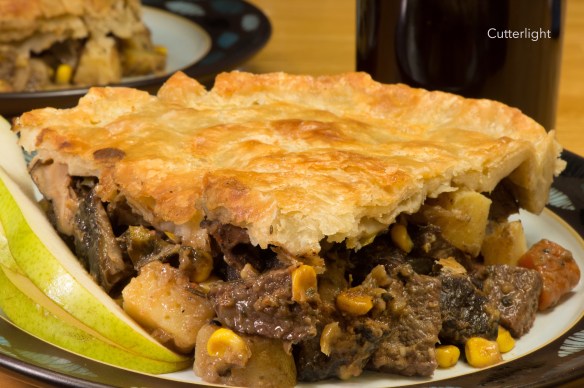
When we returned to Chignik Lake, one of our batches of new beer was ready to try. This beer recipe was produced by a company called Brew Demon. The brew, Deep Red Ale, came out nicely. It had a deep red-brown color with a slight nutty flavor, mildly hoppy, with a touch of malt and a beautiful head. Jack says, “When I drink this beer, I imagine enjoying it with fried or grilled by the campfire.”
One night in Anchorage, we decided to enjoy a Giant pretzel along with our beer tasting. The bakers at 49th State Brewing nailed this pretzel. It was delightfully chewy with that expected glossy exterior speckled with high quality salt. And it was Huge. It was a perfect accompaniment to a delicious beer – and a perfect idea to recreate in my home bakery. To go with our deep red ale, this time I stuck to my time-tested regular-sized pretzel recipe. The giant pretzel is on the baking goal list. Stay tuned for that recipe.
Soft Pretzels
Ingredients
- 4 tsp active dry yeast
- 1 tsp granulated sugar
- 1 1/4 cups warm water (110° F/45° C)
- 4 cups all purpose flour
- 2 tbsp granulated sugar
- 1 1/2 tsp salt
- 1 tbsp extra virgin olive oil
- 1/4 cup baking soda
- 4 cups hot water
- kosher salt for topping
Directions
- In a large bowl, dissolve yeast and 1 tsp sugar in warm water. Let stand about 10 minutes.
- Mix one cup of flour and 2 tbsp sugar into the yeast mixture.
- Mix an additional cup of flour and salt into the dough mixture.
- Continue adding flour by half cups.
- Add additional flour if dough is too wet.
- Knead dough until smooth (about 7 minutes).
- Oil a large bowl. Place dough in bowl and turn until coated.
- Cover bowl with plastic wrap and let dough list un a warm place for an hour. Dough should double in size.
- Preheat oven to 450° F (230° C). Line a baking sheet with parchment paper.
- In a large pot, dissolve baking soda in hot water.
- Divide dough into 12 equal pieces.
- Roll each piece into a rope and twist into a pretzel shape.
- Once the dough pieces are shaped, dip them into the hot baking soda solution.
- Placed dipped pretzels onto prepared baking sheets. Sprinkle with kosher salt.Bake in preheated oven for 8 minutes. Finished pretzels will be golden brown.
- Let pretzels cool slightly and enjoy them with your favorite mustard and a delicious red ale.