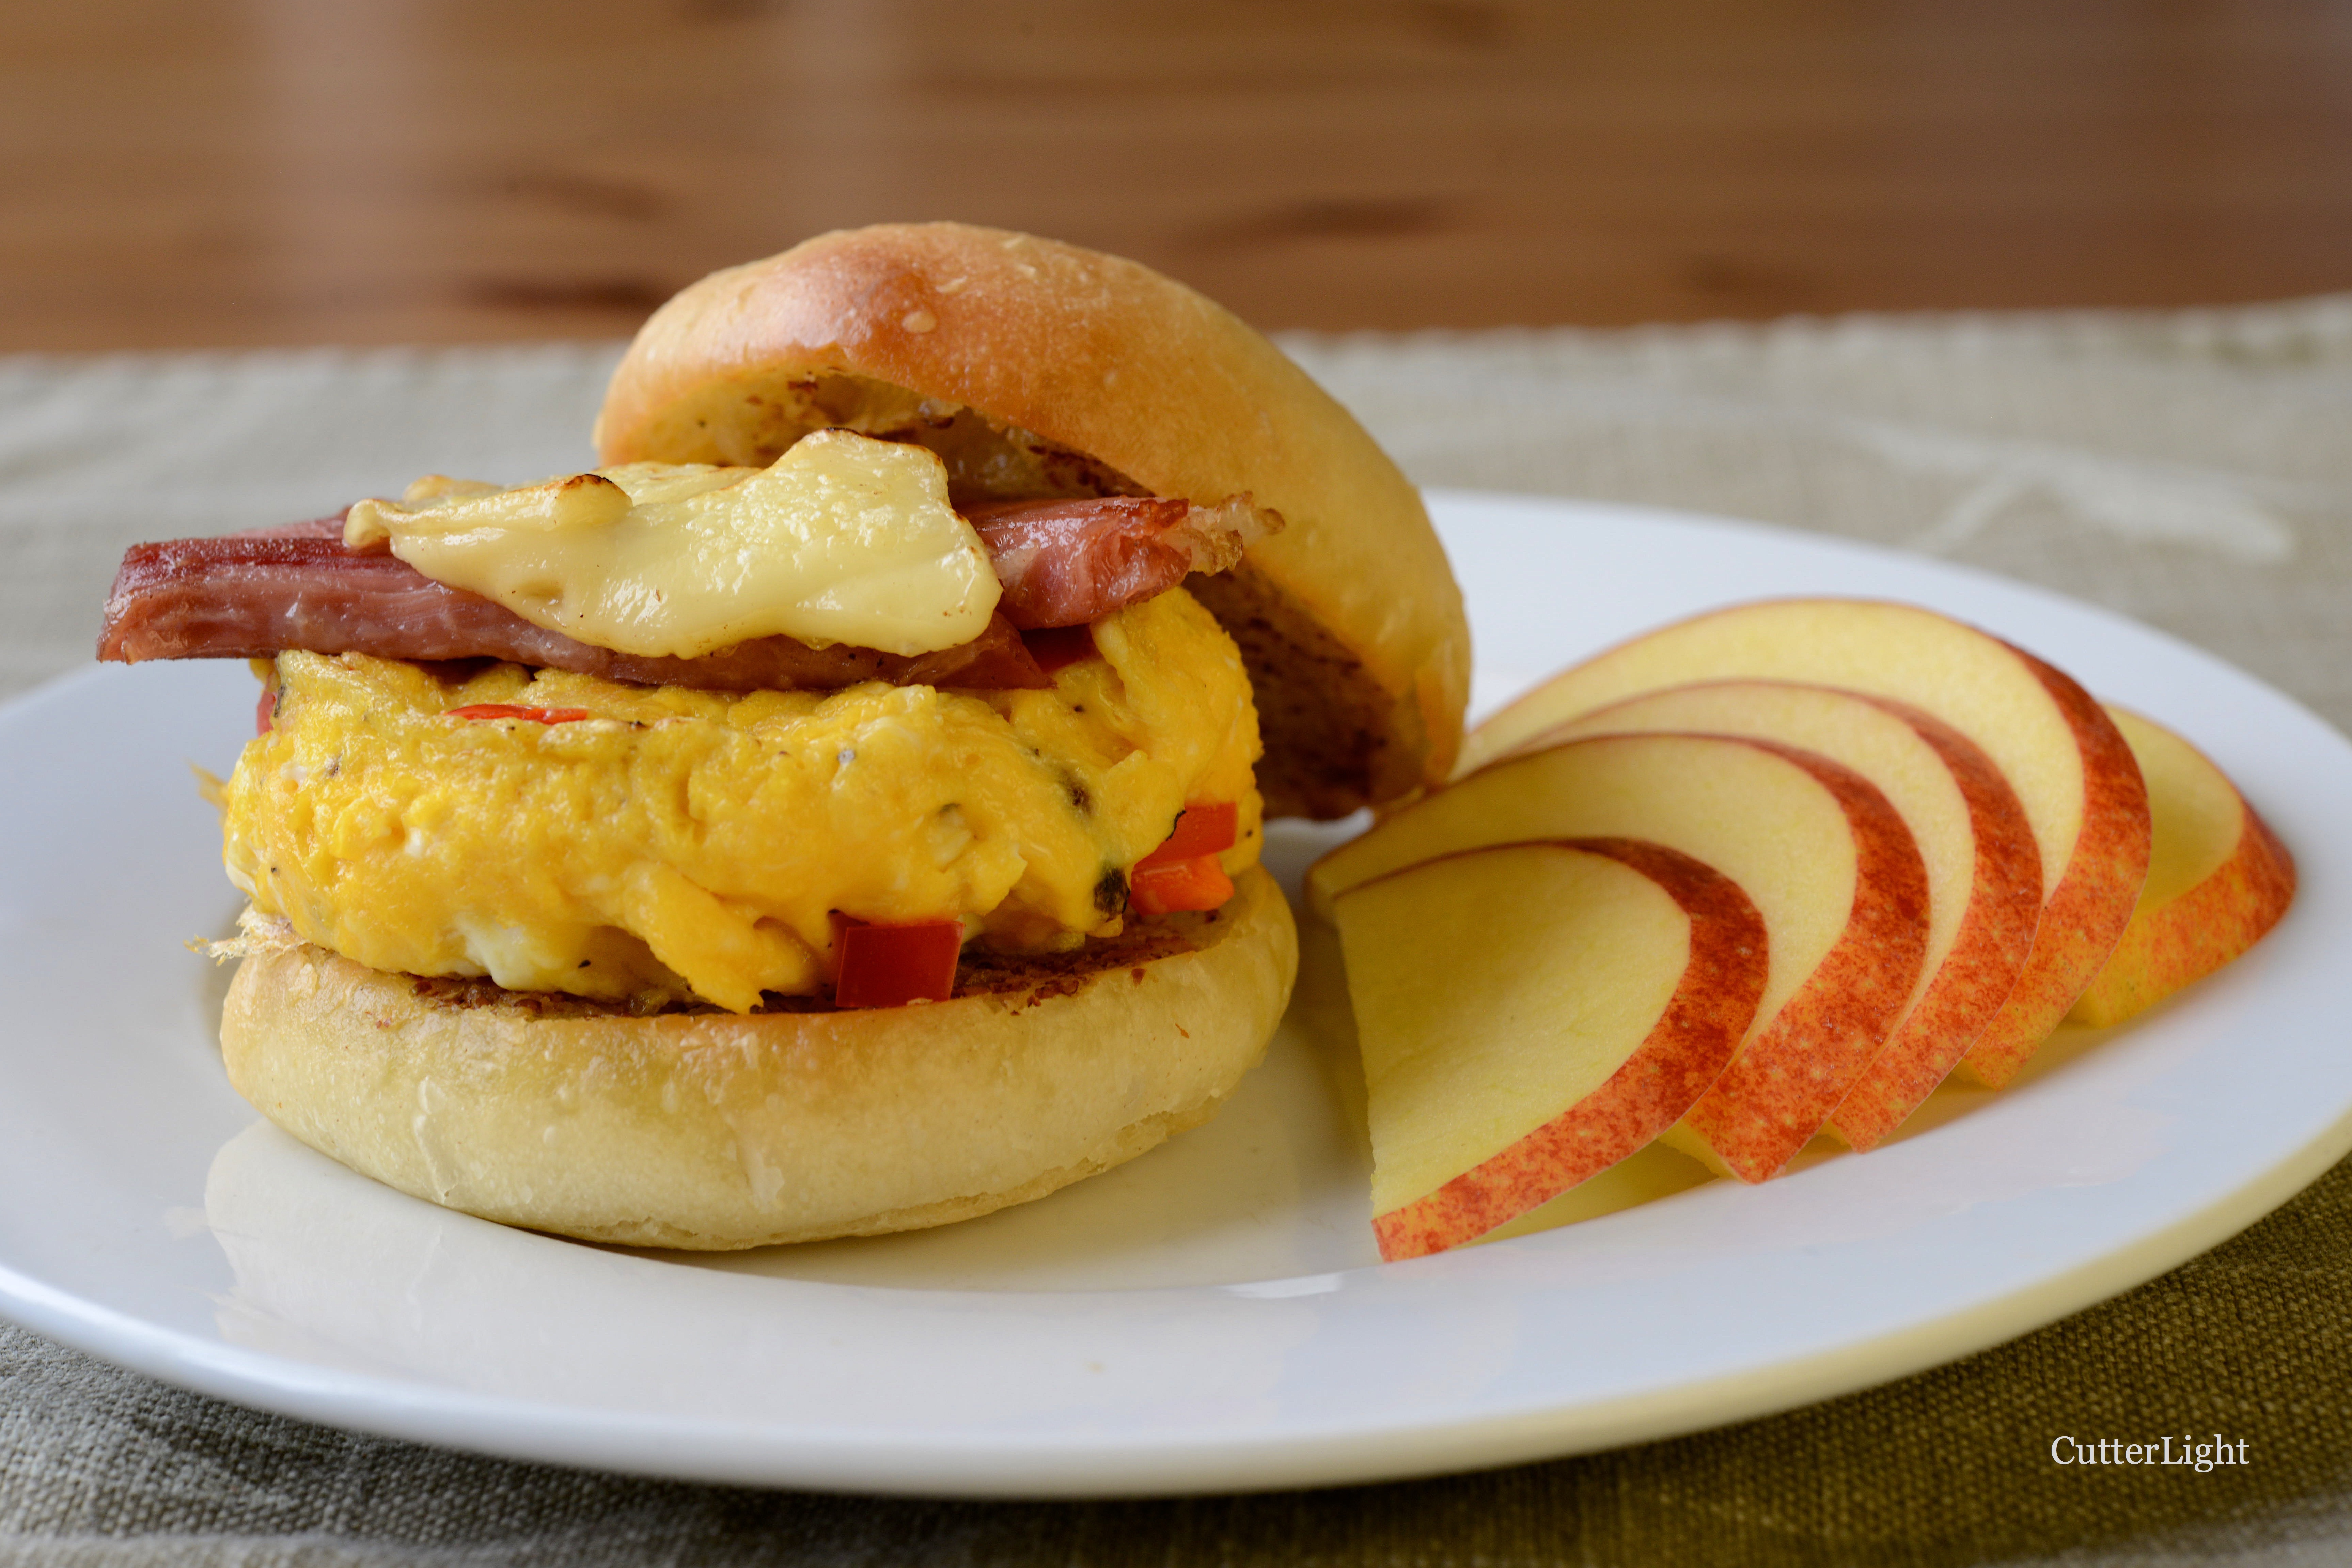
Irresistible, soft, fluffy darling buns perfect for sliders. Imagine all the tiny meals you could make. Sliders stuffed with eggs, roasted vegetables, burgers… Think you can eat just one? Good thing they are small!
Jack had that look in his eye as he placed his order for a dozen slider rolls. It’s the look he gets when he has something up his culinary sleeve. I will keep the anticipation going and only reveal that it was a delicious use of these little fluffy buns. Stay tuned for his upcoming recipe.
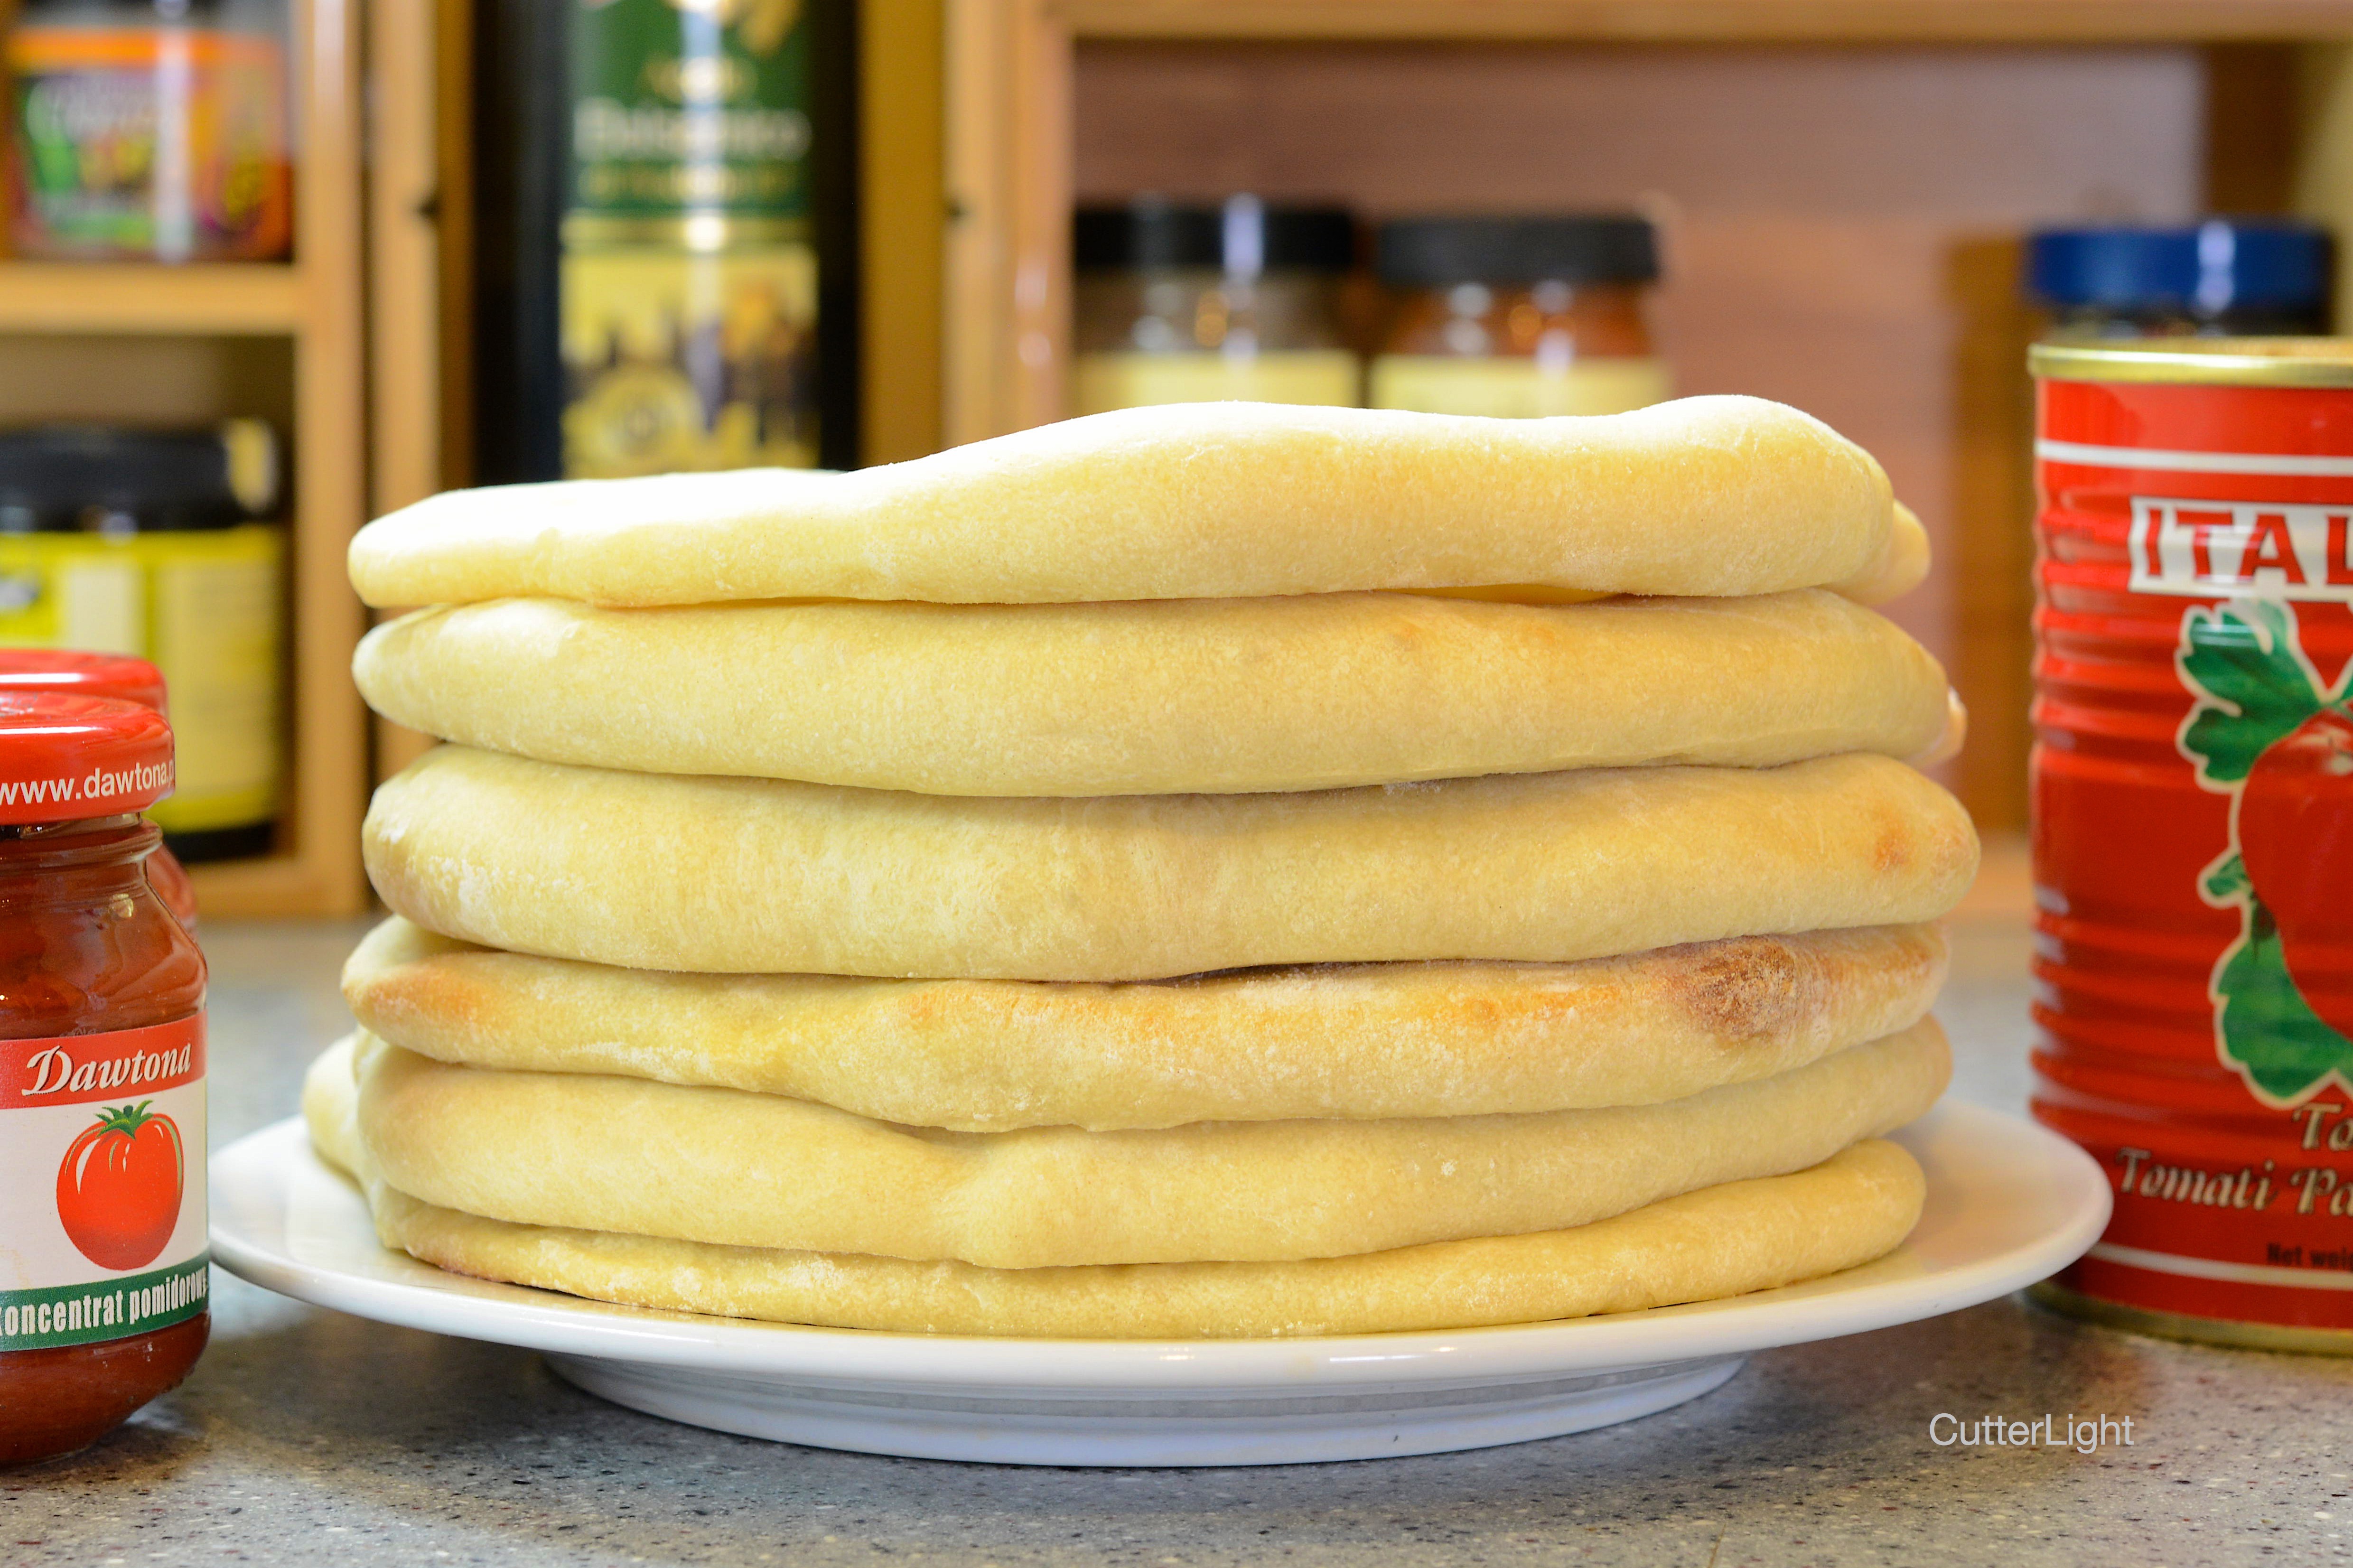
I use this recipe often for hamburger and sandwich rolls. I really like how the texture. They are soft but have enough structure to hold up to whatever we put on them without caving in. I have shaped the dough to accommodate sausage sandwiches as well. This time, I divided the dough into twelve equal pieces, which gave me perfect slider buns about 2¾ inches in diameter.
Fluffy Slider Buns
Ingredients
- 1 cup warm water, about 110 degrees F (43 degrees C)
- 1 tbsp granulated sugar
- 2 1/4 tsp active dry yeast
- 2 tbsp olive oil
- 3 cups all-purpose flour
- 3/4 tsp salt
Directions
- In a large bowl, stir together water, sugar and yeast. Let sit for 5 minutes.
- Stir in olive oil.
- Stir in one cup of flour and salt.
- Add in remainder of flour 1/2 cup at a time. The last half cup will need to be kneaded in by hand.
- Turn dough out onto a lightly floured surface and continue to knead until dough is smooth and elastic.
- Place dough in an oil-coated bowl and cover with plastic wrap. Let dough rise until doubled in size, about an hour.
- Line a baking sheet with parchment paper. Set aside.
- Knead dough for 2-3 minutes.
- Cut dough into 12 equal pieces.
- Roll dough into balls.
- Flatten balls slightly and place on parchment-lined baking sheet.
- Cover dough balls with damp towel and let rise for another 30 minutes.
- Preheat oven to 350 degrees F (175 degrees C).
- Bake rolls for about 12 minutes. Rolls should be lightly browned on top and on bottom.
- Let cool completely on wire rack before cutting.