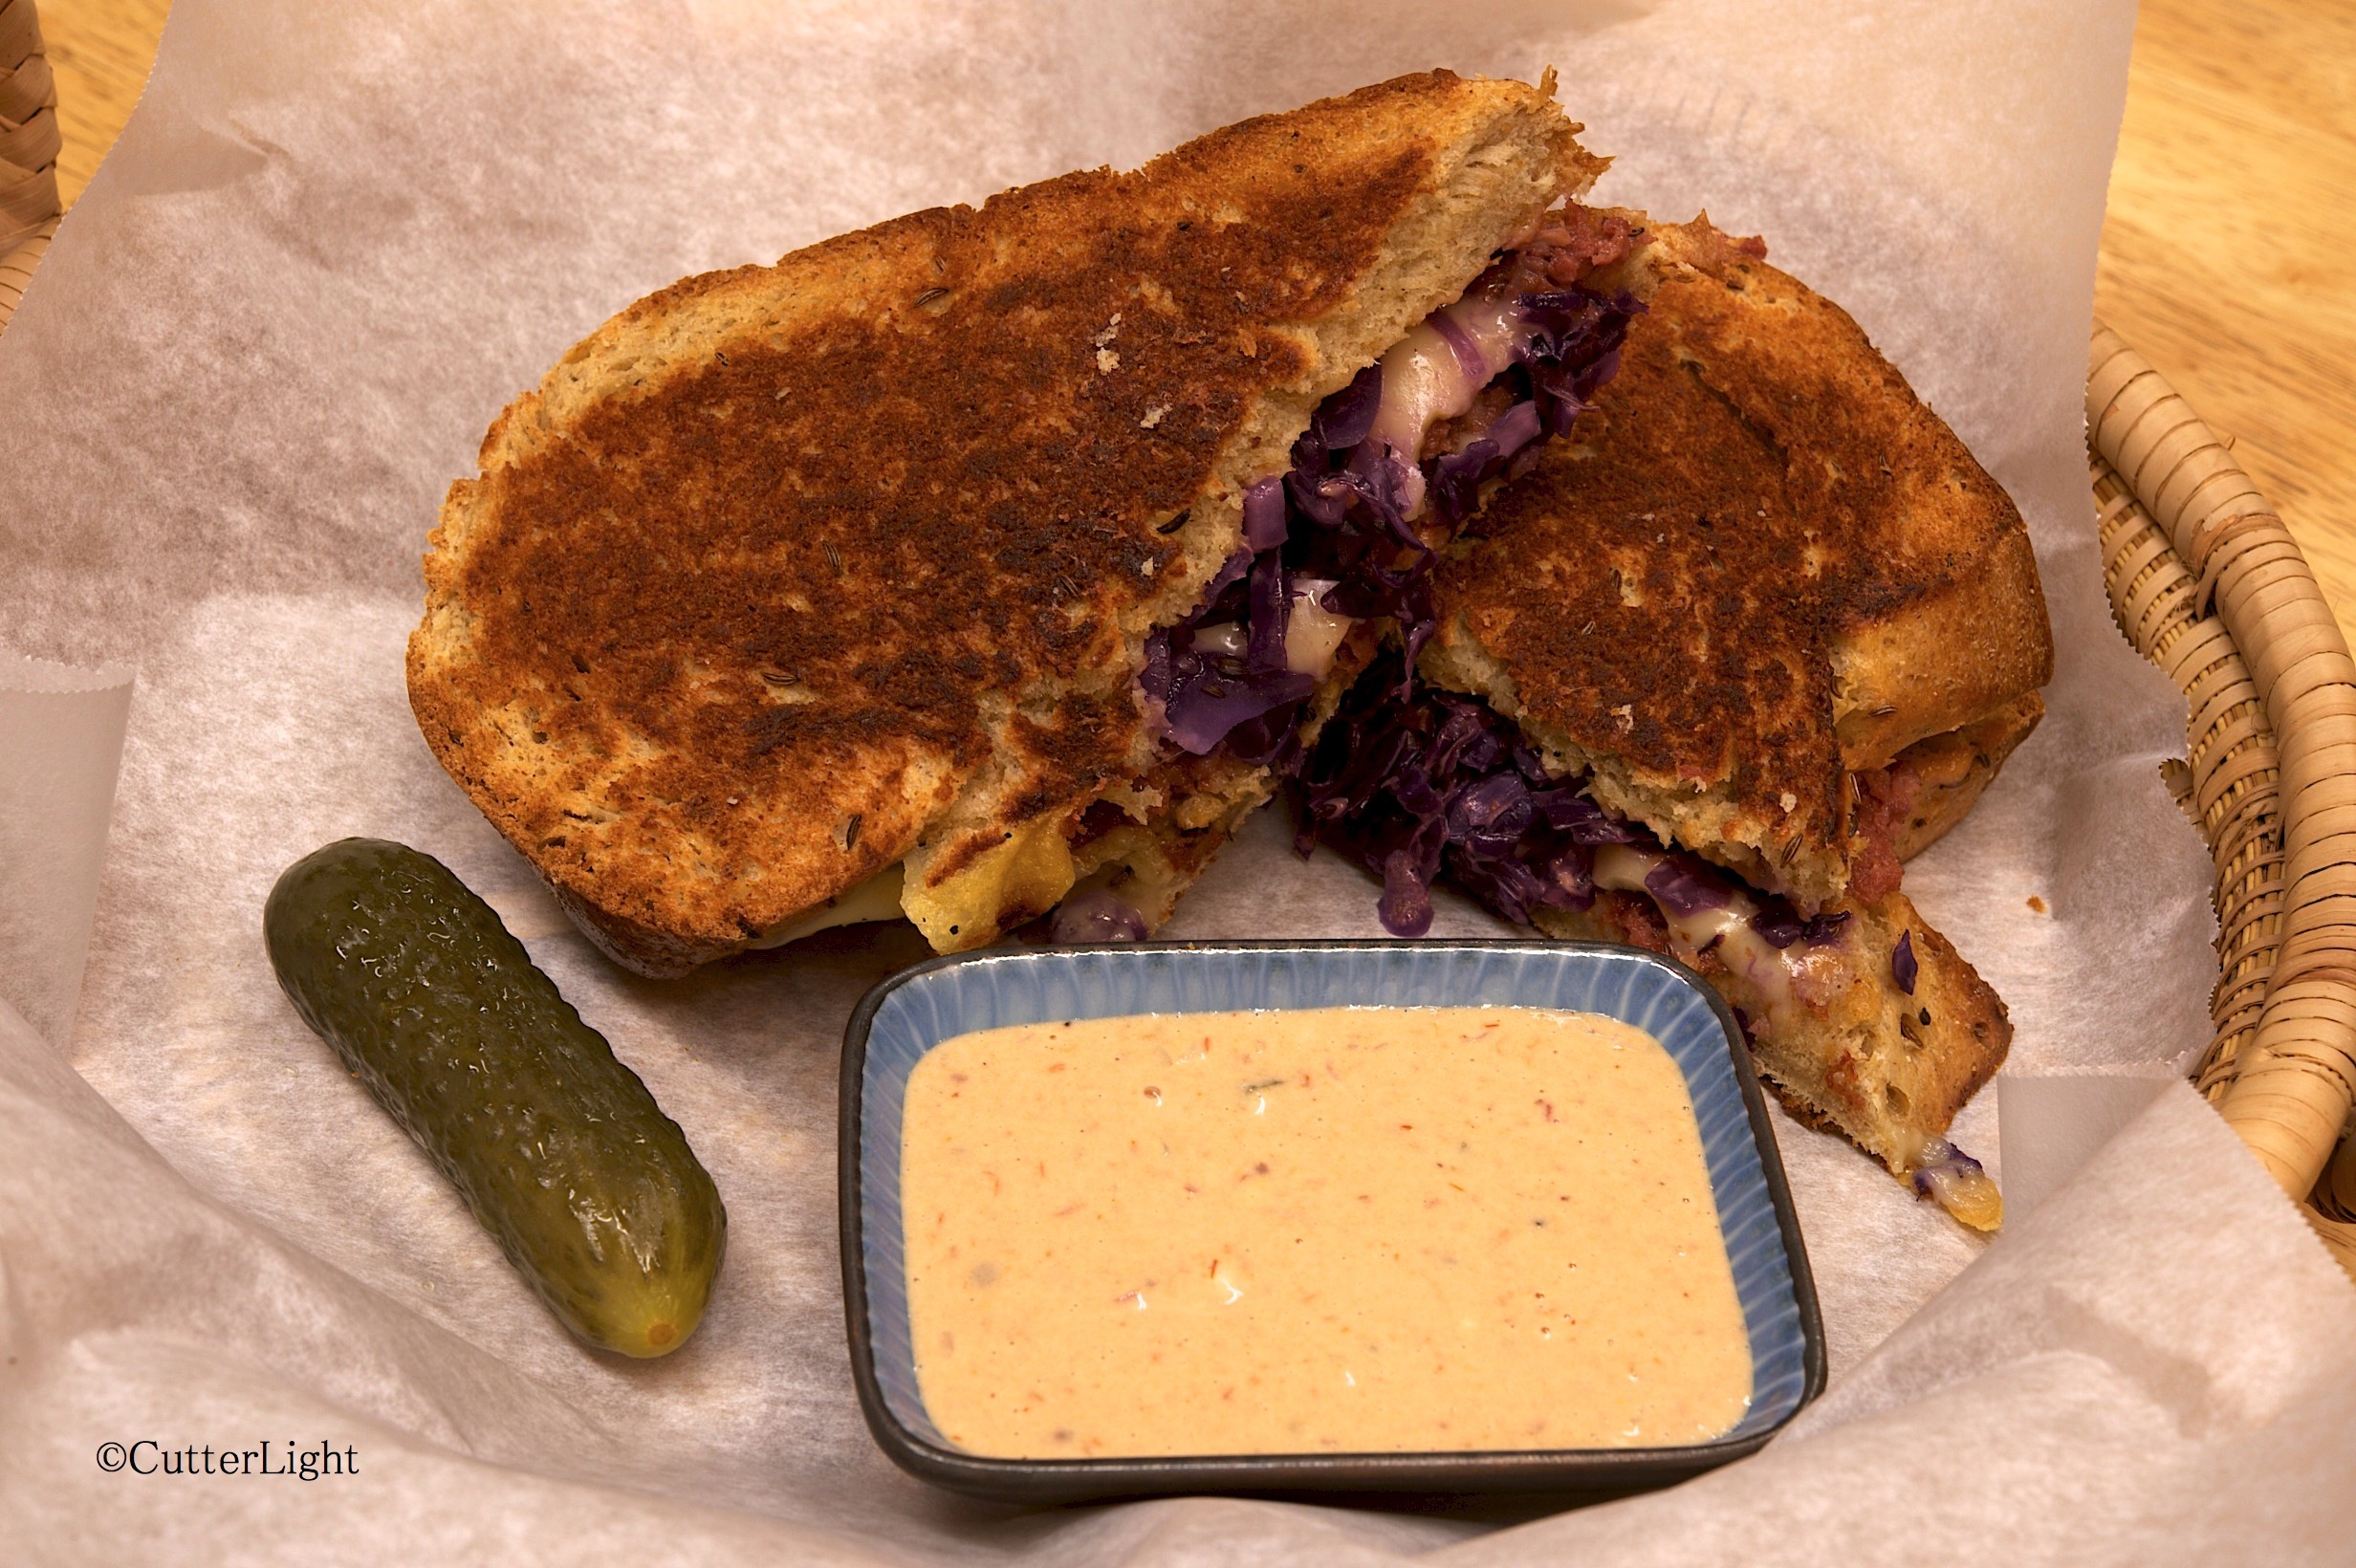
 Bursting with flavor, this satisfying from-scratch version of an East Coast classic was delicious to the last caraway seed!
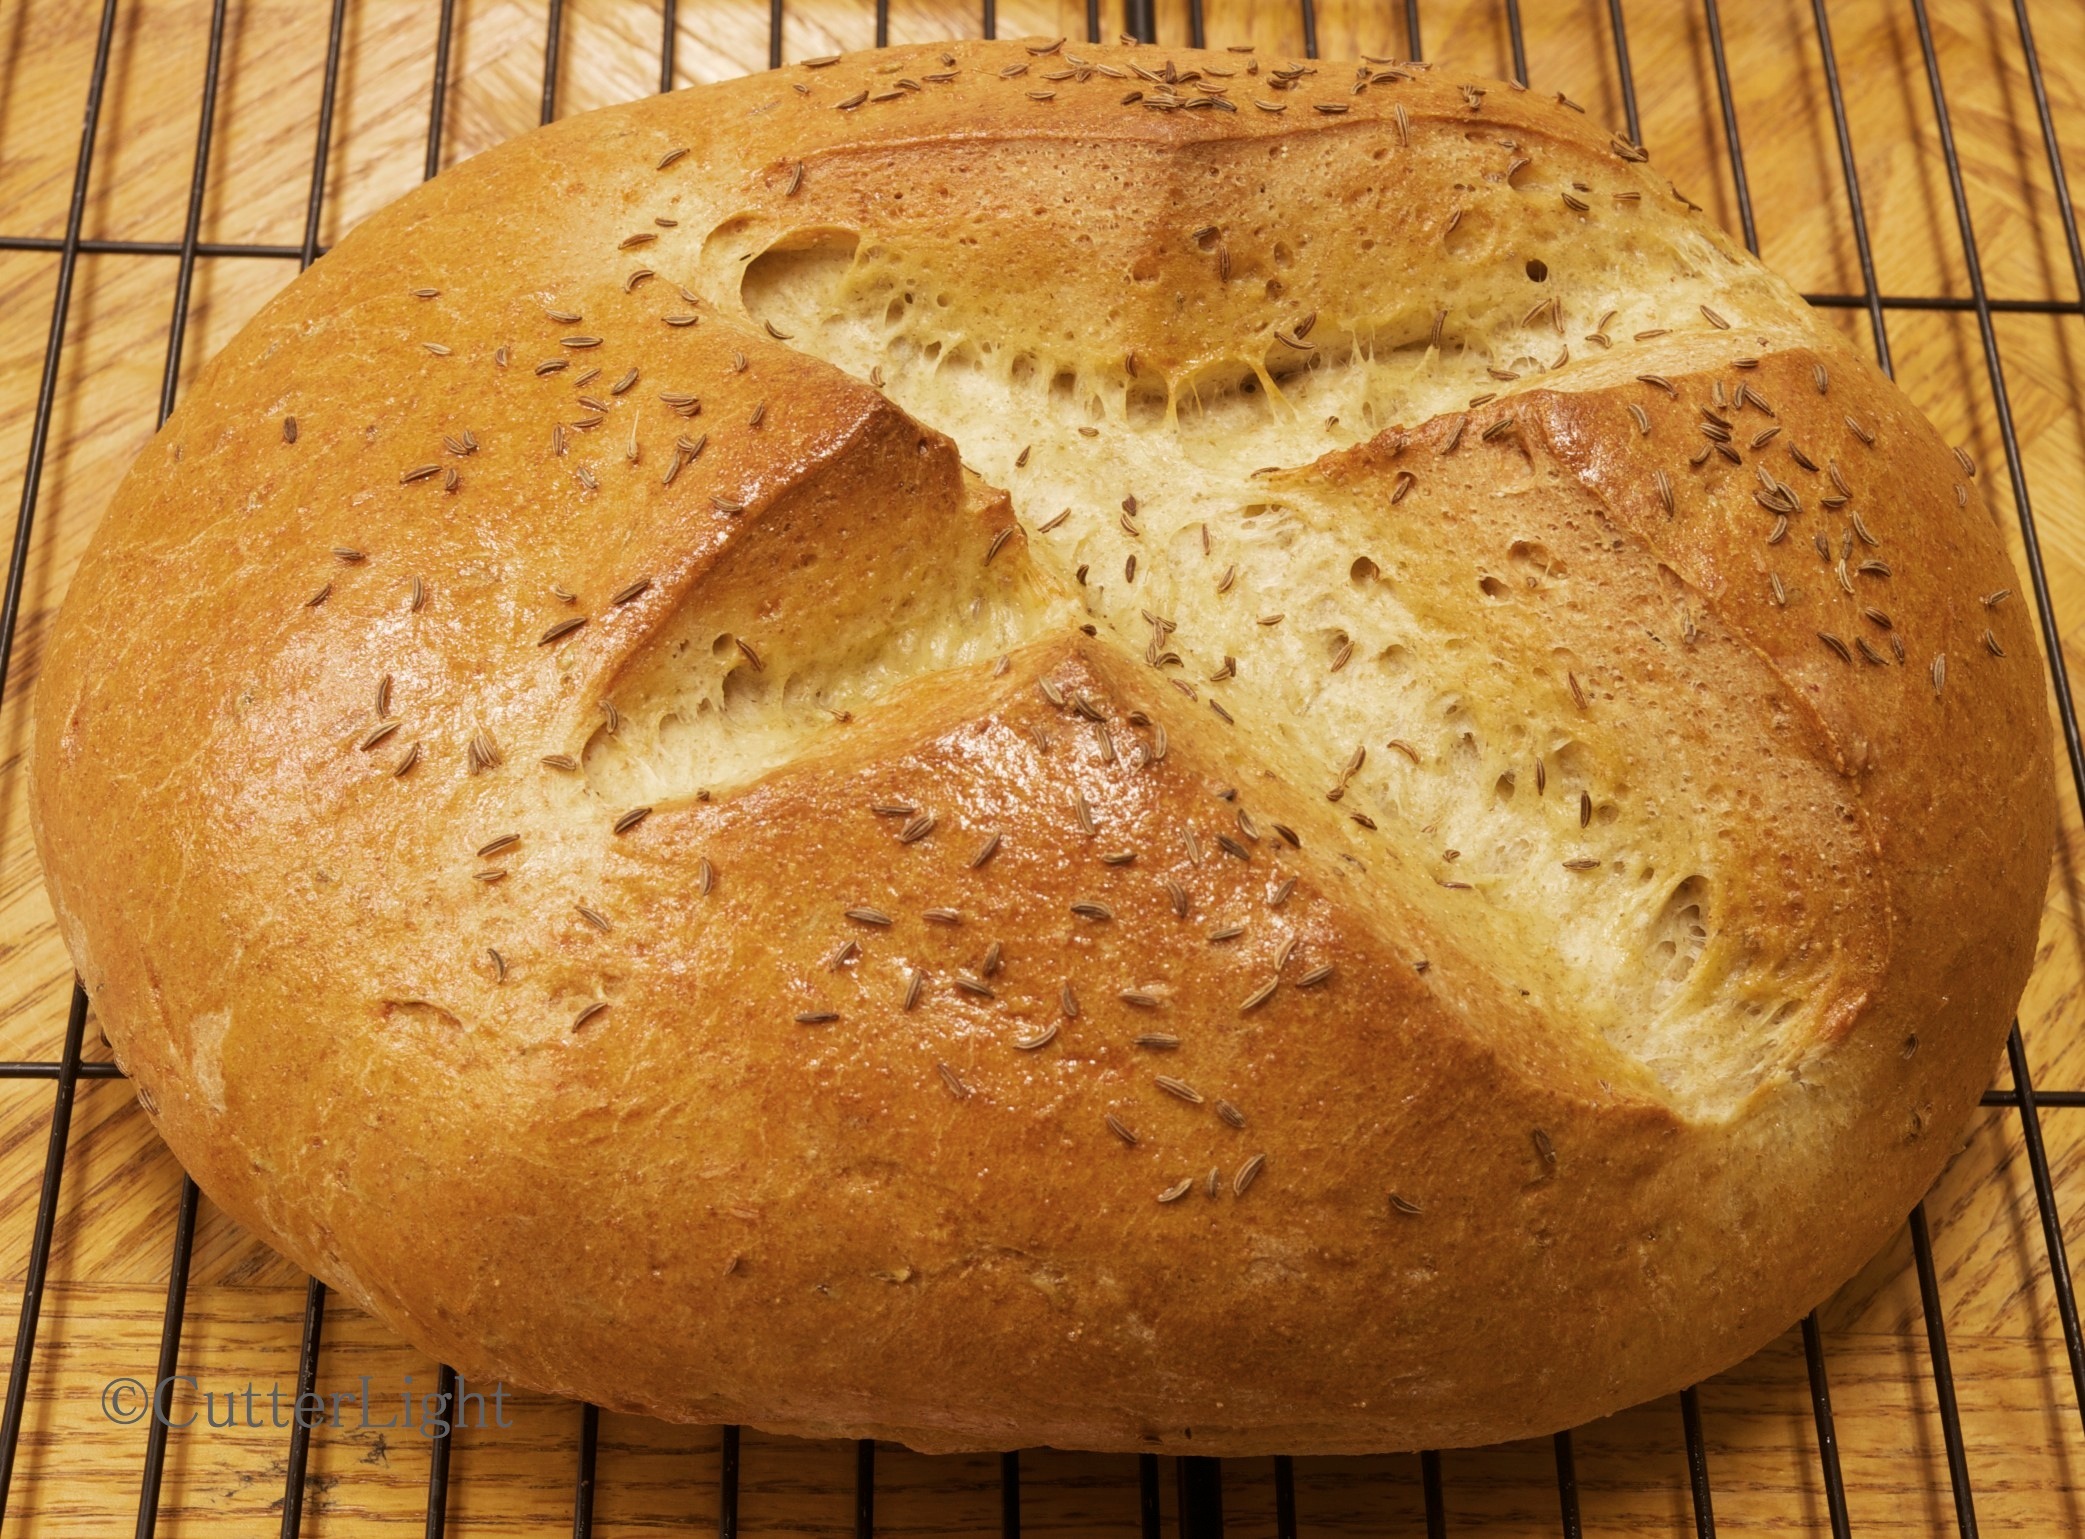
Jack suggested we make reuben sandwiches with the gorgeous purple kraut I’d just created. For this menu request, I would need my freshly baked righteous rye bread, corned beef, Russian dressing (see below), Swiss cheese, and butter. I already had all these items on hand except for the corned beef, and since this year the majority of the protein in our freezers is fish, that was going to be a challenge.
I wrinkled up my nose at Jack’s suggestion that we walk to the Native Store to see if they had any canned corned beef. Lo and behold, they did. “Premium” canned corned beef – it even had a little key on the side with which to open the can. This was new to me. I have had canned tuna and chicken, but neither of those items came with a key. I stared at this can turning it over and over to try and figure out how to open the darn thing. Thanks to YouTube, I now know how to open a can of corned beef!
Fortunately the homemade elements of this reuben added enough to the premium canned corned beef to make it a terrific, bush-style sandwich. Had this sandwich been made with homemade corned beef, or corned caribou, it would have been fit for Food and Wine magazine! Sounds like I have a new goal as soon as I can trade for caribou (or wild mountain goat, Bixlers, if you’re reading this)!
For this phenomenal reuben sandwich you need:
- 2 thick slices of rye bread
- Russian dressing
- corned beef
- sauerkraut
- swiss cheese
- butter or olive oil
Instructions
- Generously spread butter on one side of each slice of bread.
- On the opposite side of bread, generously spread Russian dressing.
- Place enough corned beef to cover one piece of bread.
- Add a layer of Swiss cheese.
- Add a layer of sauerkraut.
- Cover sandwich with second piece of bread.
- Place sandwich in heavy skillet on stovetop over medium heat.
- Press sandwich down while cooking, about 5 minutes on one side.
- Flip sandwich.
- Press sandwich down on second side, and cook for another 5 minutes. Cheese should be melting out of the sandwich.
- Slice sandwich diagonally and serve with a dill pickle.
The Russian dressing is taken directly from Zingerman’s deli recipe which was posted on Food Network’s website. The only adaptations I made were to use my own homemade mayonnaise and to omit parsley.
Russian Dressing
Ingredients
- 3/4 cup mayonnaise
- generous 1/4 cup chili sauce
- 2 tbsp sour cream
- 1 1/2 tbsp minced shallots
- 1 1/2 tbsp minced dill pickle
- 1/2 tsp lemon juice
- 1/2 tsp grated horseradish
- 1/4 tsp Worcestershire sauce
Directions
- Combine all ingredients in a bowl and mix well.