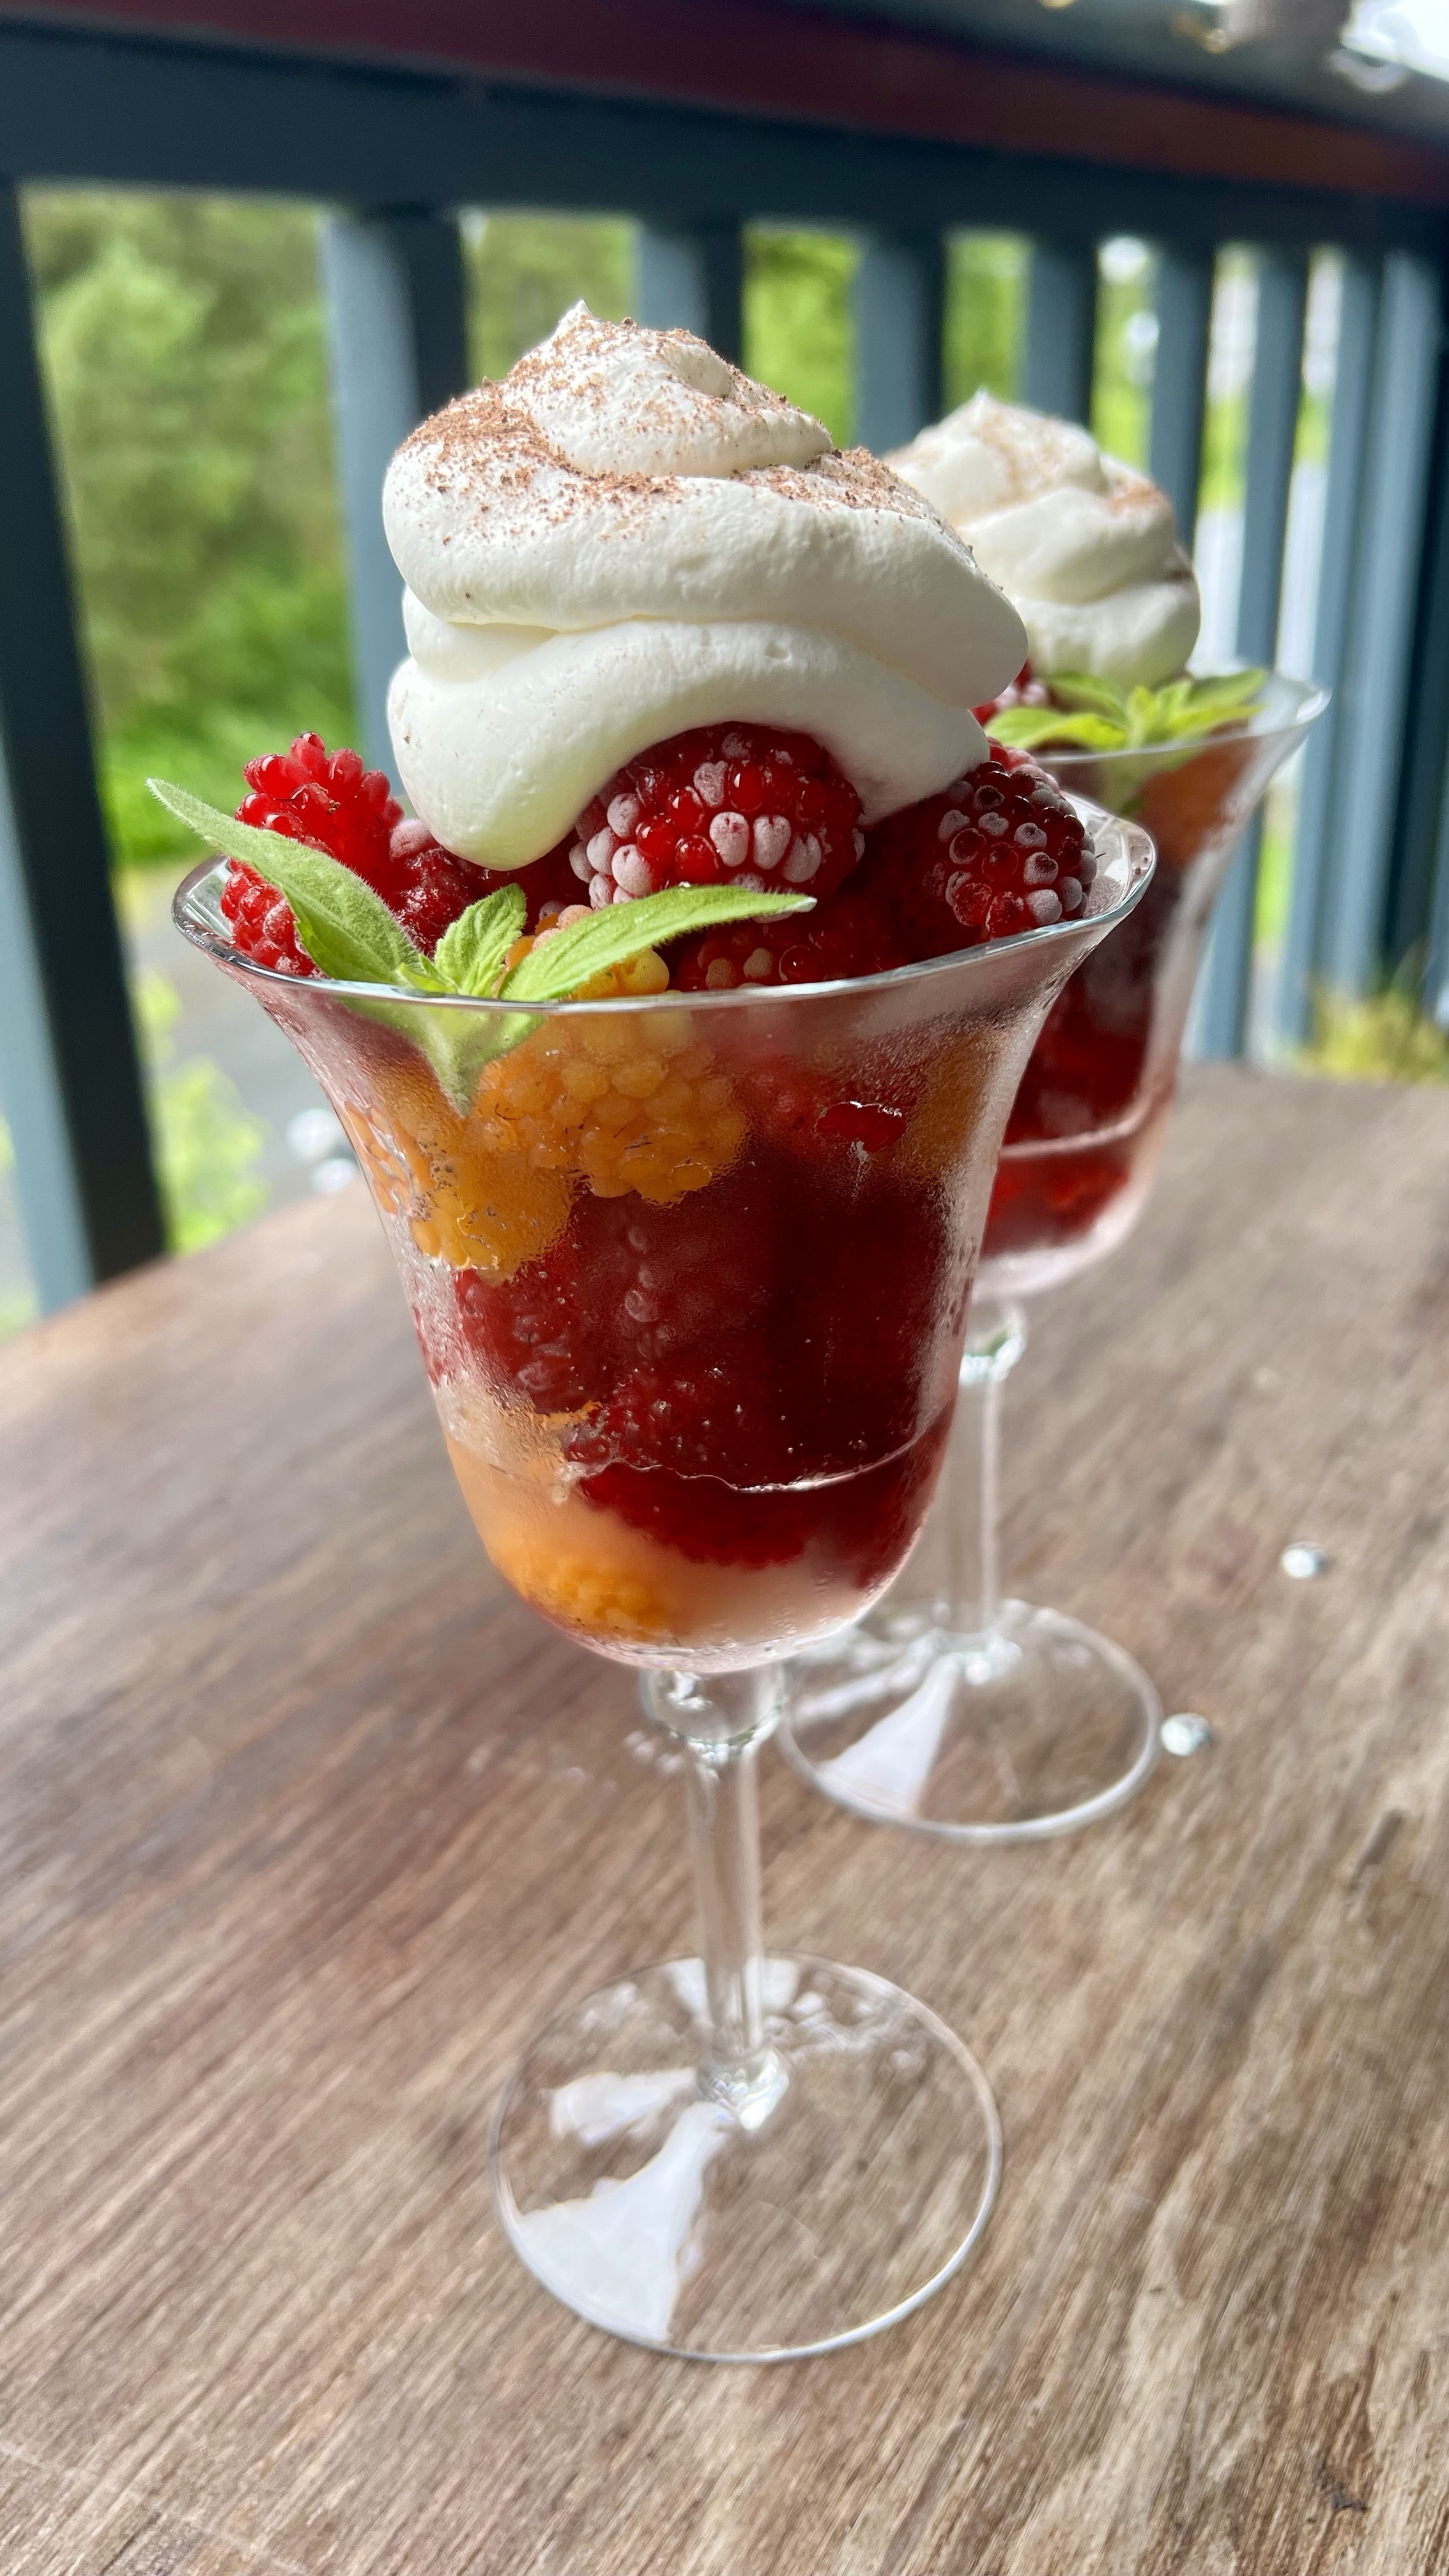
The deal is “you pick me 5 cups of berries and I’ll make you a pie.” We stumbled onto a blueberry bush Loaded with berries. In no time at all, we had 5 cups in the bag. Seems like all agreed, it turned out pretty fantastic.
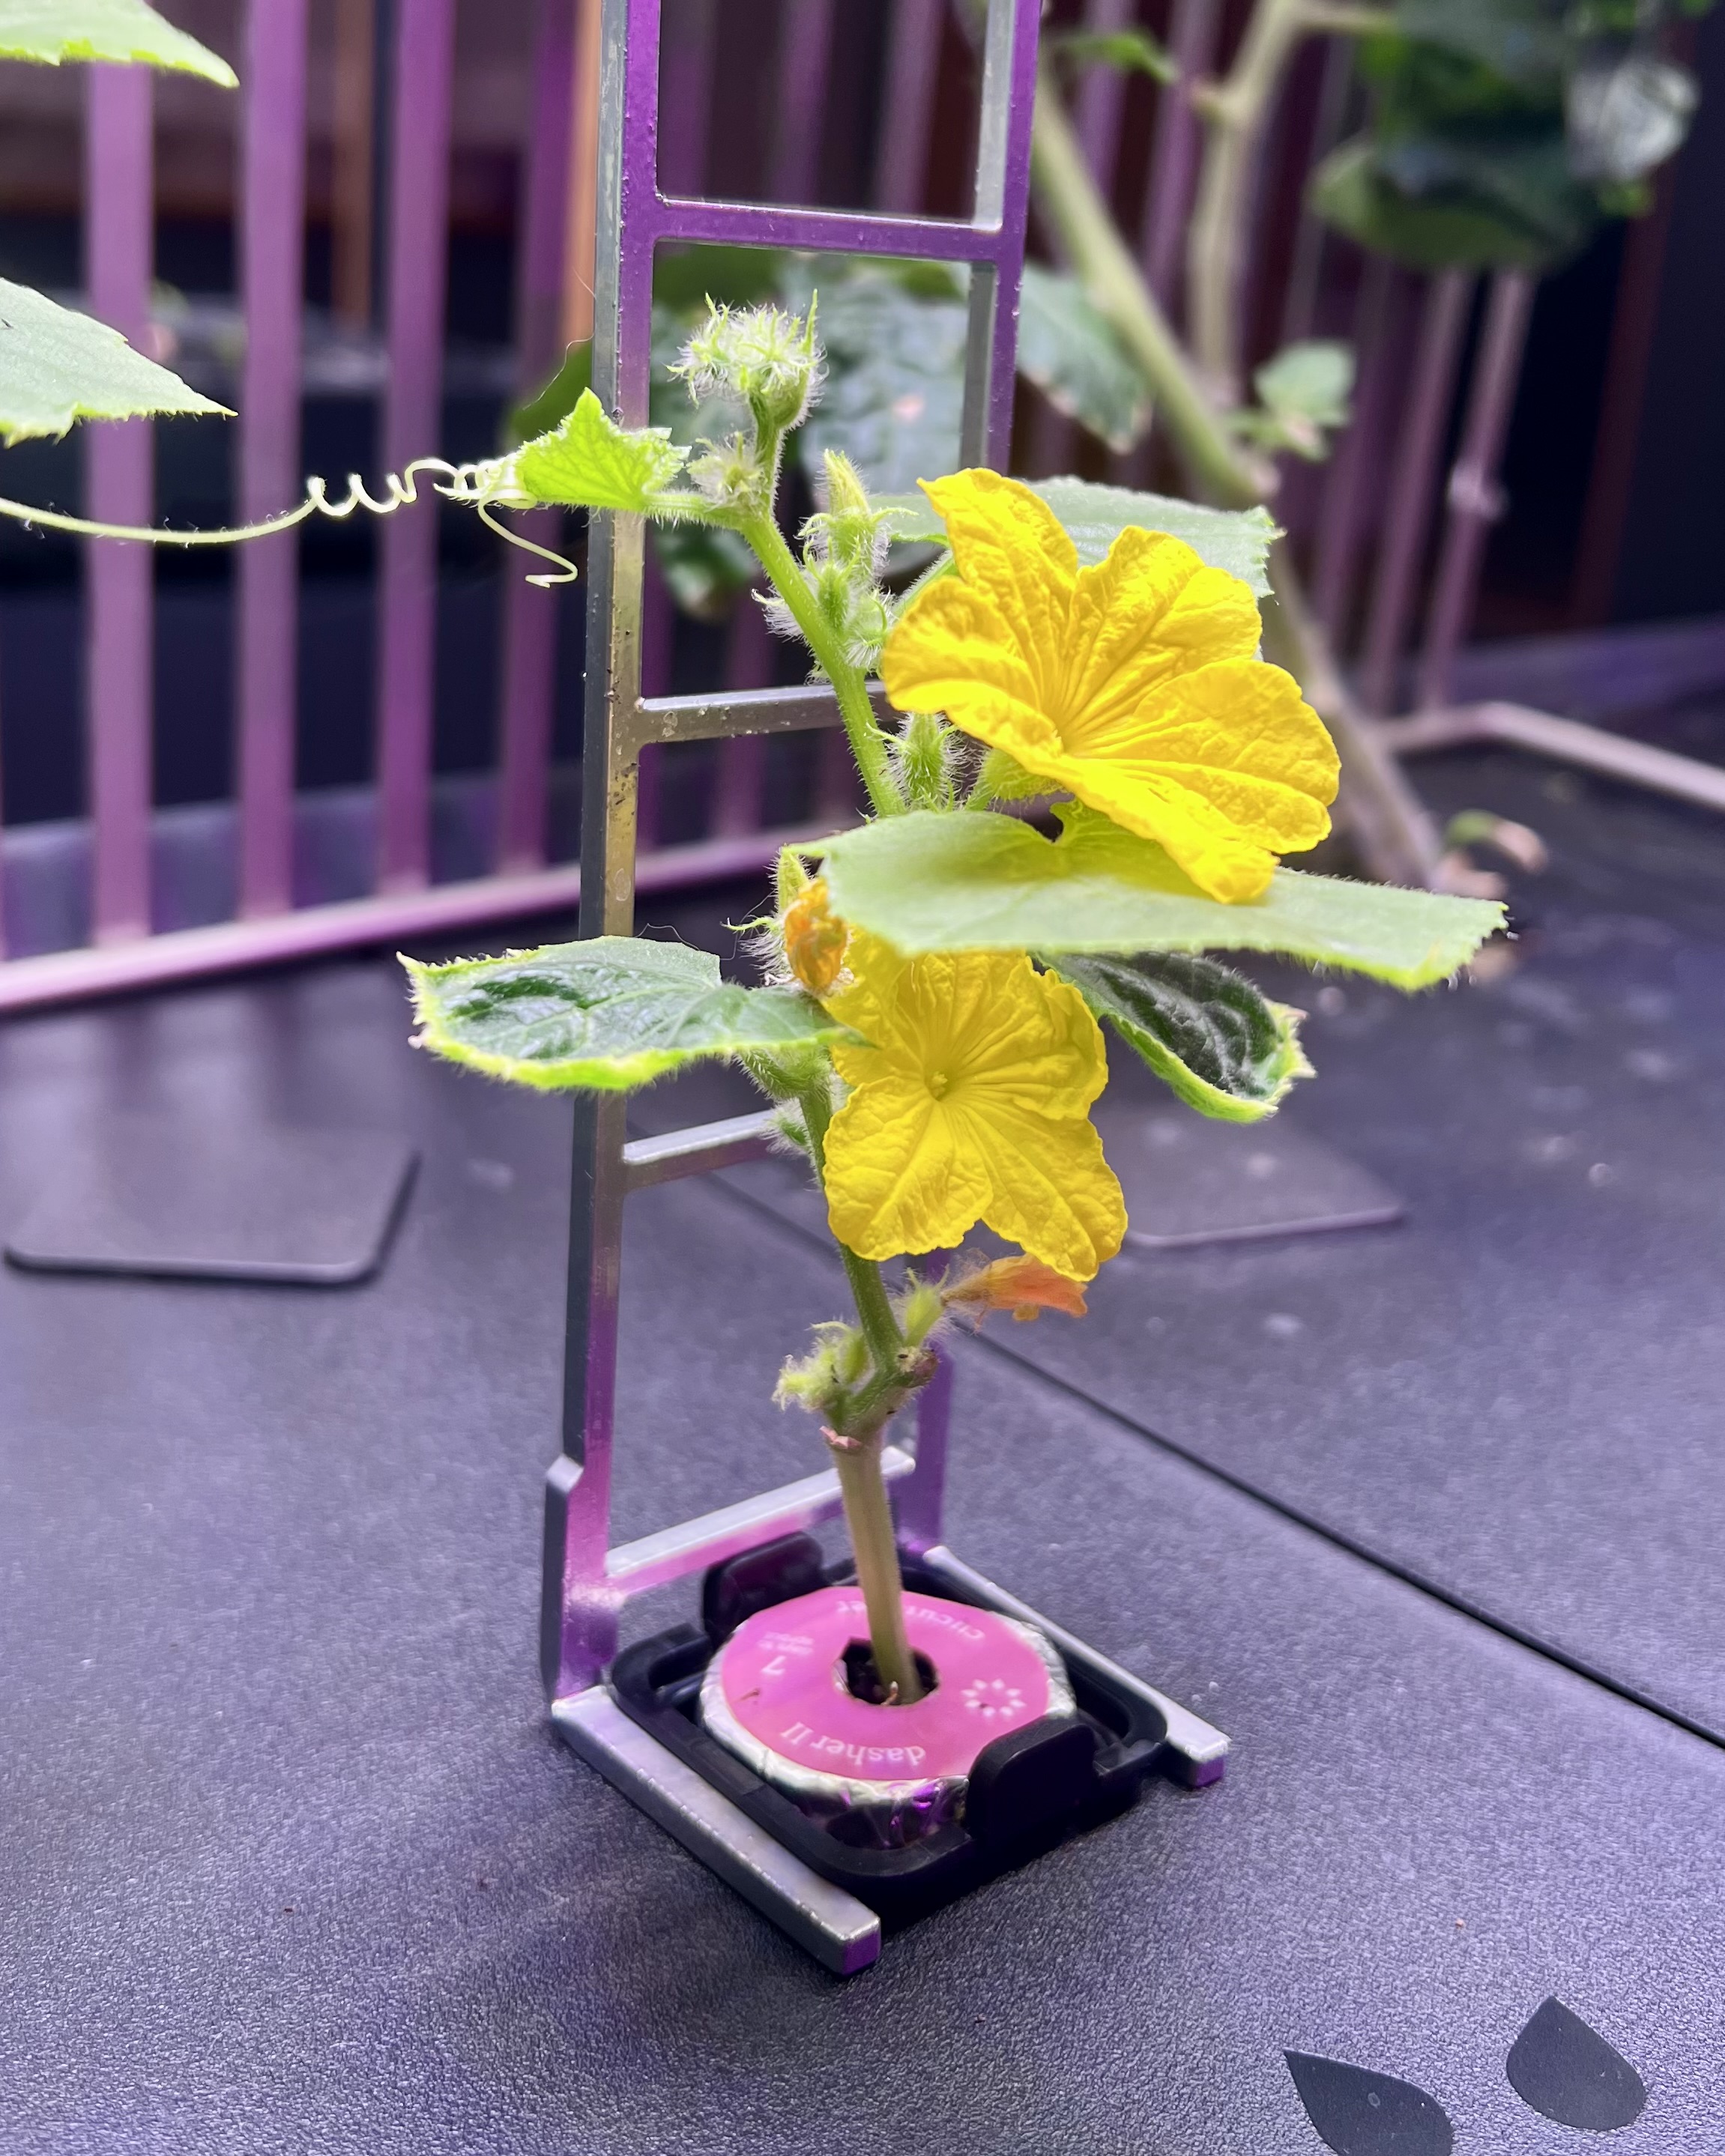
Part of our Alaskan culinary experimentation includes producing fruit and vegetables in a year-round hydroponic garden. We’ve been wildly successful growing our own gourmet lettuces. This little cucumber cutie is flowering like crazy. A little hand pollination and patience will answer the question – will it or won’t it bear fruit?
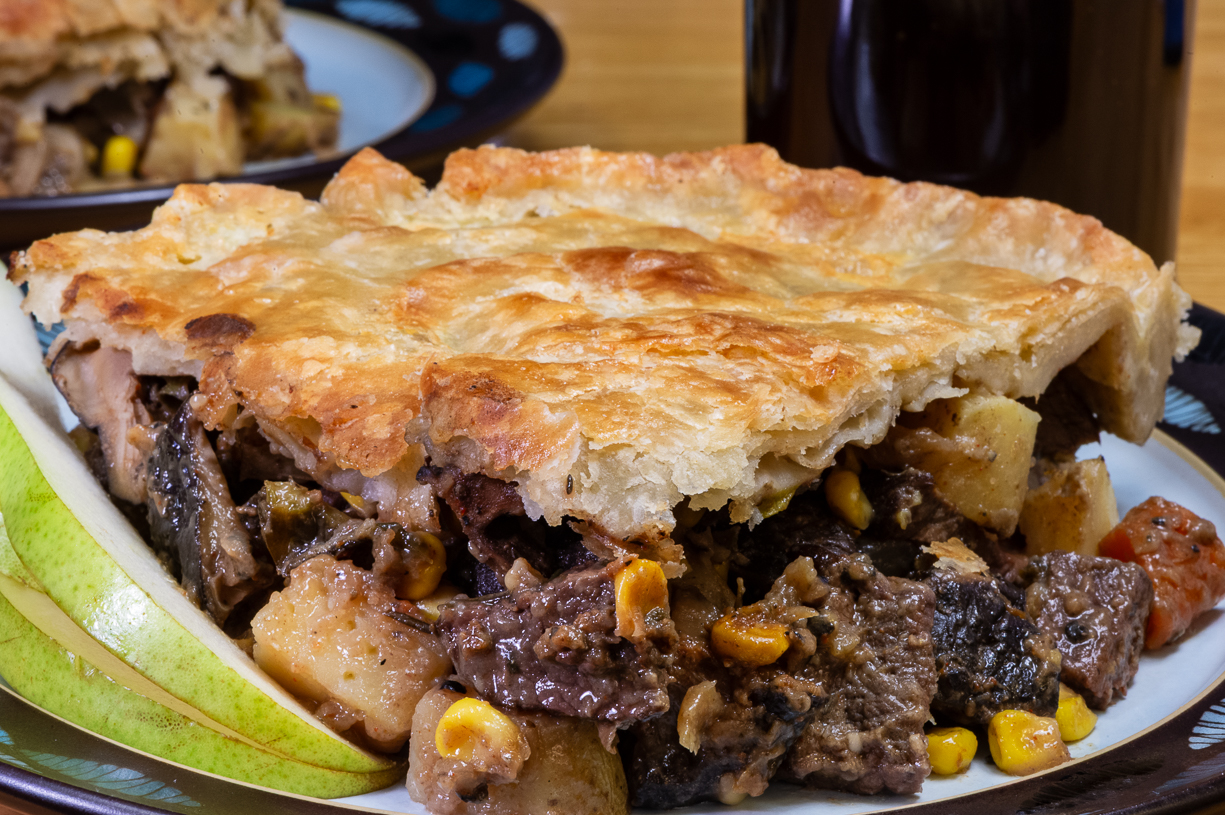
Jack is working his magic today. He’s perfecting a soup recipe baked in stoneware and topped with puff pastry. Spoiler alert? Your guest will crack into the perfectly baked pastry to find wild Alaskan Dungeness Crab. Yes, please!
Perfectly flaky crust stuffed with delectable ingredients. You want the recipe, right?
We are coming up on our fifteenth anniversary of publishing this blog. All those years ago, we packed up our beautiful California bungalow and headed off to live an adventure well off the beaten path in bush Alaska. People thought we would return to the lovely life we left in the urban world after a year or so. But we fell in love with all the joys and challenges with living in bush Alaska and here we are…still living well off the beaten path.
Much of this blog has been dedicated to foraging and recipe creation. Fifteen years of collecting experiences, reimagining food and beverage pairings and generating culinary ideas should lead to … a cookbook! Our blog catchphrase – living well off the beaten path – is now a work progressing toward a book with the working title Moose Pie and Malbec: Eating Well Off the Beaten Pathin the Alaska Bush.
To keep you, our long-time readers (and new followers) in the loop, we will endeavor to post regular peeks into what we are working on here on Cutterlight and on Instagram. Follow along on our new adventure and see how it goes, leave a “like” and feel free to comment and share!
Herring House (Nishin Goten) West Coast of Hokkaido near Haboro – June 17, 2018
Somewhat paralleling the boom and bust of America’s west coast sardine/herring fishery (see Cannery Row), in the late 1800’s through the early 1900’s, fortunes were made and lost on the back of Hokkaido’s west coast herring fishery. The building in the above image is a Nishin Goten, a communal house for the herring fishermen of that era. Inside are the captain’s quarters, other areas where fishermen and other employees (I’m assuming the fishermen’s wives who were vital in processing the catch) could roll out their futons. Such houses featured a kitchen, a place to store slippers (in those days woven from grass) and a bit of furniture. These days, several Nishin Goten are preserved and open to visitors – well worth a stop if you’re traveling Hokkaido’s west coast along the famed Herring Highway.
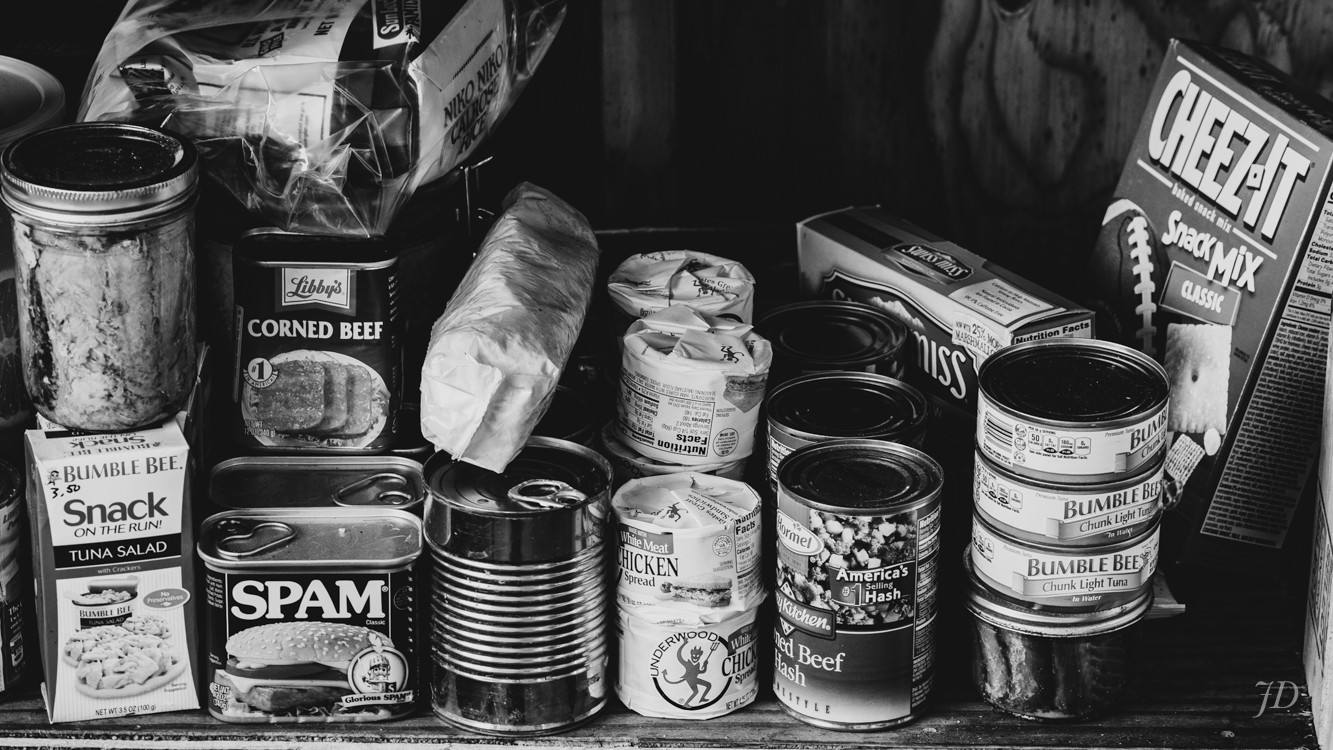
The Well-stocked Wilderness Larder We had packed in sufficient quantities of our own food and so were in no danger of going hungry when a dangerous winter storm came up out of nowhere, flash-freezing Black Lake and stranding us in a tiny cabin on its shores. But I admit… it had been a long time since I’d had a slab of fried spam; it proved to be more than I could resist. Black Lake in the Chignik Drainage, January 2018
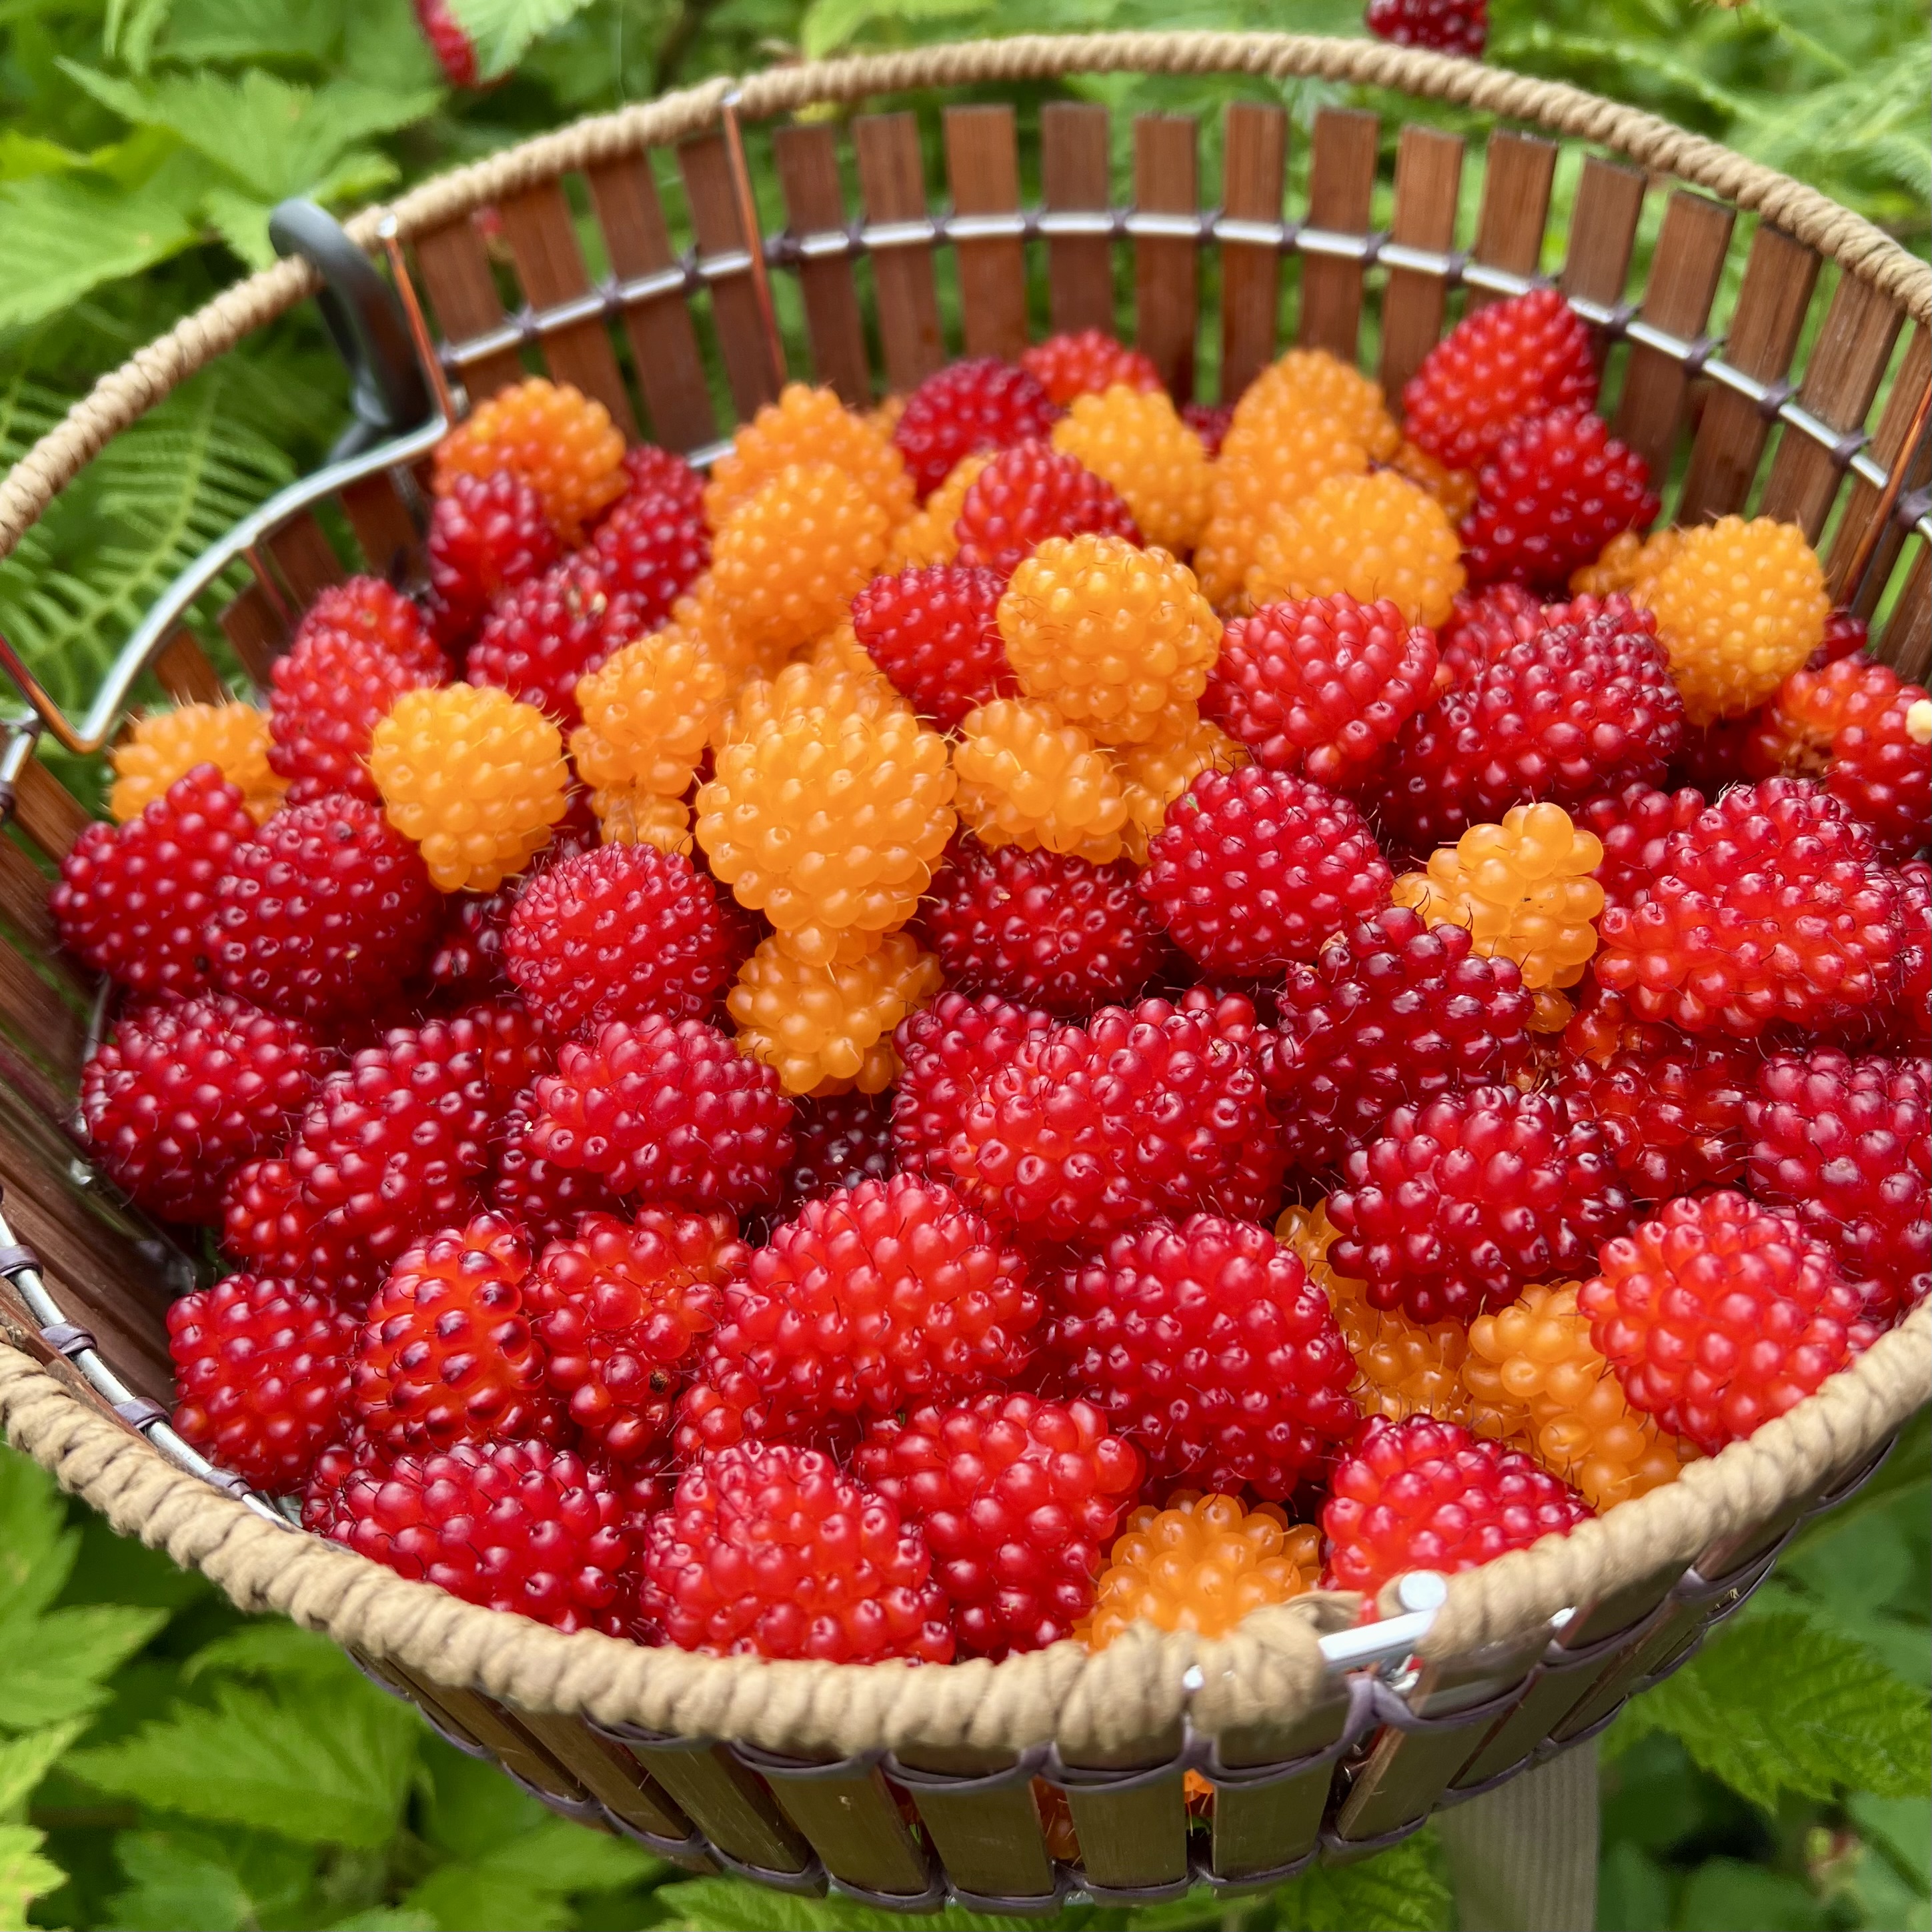
The flower petals have dropped. Tiny, hard berries are taunting me with their promise. It will be quite some time before they will be ripe and ready for picking. Normally, when I can’t stand the wait for this summer’s fruit, I usually have last year’s berries stashed in my freezer to bake with while I oh-so-patiently wait for this year’s fruit to mature. With the move this year, we gifted our stash to friends at the Lake. So, I wait.
We all know I’m not really going to wait to play in the kitchen. 😉 Now that I have not one, but two grocery stores nearby, I don’t have to keep a stocked pantry like we did at the Lake. But pantry items do drive inspiration. We mailed quite a bit of dry goods that we hadn’t used up. Boxes of pasta, pounds of rice and cans of pumpkin puree didn’t trigger any ideas. There was this bag of mini-marshmallows tucked away. I had purchased them for hot cocoa. What about hot cocoa cookies? Rocky road bars? Marshmallow thumbprints? None of these ideas appealed to me. Then I thought s’mores! I am a s’mores fan, but only in small quantities. I enjoy the summertime fireside treat in ones or twos. What if the essence of chocolate, graham crackers, and toasted marshmallows were featured in cookies instead of their original over-sweet form? The result? A chewy cookie with bursts of chocolate, crunches of graham cracker, and bites of gooey marshmallow.
The recipe was a successful distraction until the real show starts. (C’mon berries!) Between now and then, I will keep myself occupied with processing spruce tip syrup. And maybe figuring out a way to bake with pasta, rice, and pumpkin? Or not.
Double Chocolate S’more Cookies – small batch
Ingredients
1 cup all-purpose flour
3 tbsp dutch-processed cocoa powder
1/4 cup graham cracker crumbs
1 tsp baking soda
Pinch salt
1 stick unsalted butter, room temperature
1/2 cup packed brown sugar
1/4 cup granulated sugar
1 tsp pure vanilla extract
1 large egg
1/2 cup semi-sweet chocolate chips
1/2 cup mini marshmallows (and a few extra for finishing)
1 sheet graham cracker, roughly chopped
Directions
Preheat oven to 375°F.
Line a baking sheet with parchment paper.
In a bowl, whisk together flour, cocoa powder, graham cracker crumbs, baking soda, and salt. Set aside.
Using electric mixer, beat butter and sugars until light and fluffy.
Mix in vanilla.
Mix in egg.
Slowly add in flour mixture. Mix until incorporated.
Fold in chocolate chips, marshmallows and chopped graham cracker.
I used a 1 1/2 tbsp cookie scoop to spoon out 12 portions of dough to place on prepared cookie sheet.
Bake cookies for 10 minutes.
Quickly remove baking sheet from oven and add a few more marshmallows on each cookie. Place back in the oven for 2 additional minutes.
When done, cookies will be firm on the edges and soft in the middle. Allow to cool for about 5 minutes on sheet before removing to cool completely on a wire rack.