We’re at that clean-out-our-pantry time of year when we begin working through stores in earnest, cleaning out freezers and cupboards while we anticipate our annual summertime BST – Big Shopping Trip. This year? Plot Twists. First off, there’s the CoronaVirus. Here in Newhalen, if we’ve needed an additional ingredient, we’ve been able to drive over to our local general store – a small place that happens to have just about everything a person could ever need. We’re fond of saying, “If it’s not at the Iliamna Trading Company, you don’t need it.” Anchovies? They’ve got ‘em. Smoked oysters? They’ve got ‘em. Sanma, those delicious little tinned fish from Japan? No. Of course they don’t have those! I said it was a small store.
The other plot twist is an impending move. Wait. Did she just say “move?” Again? Didn’t she just move? And, like, for about the 80th time in the last 10 years?
Yep. Impeding move. We are heading back to the village where we left our hearts, back to Chignik Lake. Thankfully for everyone, enrollment appears to have stabilized at a number comfortably above the state-mandated minimum of 10. Of course, due to Shelter-in-Place orders and the wise decision among Alaska’s bush villages to prohibit people from flying in, we don’t know when the actual move will occur. It’s a good time to be staying close to home, cooking and baking through the larder.
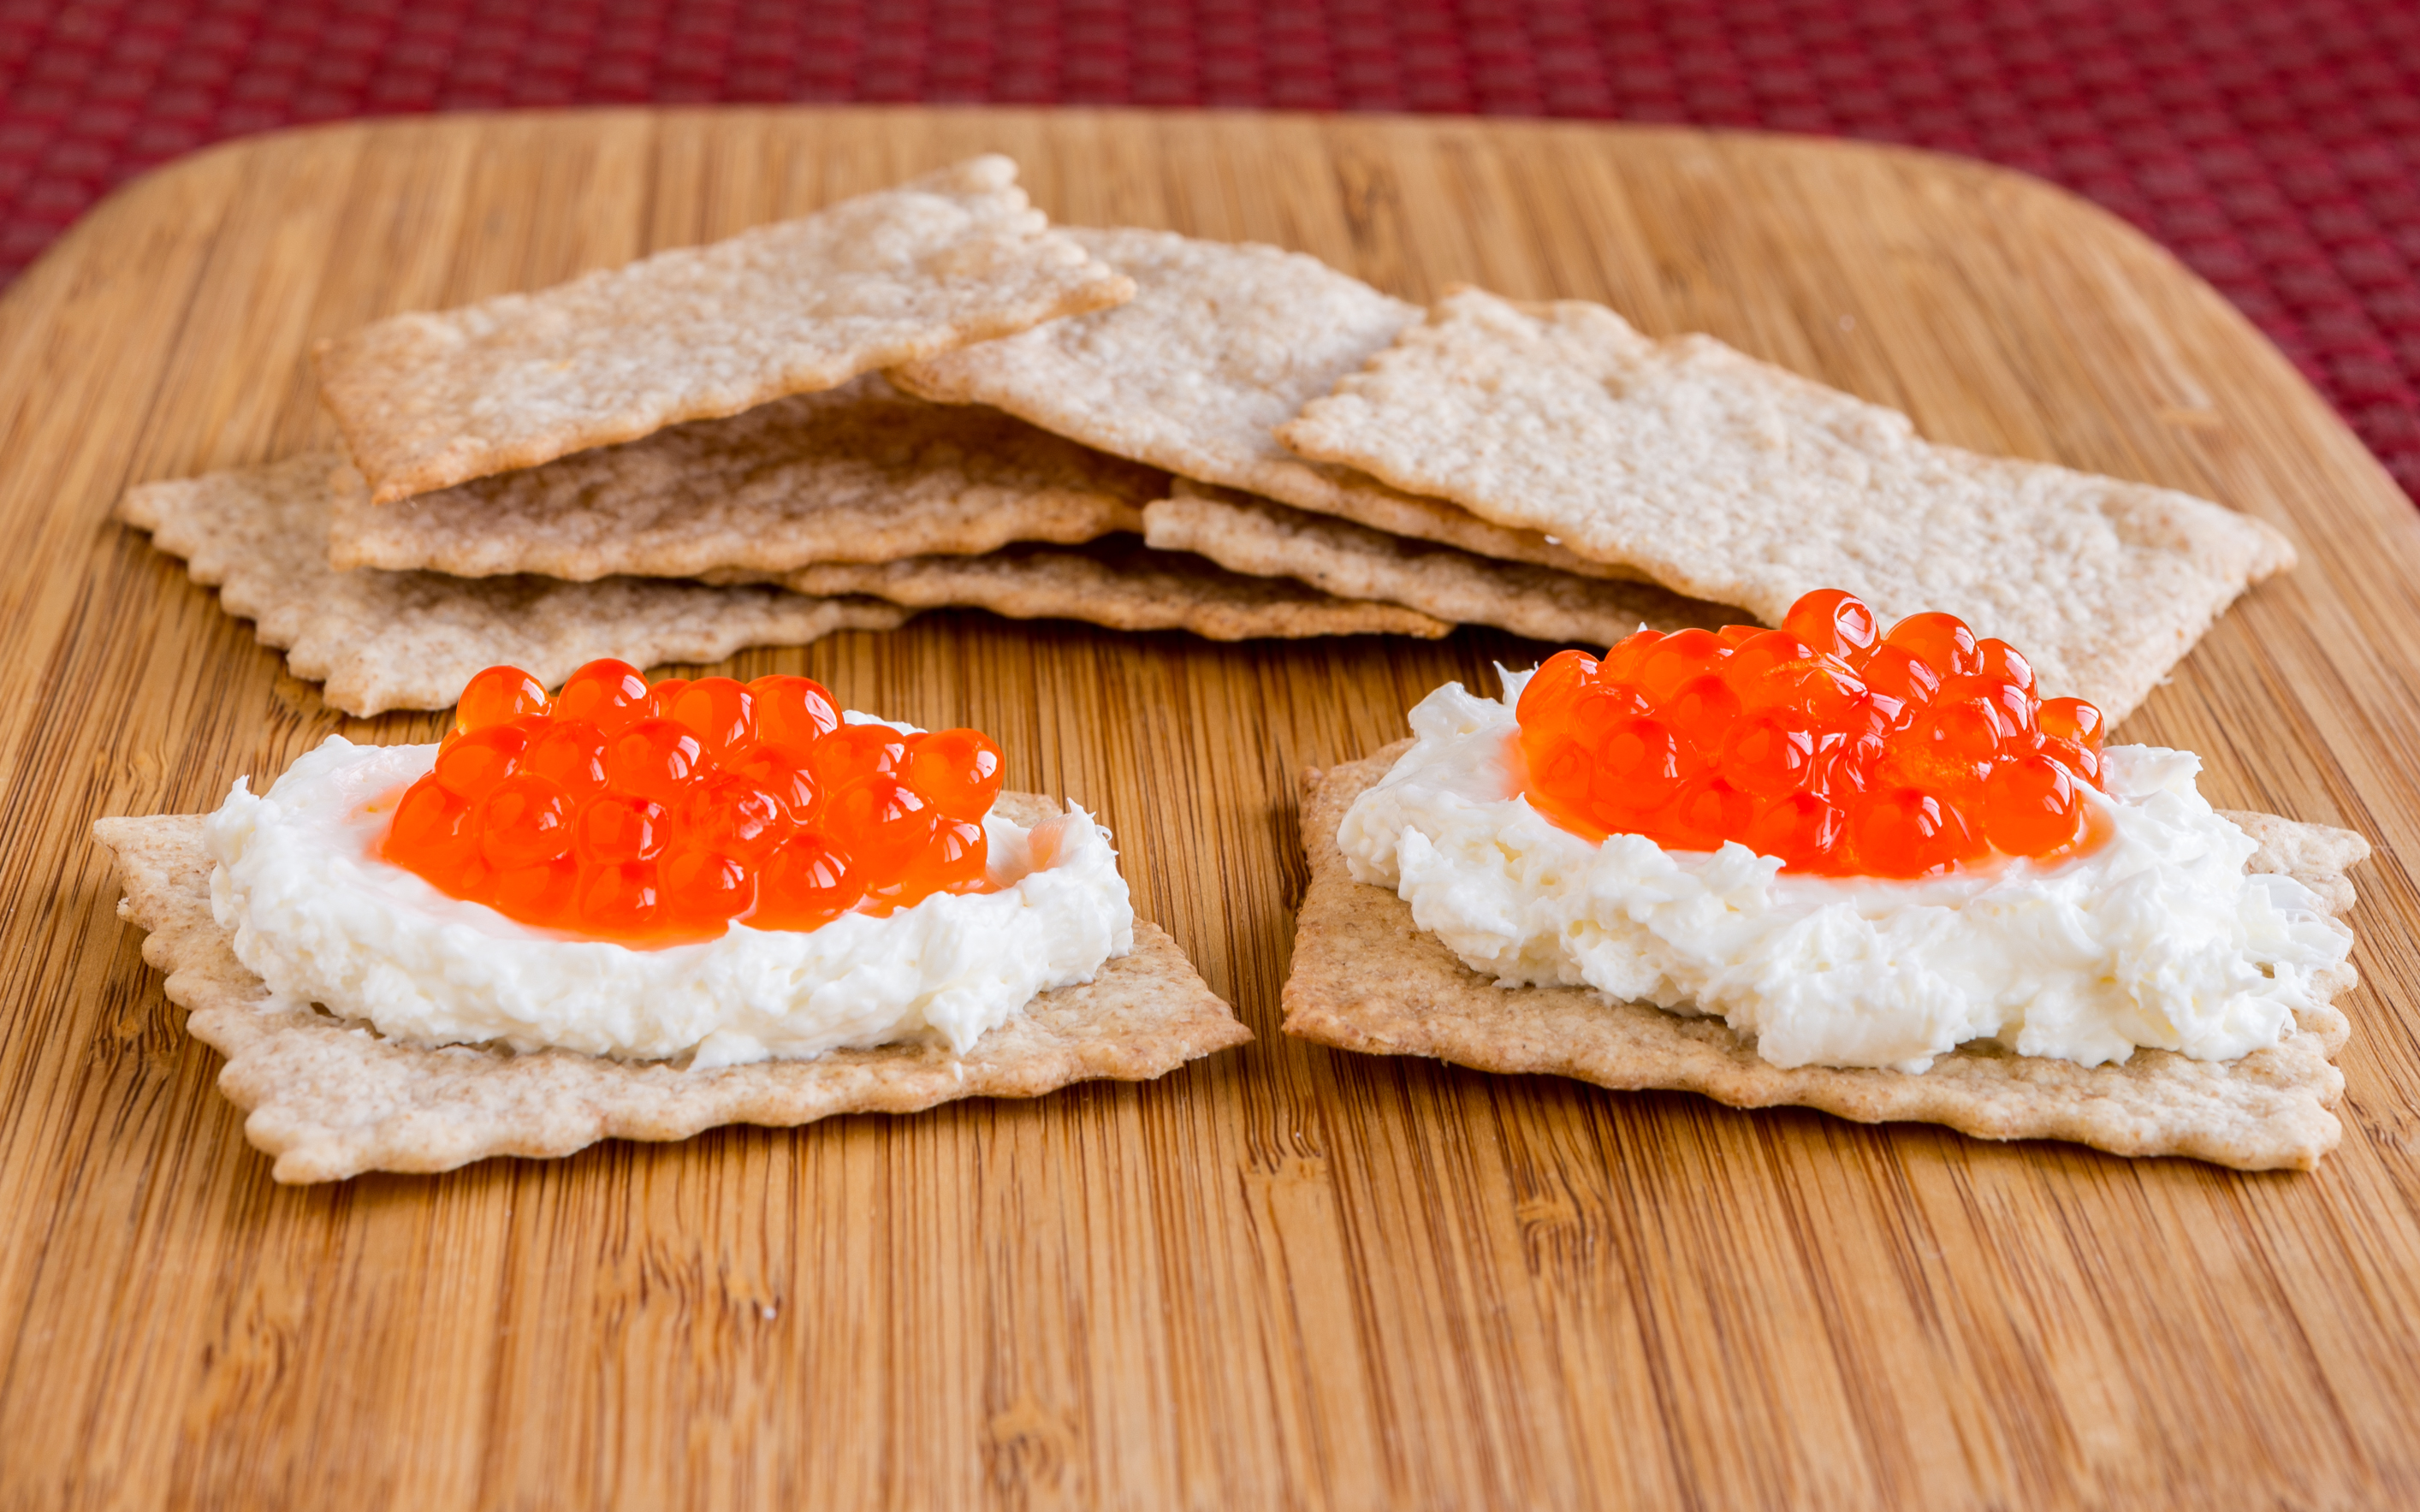
The other day, I noticed that we still had a couple bags of dried chickpeas in our cupboard. I recalled that these bags had come with us last summer when we moved to Newhalen. “No way do these get on another plane,” I thought to myself. Fortunately, we had all the ingredients I needed to make a giant batch of hummus. Even lemons – which we hardly ever had at The Lake. Proof enough that Newhalen truly is the “Cush Bush.” (I’m smiling. It has been an easy and enjoyable year.) As soon as it the hummus was ready, we got out the last of our rice crackers and dug in.
But…
…thin, crispy, salty cracker by delectably thin, crispy, crunchy cracker…
Before I knew it, we were confronted with a problem. A big problem. I mean a Really Big Problem. All this fresh, delicious hummus and we had finished off the crackers! I sliced carrots thin and tried to substitute those. It was… well, if one must. We wanted crackers. Iliamna Trading would have them, but we’ve really been trying to honor the shelter-in-place edict.
Our dilemma got me to thinking about homemade crackers. This wouldn’t be my first rodeo in the world of crispy and crunchy. I’d made graham crackers, wheat thins, cheese-its, and more. But I’d never made rice crackers.
I found a base recipe and gave it a go. I’ll be honest, I worked and reworked this recipe before I met with success. I thought the last batch came out great. This was confirmed by Jack, “Forget about making dinner. Let’s just have crackers and hummus and watch old Suits episodes tonight!” he said as he reached for another cracker. Winner winner, hummus dinner!
They key turned out to be making the crackers really thin. After trying a rolling pin and then a pasta roller, I found the best way to make the dough thin enough was to flatten it using a tortilla press. By rolling the dough into marble-sized balls, I was able to press four crackers at a time. I know, that sounds like a lot of work for crackers. But, hey, I’m sheltering in. There’s time! And, man are they good!
Homemade Onion Rice Crackers
Ingredients
- 1 cup rice flour
- 1/3 cup water
- 1 tbsp unsalted butter, melted
- 1/2 tsp salt, non iodized will taste better
- 1 tsp onion powder (or experiment with other spices and herbs)
Directions
- Preheat oven to 325°F.
- Line a baking sheet with parchment paper. Set aside.
- Cut the sides off of a ziplock bag to use to line the tortilla press later.
- Place all ingredients in a bowl.
- Stir with a fork until dough has crumbly chunks, like pie dough.
- Knead together. If it doesn’t come together, add water by teaspoons until it does.
- Using a teaspoon, scoop out some dough.
- Using your hand, roll it into a ball. The ball should be the shape and size of a marble.
- Place the ball between the cut ziplock sheets on a tortilla press.
- Press the ball with the tortilla press.
- Peel flattened ball off the plastic and place it on prepared baking sheet.
- Repeat with remainder of dough. You should be able to fit 4 dough marbles on your tortilla press once you get the hang of it.
- Bake crackers for 15-18 minutes. Keep an eye on them to make sure they don’t get overdone.
- Crackers will be slightly brown and crispy when they are done.
- Store cooled crackers in an airtight container.