Roasted Garlic and Squash Gnocchi

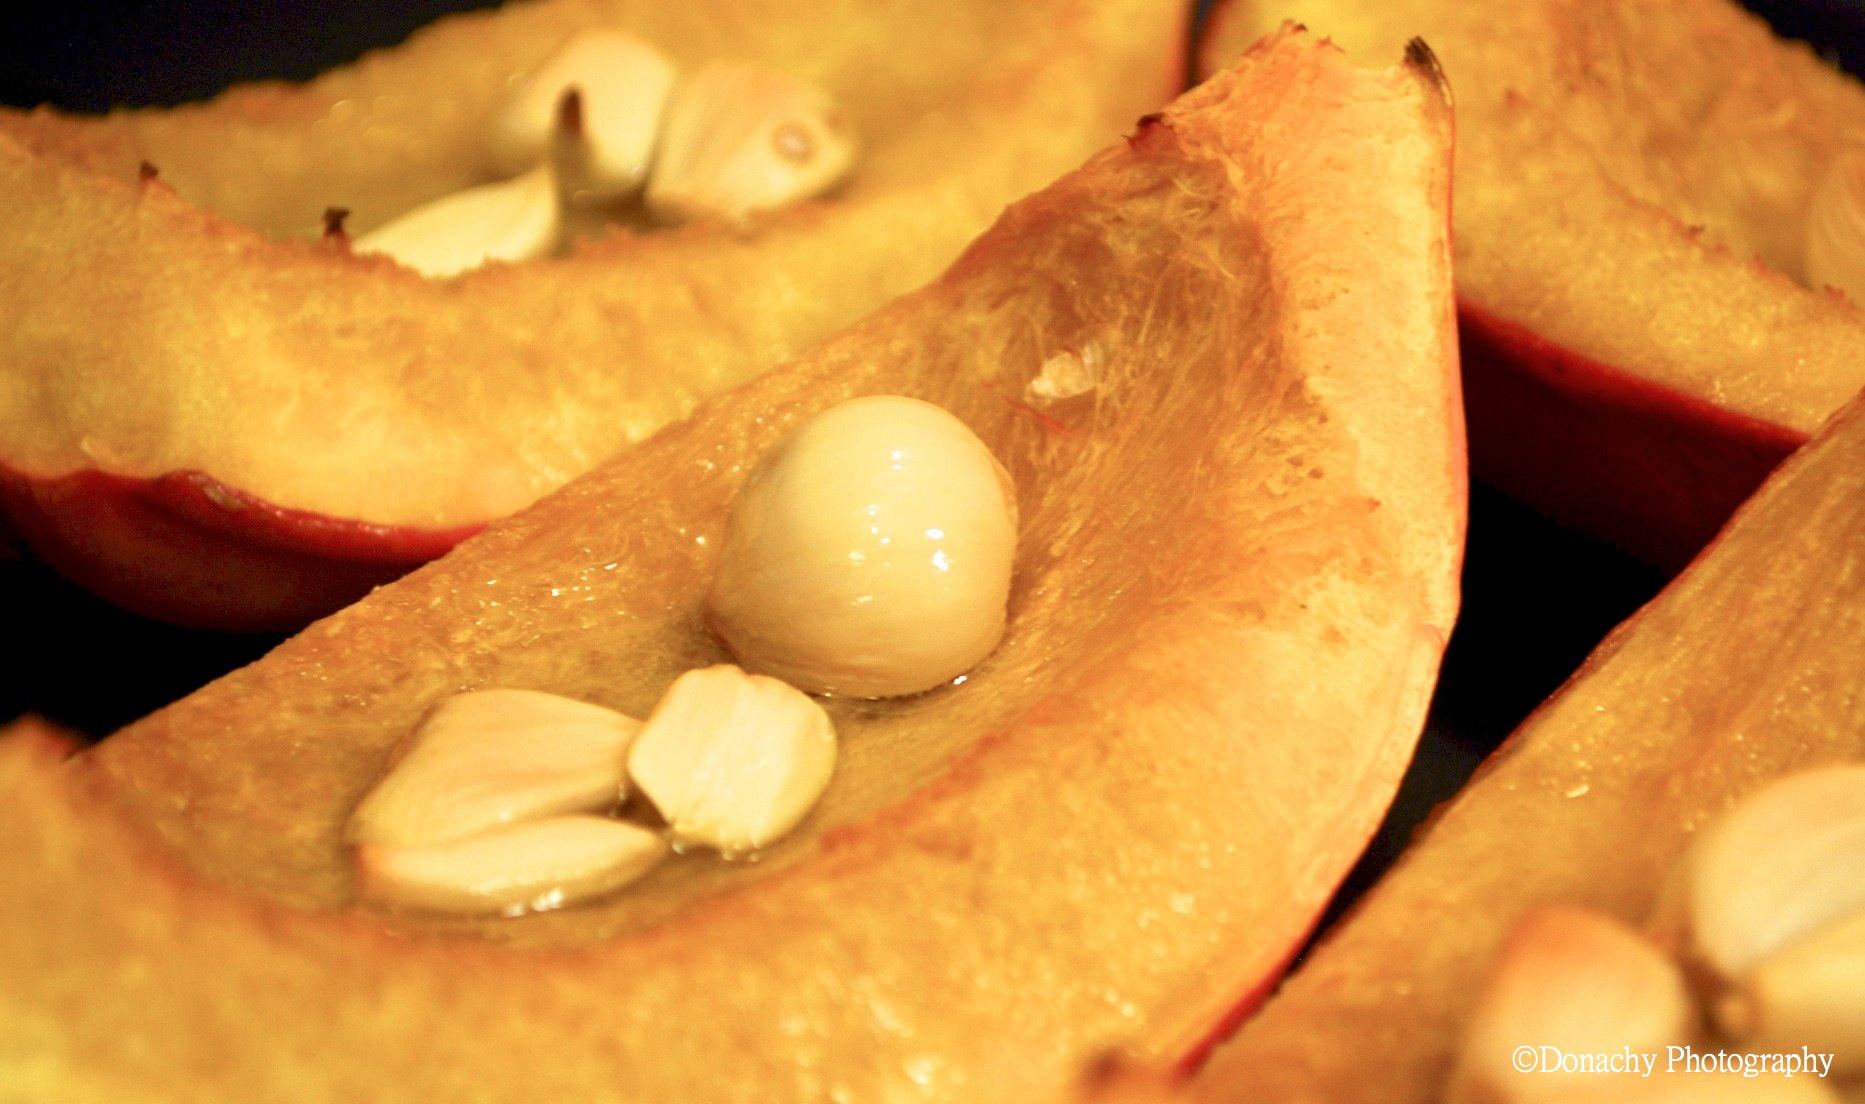
 Acorn squash and garlic, roasted and ready to become part of a batch of gnocchi.

This was my first attempt at homemade gnocchi, a form of pasta I really enjoy. The recipe I came up with today wasn’t difficult, but it was somewhat time consuming. I oven-roasted the acorn squash and the garlic for about 45 minutes. I then squeezed the soft, roasted contents out of each garlic skin (not the husks, but the skin itself) and mashed the garlic together with the squash once it was cool enough to handle. Then, I rolled the gnocchi dough into long, thin logs and chopped them into bite-sized pieces. I used a fork to make the traditional marks on the gnocchi–these slight indentations help sauce stick to the pasta.

Roasted Garlic and Acorn Squash Gnocchi

one acorn squash

one head of garlic

enough olive oil to coat a baking sheet with additional olive oil brushed onto the squash

3 cups all purpose flour (and more to coat rolling surface)

one egg

dash salt

Preheat oven to 350 degrees. Coat baking sheet with olive oil. Cut squash in half and remove seeds. Cut squash halves into 3 or 4 pieces. Brush olive oil onto squash pieces and place them skin side down. Place garlic cloves onto squash. Bake for 40 minutes or until squash and garlic are soft (a fork should go easily through the squash). Remove from oven and allow to cool.

When cooled, squeeze roasted garlic out of its skin into a bowl. Scoop soft squash meat out of its skin and place into same bowl. Mix thoroughly. Then mix in flour, egg and salt. You may need to add in more flour if mixture is too sticky. Dough should form into a nice ball.

Slice off an inch or so of the ball and roll it with the palm of your hands into a long “worm” no more than an inch in diameter. Make sure your surface is well floured. Cut off  pieces that are a little smaller than bite-sized. If you would like to make gnocchi with the fork indents, go to youtube and check out one of the videos. As they say, a picture is worth a thousand words. Once the gnocchi are formed, cook them in a pot of boiling water until they float to the top.

Serve with butter or olive oil and parmesan cheese or with a light tomato sauce. The gnocchi can also be fried in olive oil or butter and served with parmesan cheese.

This recipe makes about 200 gnocchi. Extras can be frozen.

Warm Memories of Savory Stuffed Cabbages

Food memories have a huge positive impact on people’s lives. I once wrote a ten page essay titled “Soul Food”  to challenge a college English class. It was an analysis of foods from my past and how they have influenced the person I am now. I loved certain dinners my mom made…cheese pies and apple pies, beef burgundy stew over mashed potatoes, raclette. It’s obvious why, during the winter months, this blog turns most of its attention to food.

One of my strongest food memories is of my grandmother’s stuffed cabbages. We didn’t get to see my Nana very much as we lived 3,000 miles away. She would always spend hours in the kitchen, preparing for our visits. Sometimes, when she would visit us, she would cook cabbage rolls at our house. I especially loved the sweetness of the meat enveloped in the slow-cooked cabbage leaves. We asked her for the recipe but for whatever reason she never shared it. Maybe she thought it was her special gift to us to make it, not to teach us how to make it. After she died, I thought I would never taste Nana’s cabbage rolls again.

Several years ago, I bought  a crock pot and an accompanying recipe book. The book was an ordinary crock pot book. I cooked my way through it until I got to the stuffed cabbage recipe. My expectations were low. I was surprised and pleased (surpreased) to taste the results of the recipe which were nearly identical to my Nana’s cabbages!

I wound up selling the recipe book when I moved to Alaska. I did keep the one cabbage recipe in the event I wanted to recreate this delicious dish. Turns out at $7 a head, cabbage is not a depression era vegetable in the bush. It is gold…too rich for my blood. As luck would have it, a friend had most of a cabbage head she no longer wanted and traded me for granny smith apples she needed for a pie. Barter is still alive and well in bush Alaska!

From Crock-Pot Specialties

Spicy Cabbage Rolls

6 large cabbage leaves

2 tbsp water

1/4 cup minced onion

1/2 lb. lean ground beef

1 tbsp ketchup

1 small egg, lightly beaten

2 tbsp raw long grain rice

1/2 tsp salt

1/8 tsp pepper

8 oz. stewed tomatoes

2 tbsp raisins

2 tbsp cider vinegar

2 tbsp brown sugar

2 tbsp dark corn syrup

In a saucepan, immerse cabbage leaves in enough boiling water to cover and simmer for about 5 minutes or until pliable. Remove from water carefully and drain. In bowl, make stuffing by combining water, onion, ground beef, ketchup, egg, rice, salt, and pepper. Cut out heavy ribs from the cabbage leaves. Divide stuffing into 6 equal portions; place a portion in center of each cabbage leaf and fold the leaf around it. Secure with a wooden toothpick. Place the rolls seam side down in the crock-pot.

Combine remaining ingredients and pour over cabbage rolls. Cover and cook on Low setting for 8 – 10 hours.

Remove rolls to warm serving platter. Spoon sauce over rolls before serving.

2 or 3 servings (about 1 1/2 quarts)

Smacznego!

Cooking in the Alaska Bush: Salmon Pesto Ravioli

Flash frozen just after being made, these ravioli are ready for a few brief minutes in boiling water.

Is it really worth making your own pasta?

That’s what we wanted to find out. So when we shipped staples up to our home in Point Hope this summer, we included a 25-pound bag of semolina flour and a CucinaPro manual pasta machine. And we eschewed buying the bags of dry pasta from Costco that have been standard in our kitchen for the past several years.

The verdict? It’s definitely worth it, provided one has the time–which, happily, we do. That being said, with each batch of linguini or ravioli we turn out, we are becoming more efficient. Two sets of hands make the work easier and faster, and the pasta itself is amazing! The flavor is superior to store-bought dried pasta, it cooks up in a fraction of the time, and the variations one can create are limitless.

Below is a salmon-based ravioli filling we recently created.

Salmon Pesto Ravioli

½ pound salmon, pan-fried in olive oil, skin on

1 tablespoon dried Italian seasoning. Morton & Bassett or Spice Hunter offer tasty mixes.

1 ½ tablespoon garlic, chopped fine

2 tablespoons finely chopped pine nuts

¼ cup mushrooms, chopped fairly fine

a few grinds of black pepper

¼ cup – 1/3 cup pesto

Olive oil

Sherry (optional–no sherry for us out in the bush)

1. Place cooked salmon in a glass bowl. (Remove skin and cut it into small pieces and add for maximum flavor.)

2. Combine chopped pine nuts, garlic and mushrooms in a small bowl and set aside.

3. Heat a little olive oil in a small frying pan. Add pine nut, garlic and mushroom mixture, and sauté until cooked through, stirring frequently–about 2 to 4 minutes. Add to salmon in bowl. Include the oil in the pan. (Add Sherry while cooking mixture, if desired.)

4. Add remaining ingredients to the bowl. Use a fork to mix thoroughly, breaking up the salmon. Add additional olive oil, if needed, so that mixture holds together. Cover and place in refrigerator for an hour or more.

5. Use mixture as ravioli filling.

6. Serve ravioli with a lightly seasoned marinara sauce or with an olive oil topping, such as onions and sun dried tomatoes sautéed in olive oil.

Finish with grated Parmesan cheese and perhaps a couple of grinds of black pepper. A Willamette Valley Pinot Noir would be the perfect complement. Another good choice would be Chardonnay.